


This post contains affiliate links. Thank you for supporting Beneficial Bento!
Meal prep is almost no effort when you use an Instant Pot. Tender, juicy chicken simmered in broth is the starting point for a week’s worth of lunches or dinners. It’s so delicious, you will find yourself eating it plain 🙂

Jump to:
Recipes that Use Meal Prep Chicken Breast
These juicy chicken breasts can be used for lots of different meals. Here are a few good ideas to get your meal plans started.
Dinner recipes:
Lunch recipes:
- Trader Joe’s harvest Salad with chicken
- Thai chicken noodle salad
- Chicken salad with cranberries and poppyseeds
No recipe needed:
- Heat with barbecue sauce and serve on sandwich buns
- Heat with taco seasoning and a little lime juice for chicken tacos
- Combine with soy sauce and serve with white rice and stir fried veggies for a rice bowl
Here’s All you Need
Just a few ingredients, the perfect balance of flavors, and all ready to simmer away while you walk away and do something else. Cooking chicken breasts in an Instant Pot couldn’t be easier, or juicer! Remember to scroll down to the recipe card for the full instructions.
- Boneless skinless chicken breasts - you can use chicken thighs if you prefer
- Chicken broth - pressure cooking the chicken in broth infuses the meat with delicious flavor
- Salt & pepper, garlic powder - basic seasonings are best here, so the chicken can be used for many different recipes
Cooking Frozen Chicken Breast
Good news - you can cook frozen chicken breasts in your Instant Pot!
You don’t even need to change the time - just cook it on the meat/stew setting for 20 minutes. The catch is, since it’s frozen it will automatically take more time to heat and build up the pressure before it counts down that 20 minute cooking time.
But if you want a completely hassle -free way to cook some chicken while you’re busy doing other important things, this is a good option.
Keep in mind, the chicken breasts will come out whole, which means the cooked chicken will break apart into long strands that tend to get stuck in your teeth ( I really hate that 😬).
So you will need to cut up the chicken into smaller pieces either way - before you cook it or after.
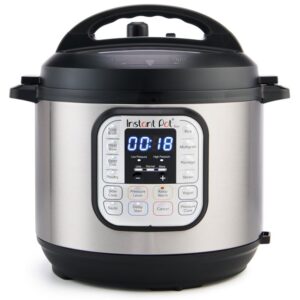
You'll Need an Instant Pot
I use this several times a week for making low carb rice, boiling eggs, making soups like bean and bacon soup, beef stew, Cafe rio pork, and beef pot roast.
An Instant Pot is essential if you’re a busy person who loves to cook (that pretty much includes us all)!
My Instant Pot
 Buy Now →
 Pressure Cooking Chicken Breast Step by Step
This recipe couldn't be easier. And I love that you can leave it to do it's work while you do other important things.
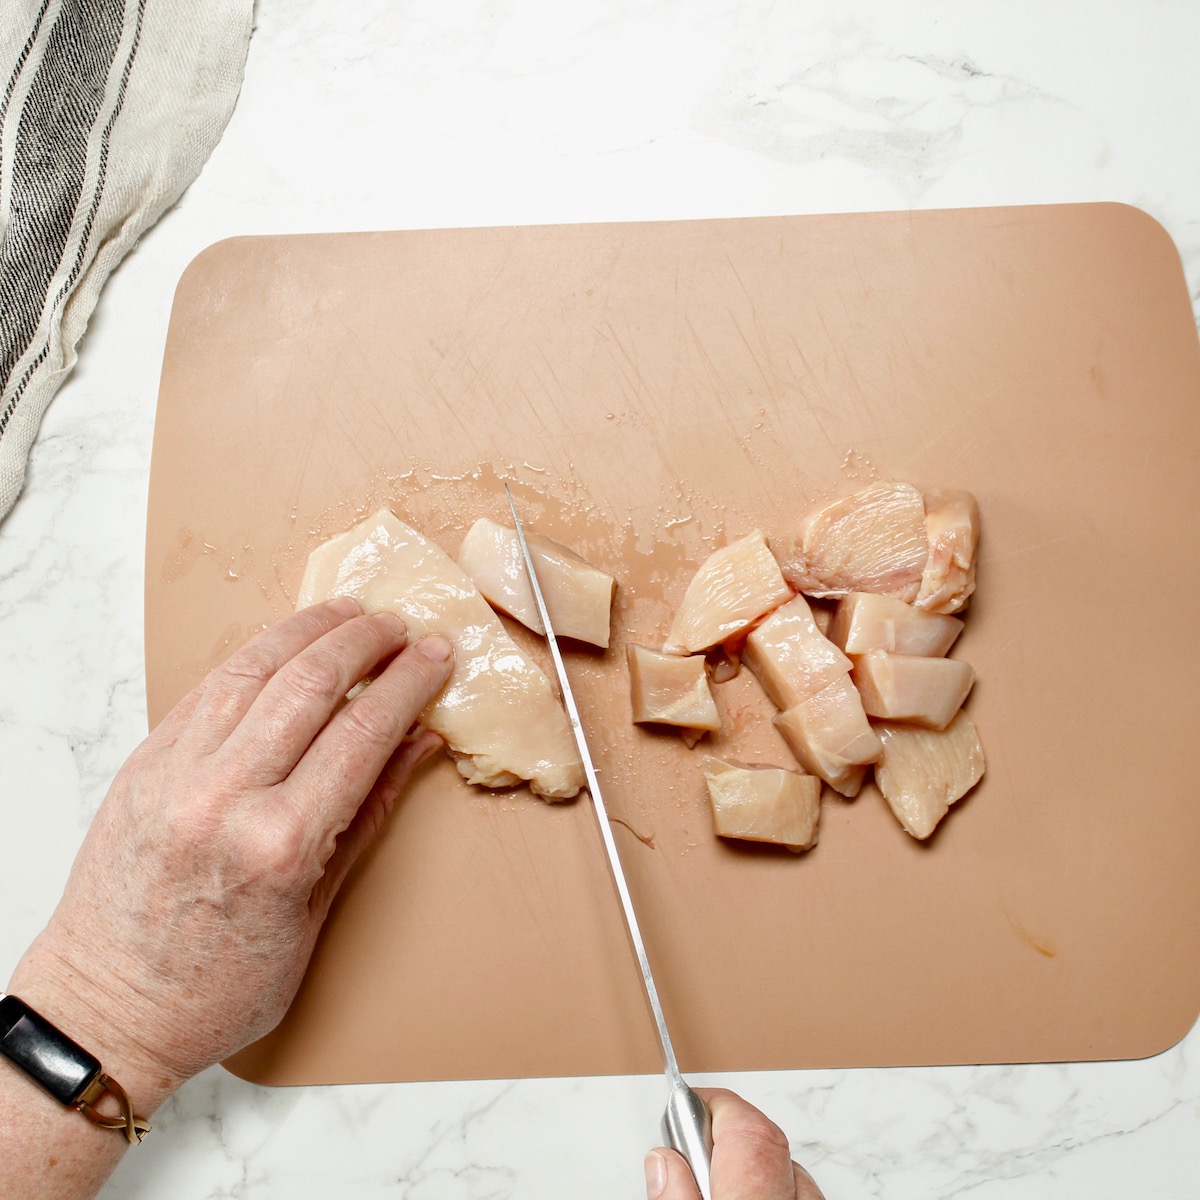
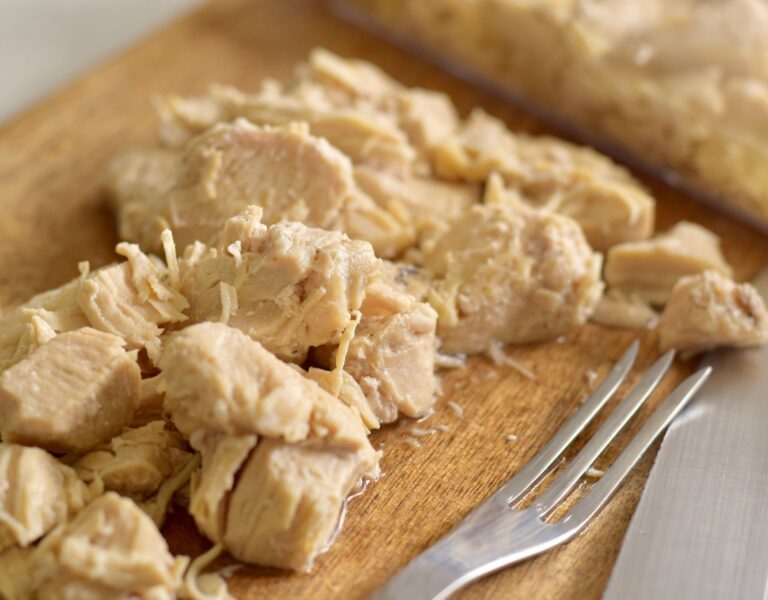
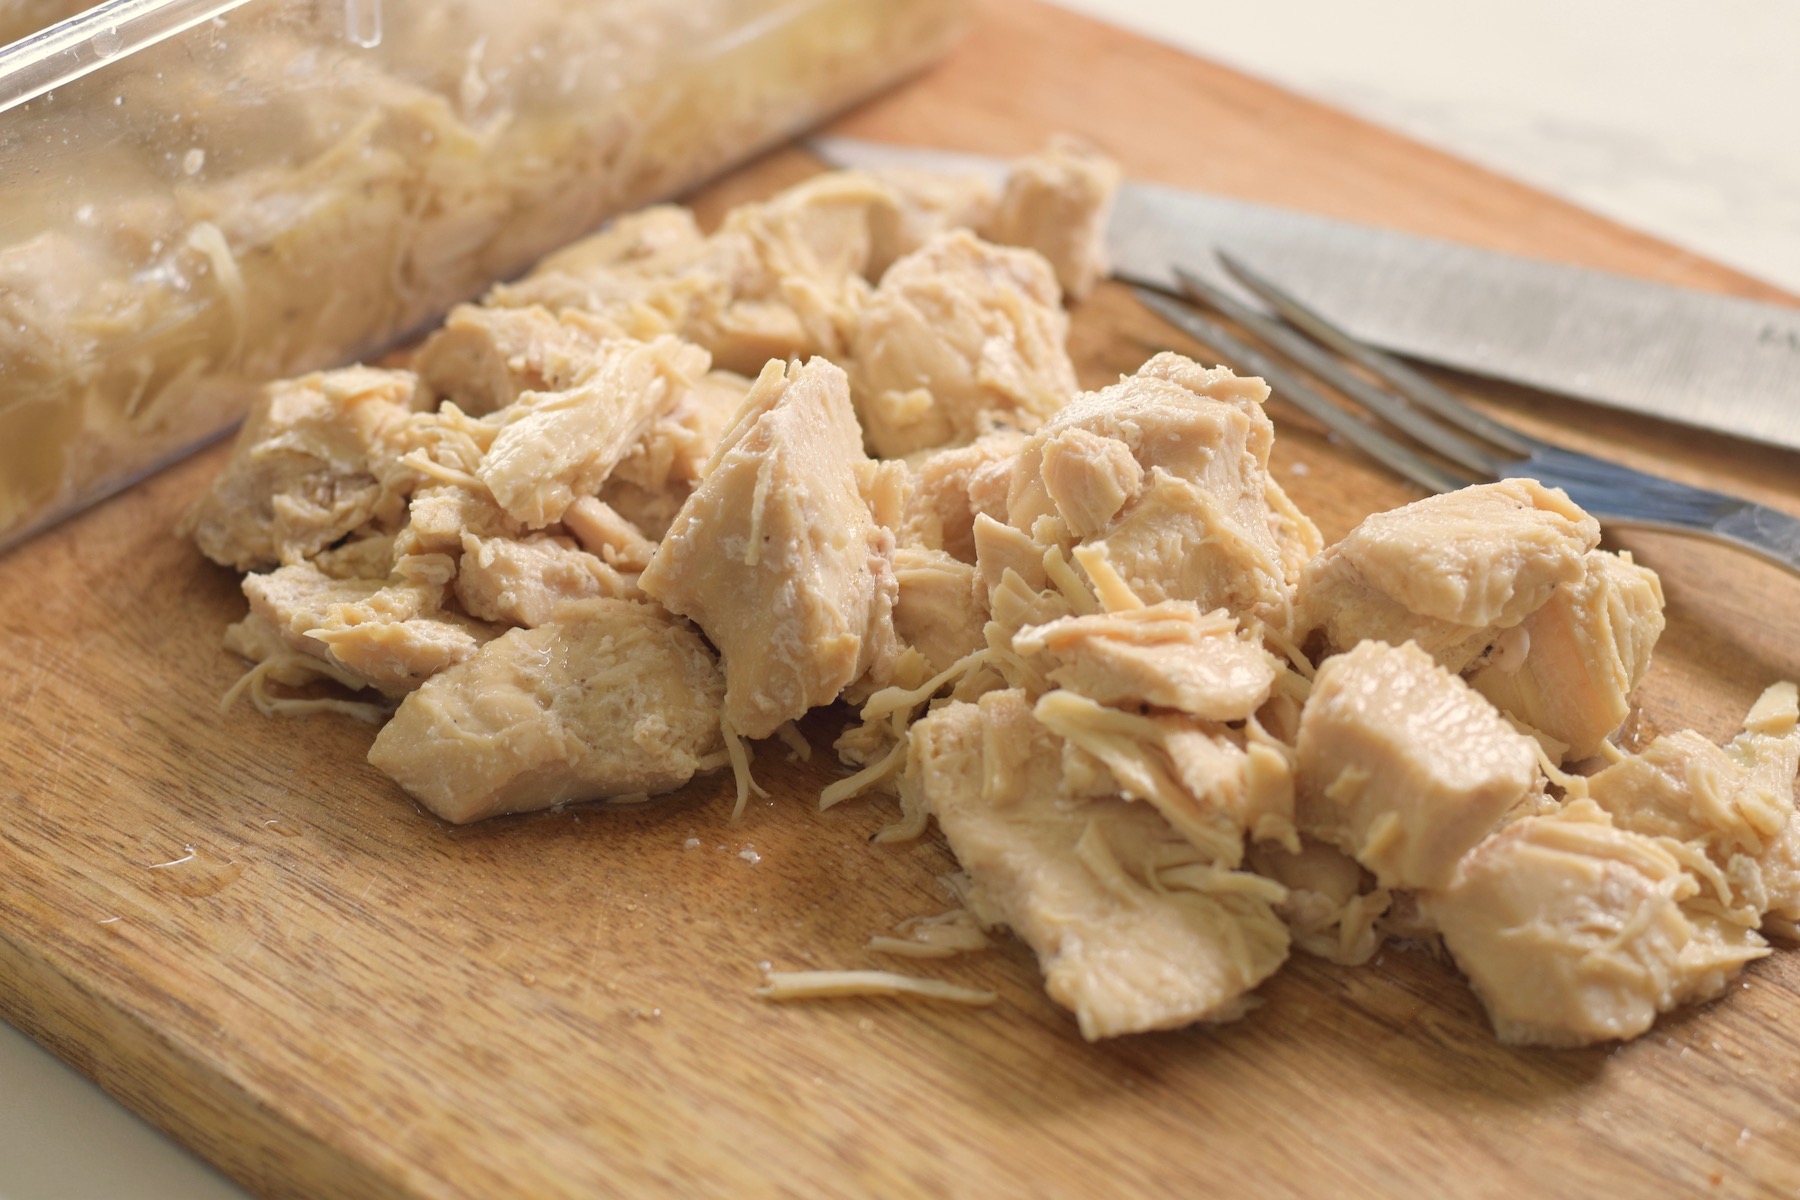
Step 1. Cut chicken into chunks. It cooks faster and more evenly than when you use whole chicken breasts.

Step 2. While chicken is in a single layer, sprinkle it with seasoning.
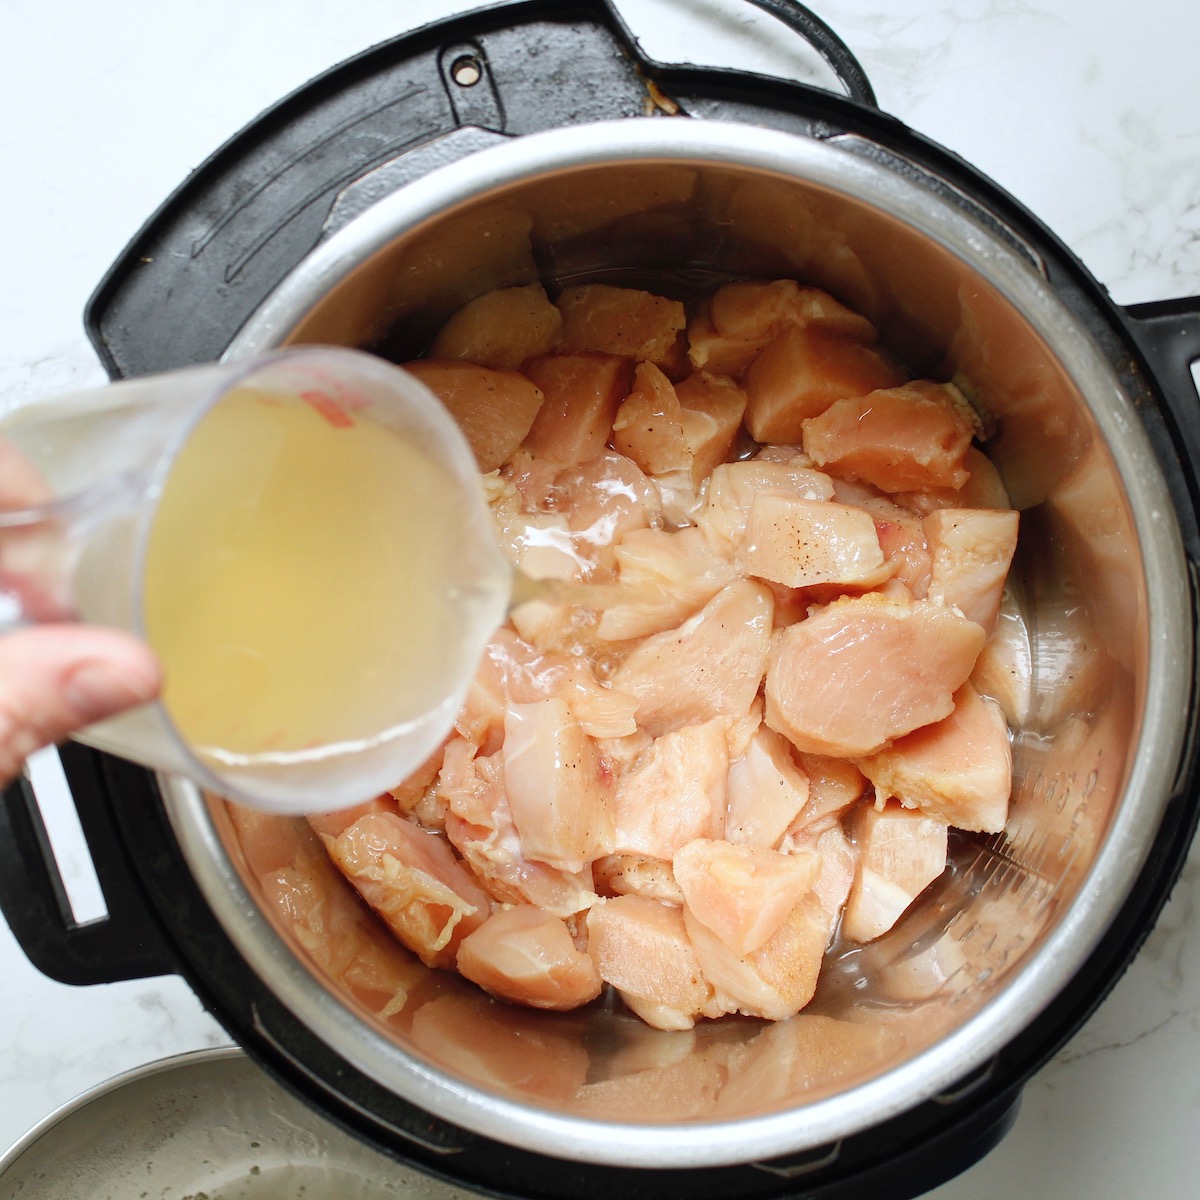
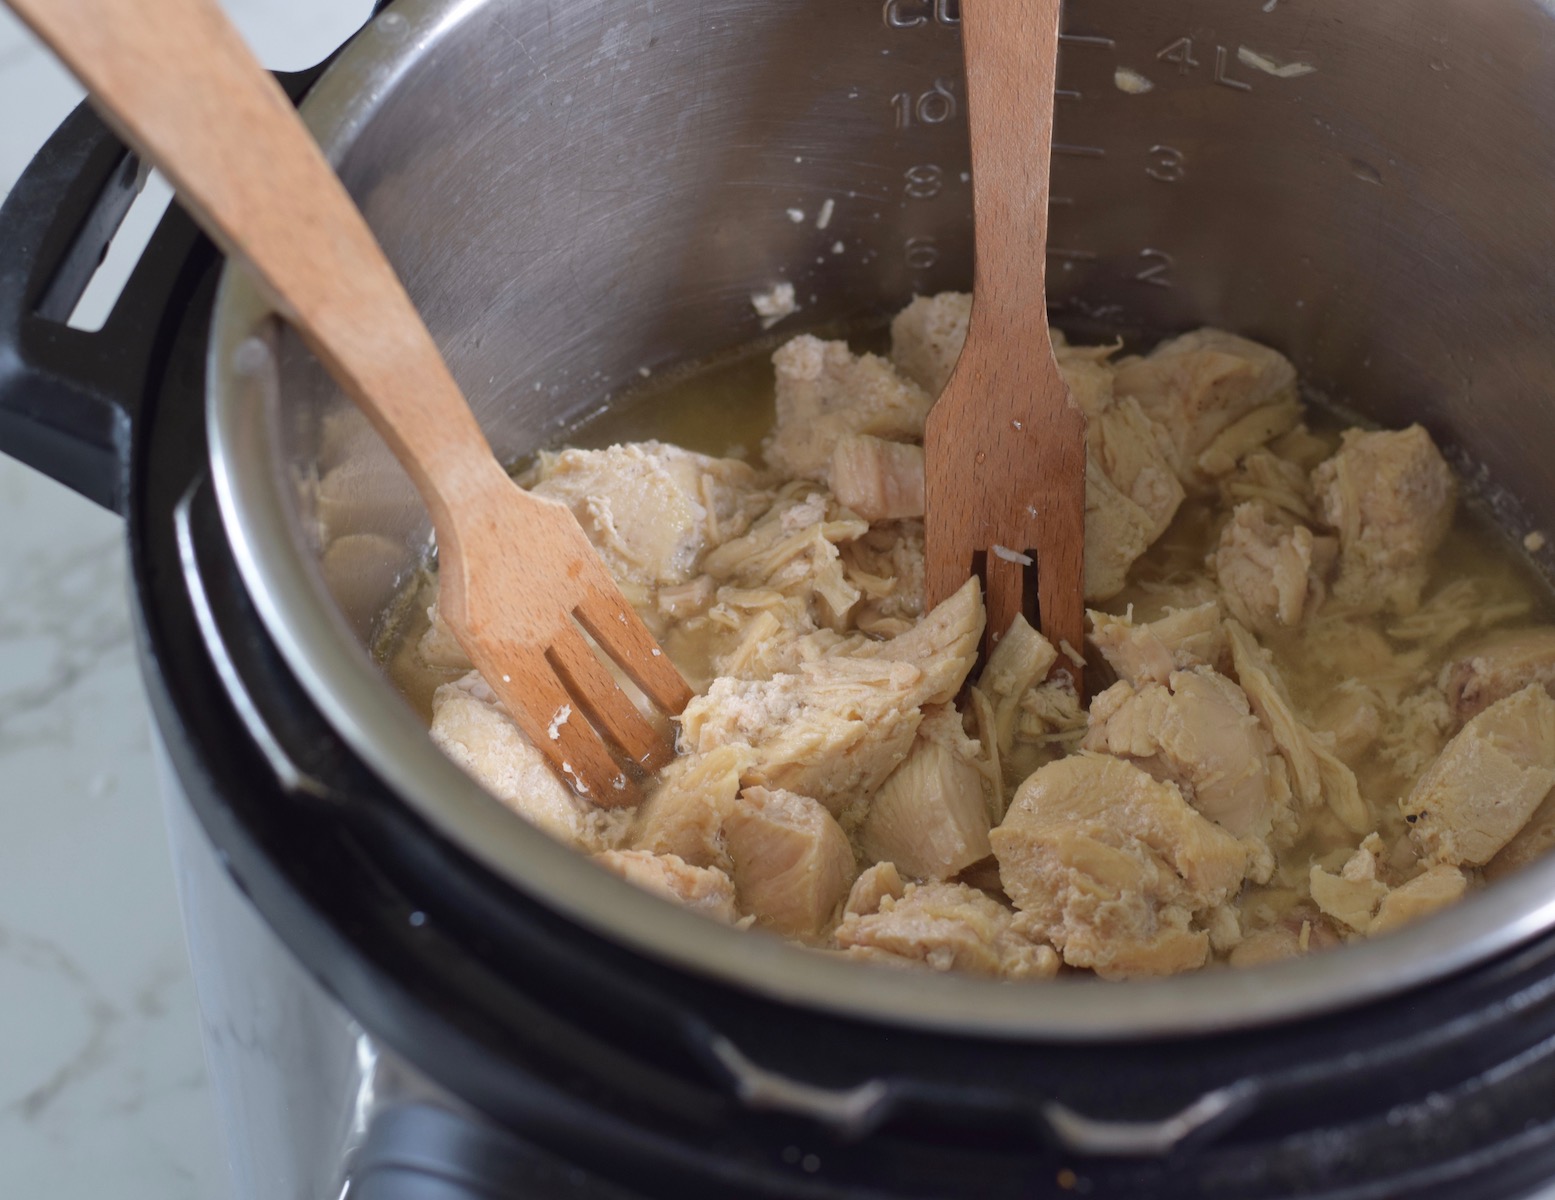
Step 3. Add the chicken to the Instant pot, and pour in the chicken stock.
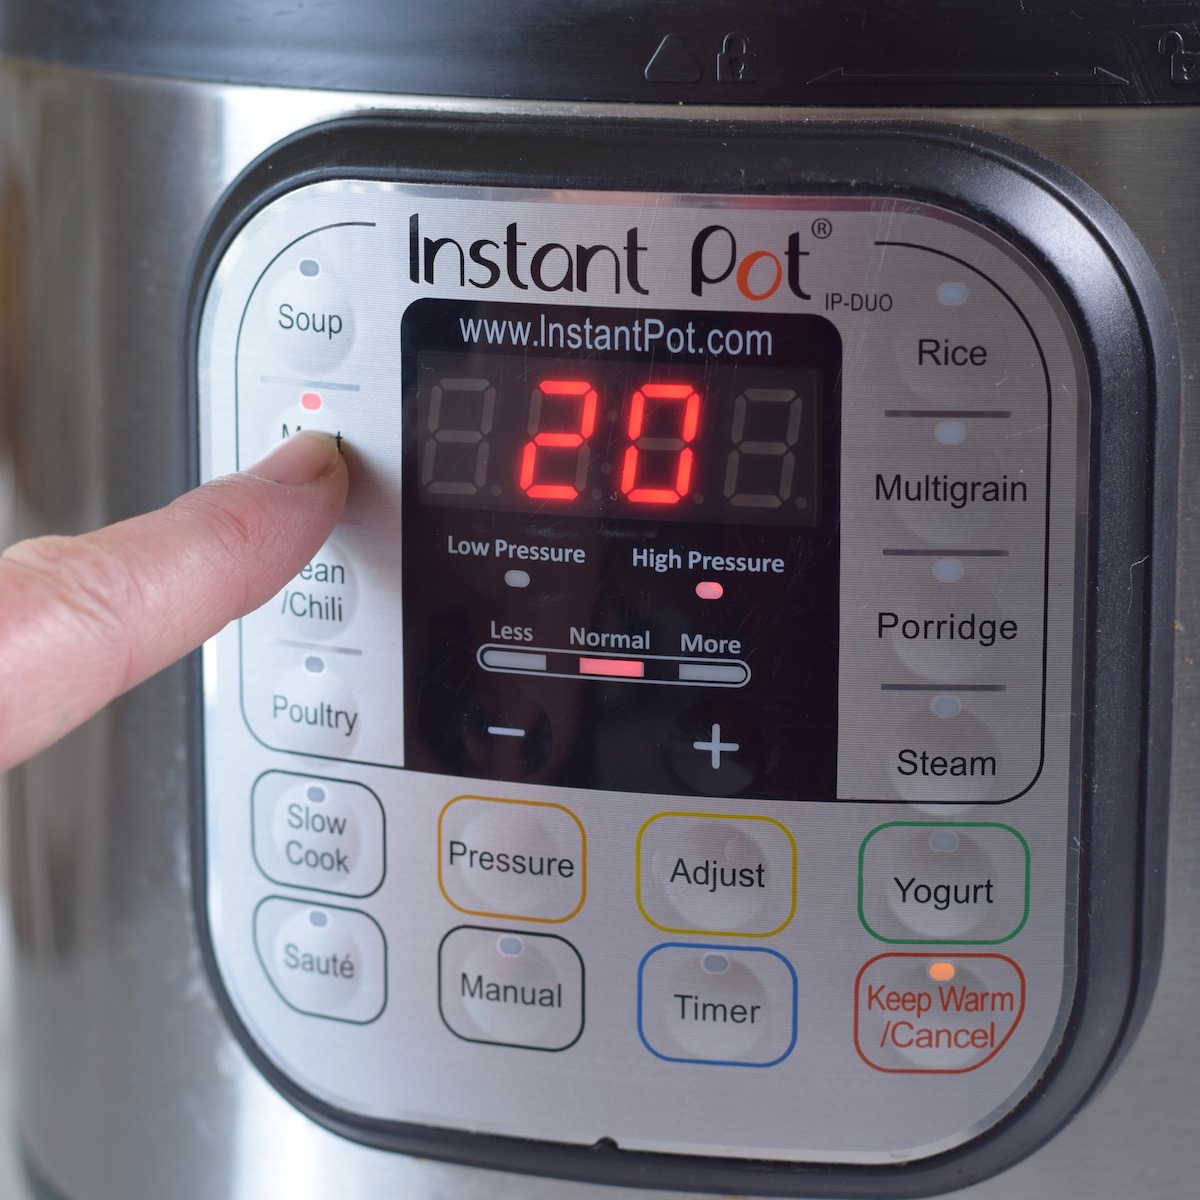
Step 4. Choose the meat/stew setting for 20 minutes. Make sure the steam valve is flipped to sealing. You can also use the Manual setting, high pressure, for 20 minutes.
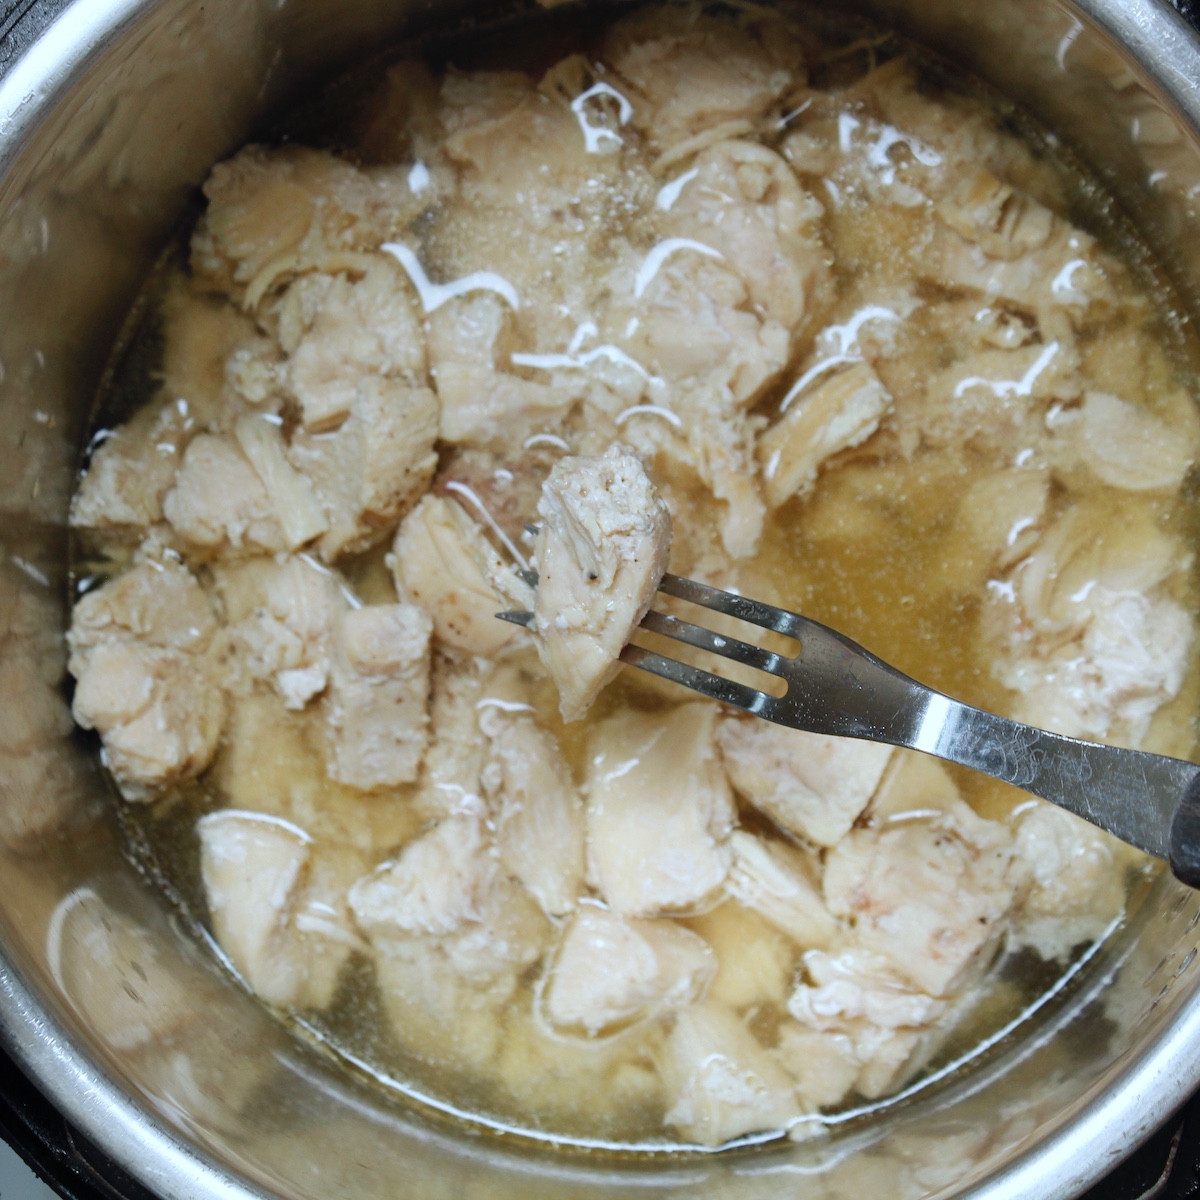
Step 5. After it’s done cooking, release the pressure. Either a quick release (flip the steam valve) or a natural release (letting it come down on its own).
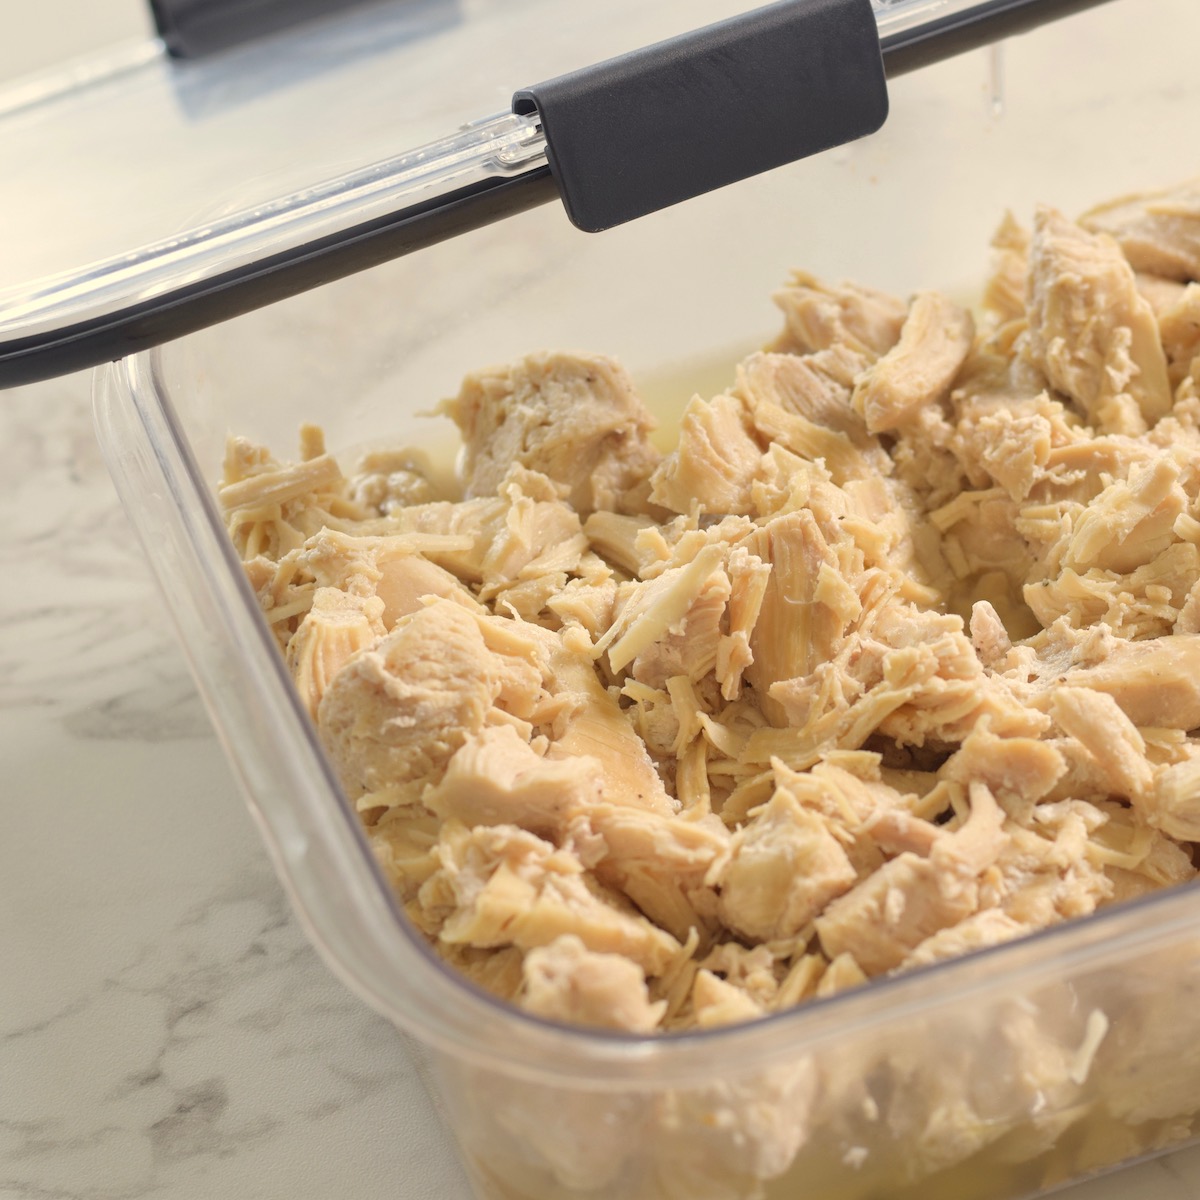
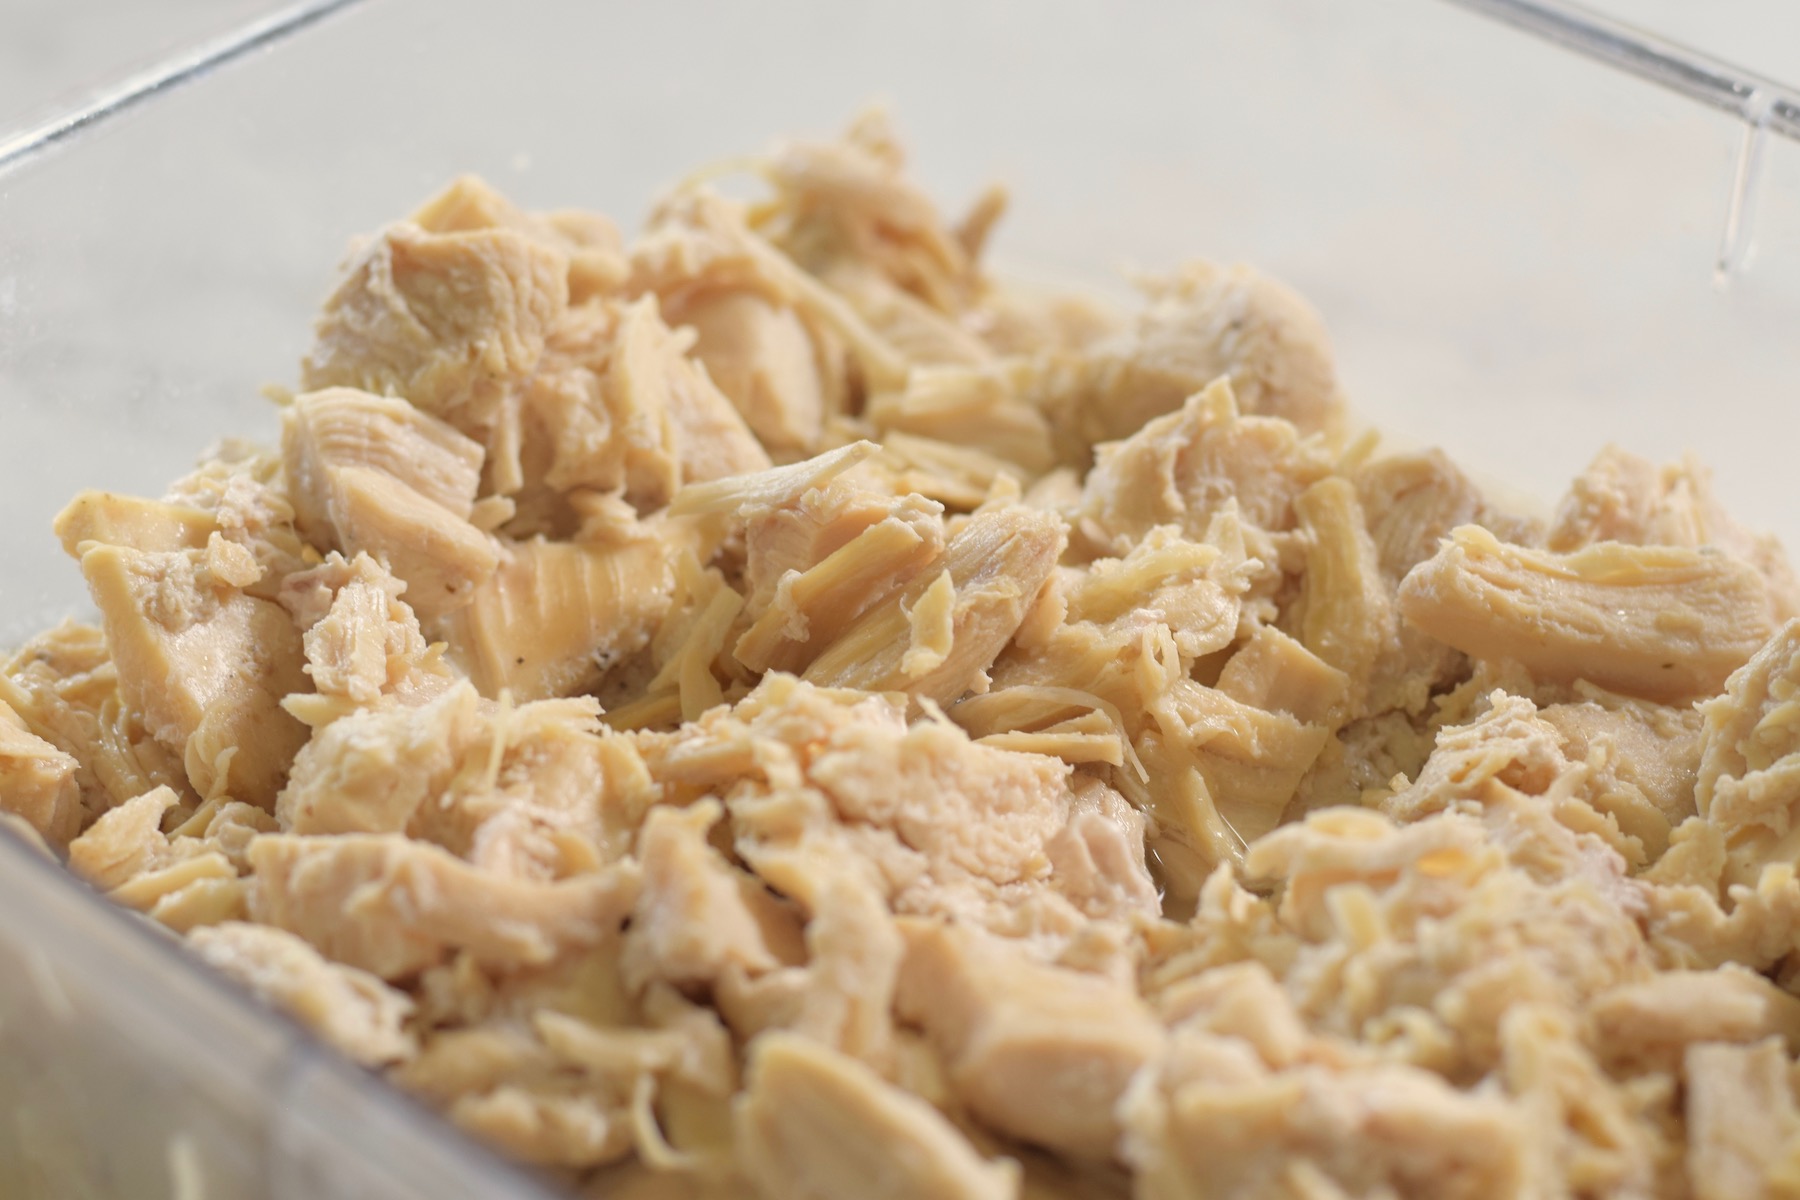
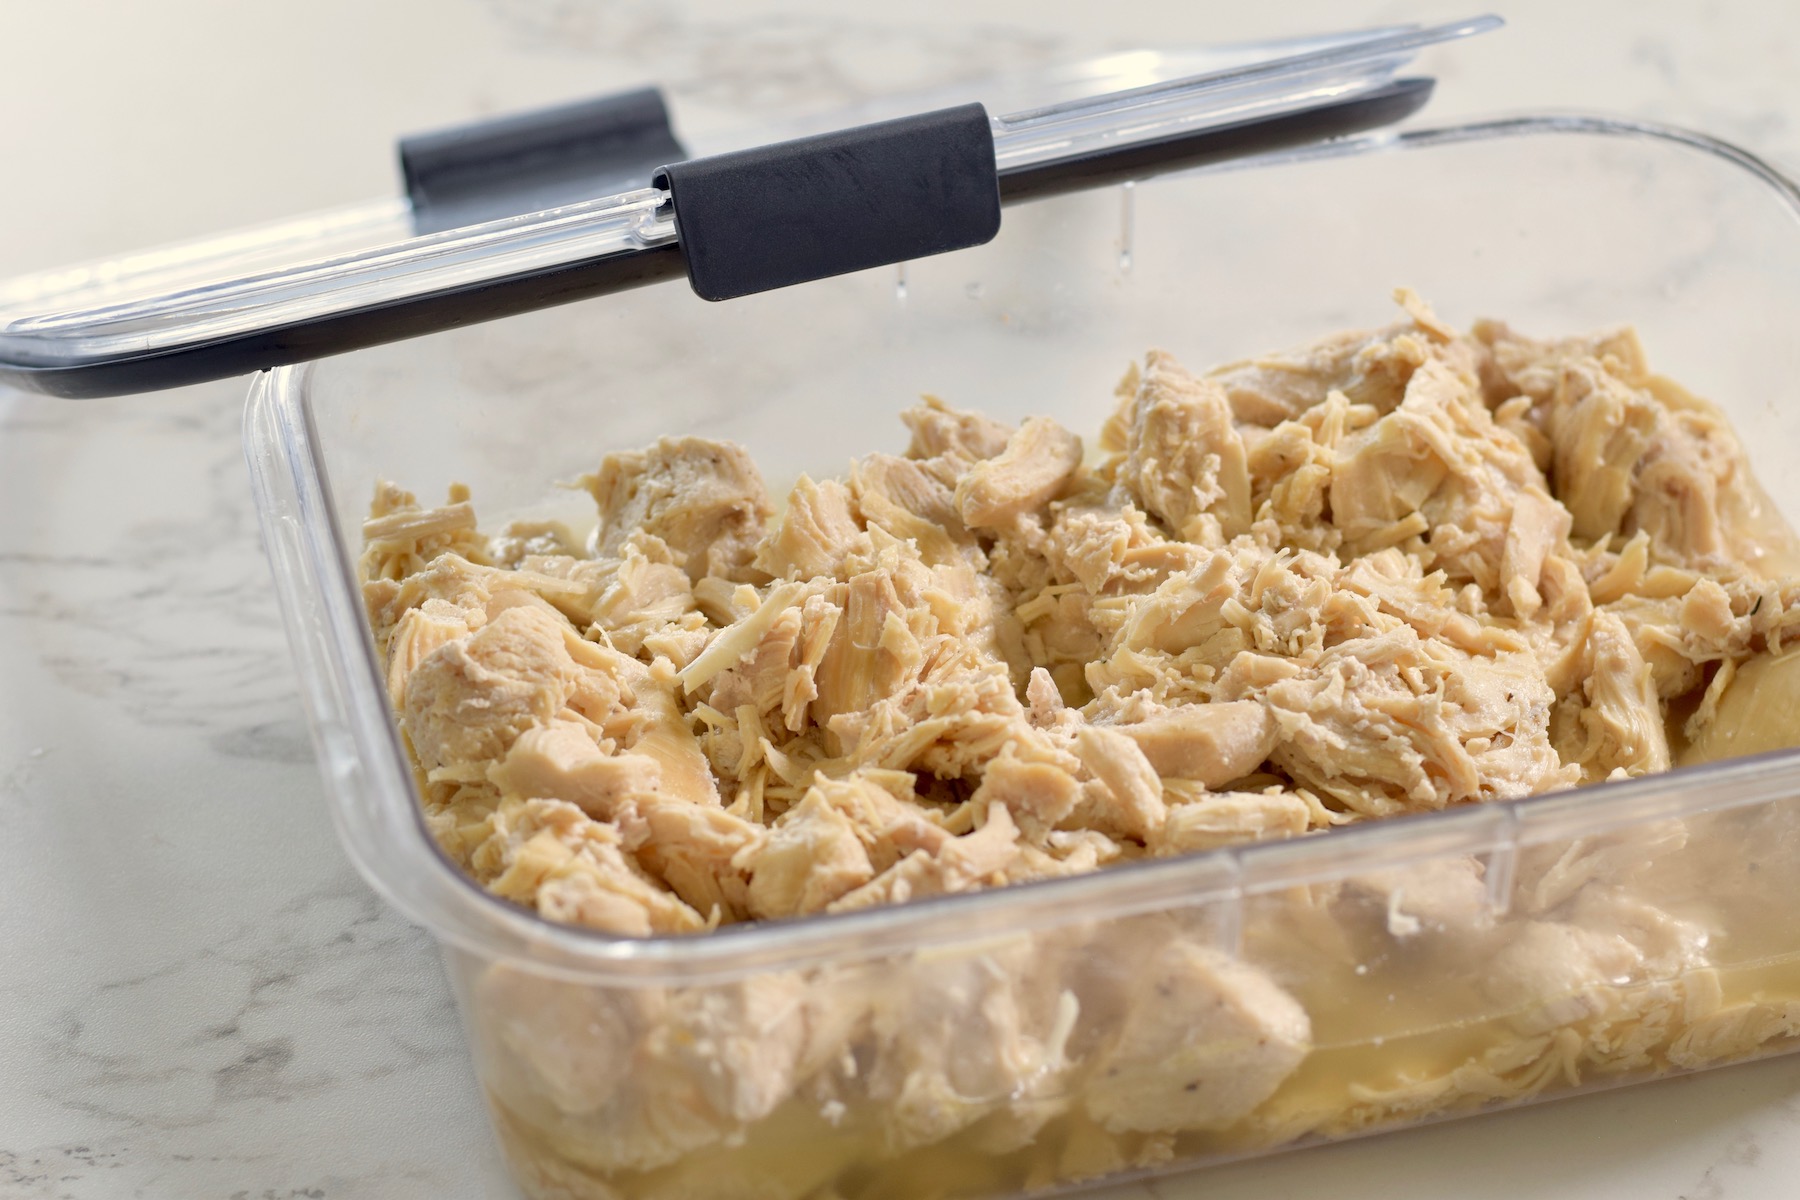
Step 6. Add to meal prep containers with a little broth. Only a little bit is needed, but it’s my secret to tender, delicious chicken - even after it’s been kept in the fridge for a few days.
Storing Your Chicken
This is a great recipe for meal prepping. In fact, that’s the whole reason I created it - because I needed a lot of cooked chicken breast chunks for a big family dinner, and I didn’t quite have enough on hand.
Put the cooled, cooked chicken in an airtight container. Important: include some of the liquid that it was cooked in (or any other chicken broth). You only need a little - roughly ¼ cup to ½ cup. I just splash some in the container without measuring it. See the photo below to get an idea of of how much you need.
This 👇 right here, is the secret to keeping the chicken moist for several days in the fridge. It should store very well for 4-5 days this way.
Juicy Instant Pot Chicken Breast - Easy Meal Prep
Meal prep is almost no effort when you use an Instant Pot. Tender, juicy chicken simmered in broth is the starting point for a week’s worth of lunches or dinners. It’s so delicious, you will find yourself eating it plain 🙂
- Total Time: 25 minutes
- Yield: 3 cups 1x
Ingredients
- 2 lb. boneless skinless chicken breasts
- 1 cup chicken broth
- Salt and pepper, to taste
- Garlic powder, to taste
Instructions
- Cut chicken into chunks. It cooks faster and more evenly.
- Season the chicken with salt and pepper and garlic powder to taste.
- Add to Instant pot with chicken broth.
- Choose the meat/stew setting for 20 minutes, and flip the steam valve to Sealing
- When it’s finished cooking, the Instant Pot will beep. Release pressure manually, or let it release naturally, both are fine.
Equipment
Buy Now → Notes
Note: This recipe can be easily doubled. Store in the fridge in airtight containers or freeze in freezer-safe bags.
- Prep Time: 5
- Cook Time: 20 minutes
- Category: dinner
- Method: Instant Pot
- Diet: Low Calorie
Questions About Instant Pot Shredded Chicken
No, you can place the chicken on a rack with the liquid underneath, but I much prefer to cook chicken breast directly in some chicken broth. It infuses the chicken with extra flavor, and comes out really juicy.
Chicken cooked in an Instant Pot can have a rubbery texture if it has not been cooked long enough. When the muscle fibers in the chicken are fully broken down, the chicken will be tender. That's one way to tell that it is cooked all the way through. If it has a rubbery texture that is hard to bite into, it is probably undercooked.
Chicken that is overcooked (even in broth) might have a dry texture. Follow the cooking time called for in the recipe for juicy, tender chicken.
You can pile chicken breasts into the Instant Pot without worry if you cut them into similar sized pieces and cook them in broth. You don’t have to worry about keeping the chicken in a single layer, and it will cook evenly.
Comments
No Comments