This post contains affiliate links. Thank you for supporting Beneficial Bento!
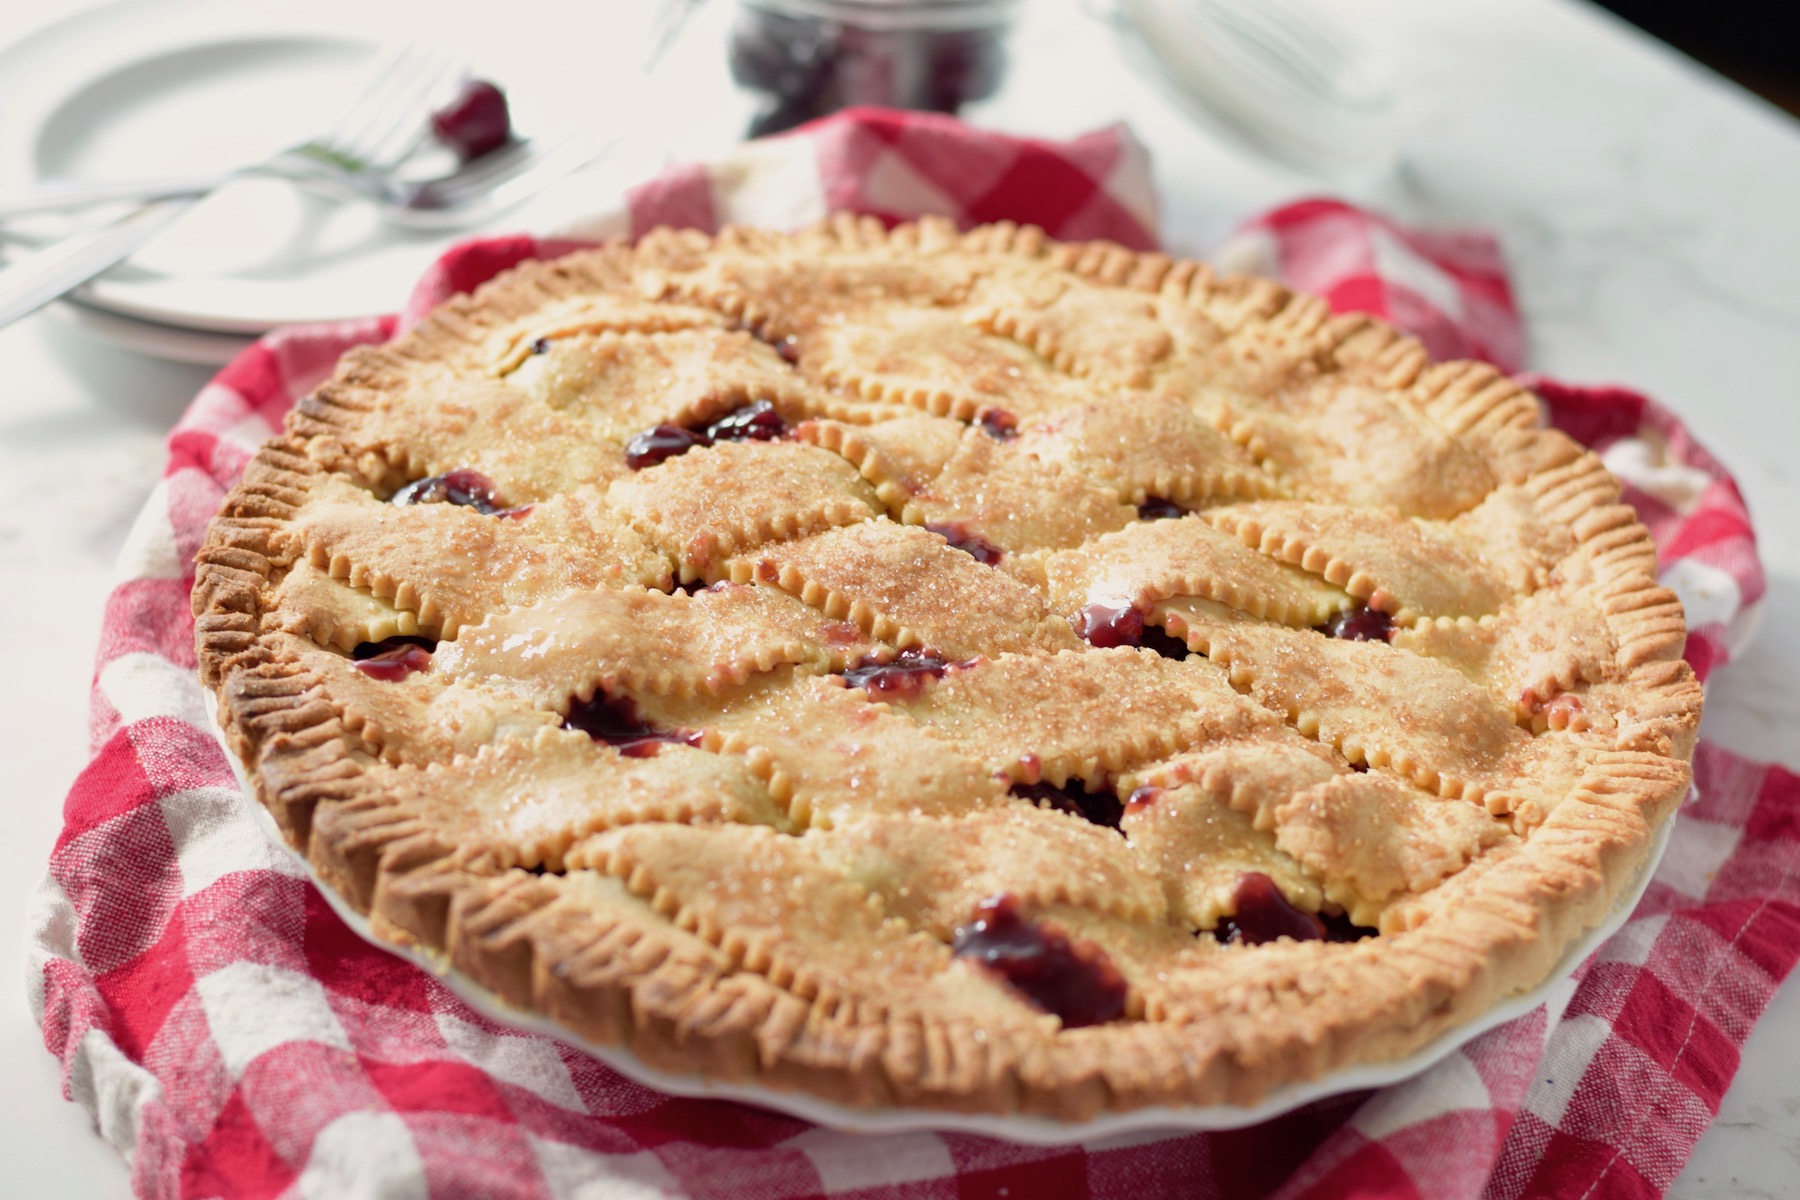
Buttery, flaky gluten free pie crust bursting with sweet juicy cherries! No sugar in this filling, its bright red color and sweet summer flavor comes from cherry or apple juice.
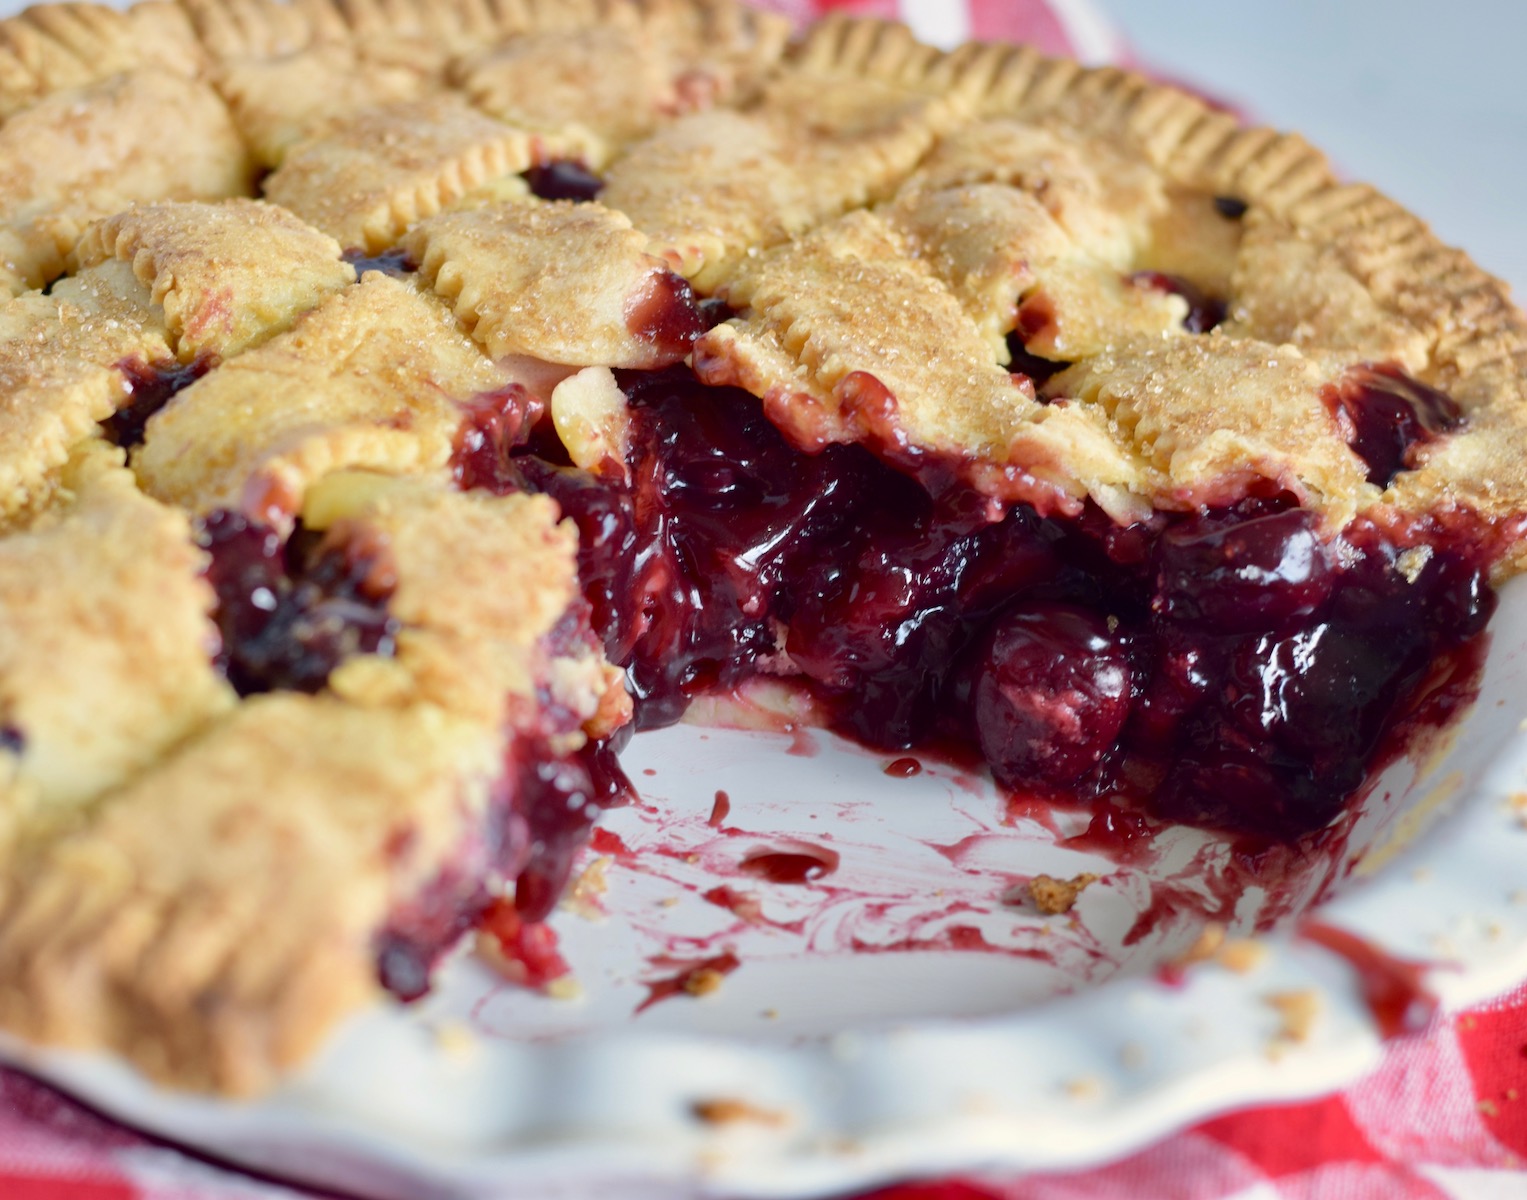
I have always loved cherry pie, but I have to admit that canned pie filling is so overly sweet that it barely even tastes like cherries. My husband never liked cherry pie for that reason. But he does love this cherry pie that’s naturally sweetened with fruit juice. The sweet flavor of summer cherries really comes through (without being masked behind a load of corn syrup!).
Jump to:
Fresh Cherry Pie filling Using Juice
The key to sweetening this pie is using juice concentrate, which is juice with nearly all the water taken out of it. The flavor and sweetness are super concentrated - perfect for a fruit pie filling. Don’t dilute the juice concentrate with water - add it to the recipe right out of the can.
My favorite juice concentrate to use in my cherry pie recipe is Old Orchard Apple Cherry juice. If you can’t find any frozen juice concentrates that contain cherry juice, then plain apple juice concentrate works surprisingly well. You might lose a little of the red color in your filling, but the difference is so small no one will notice. They will be too busy savoring this delicious pie!
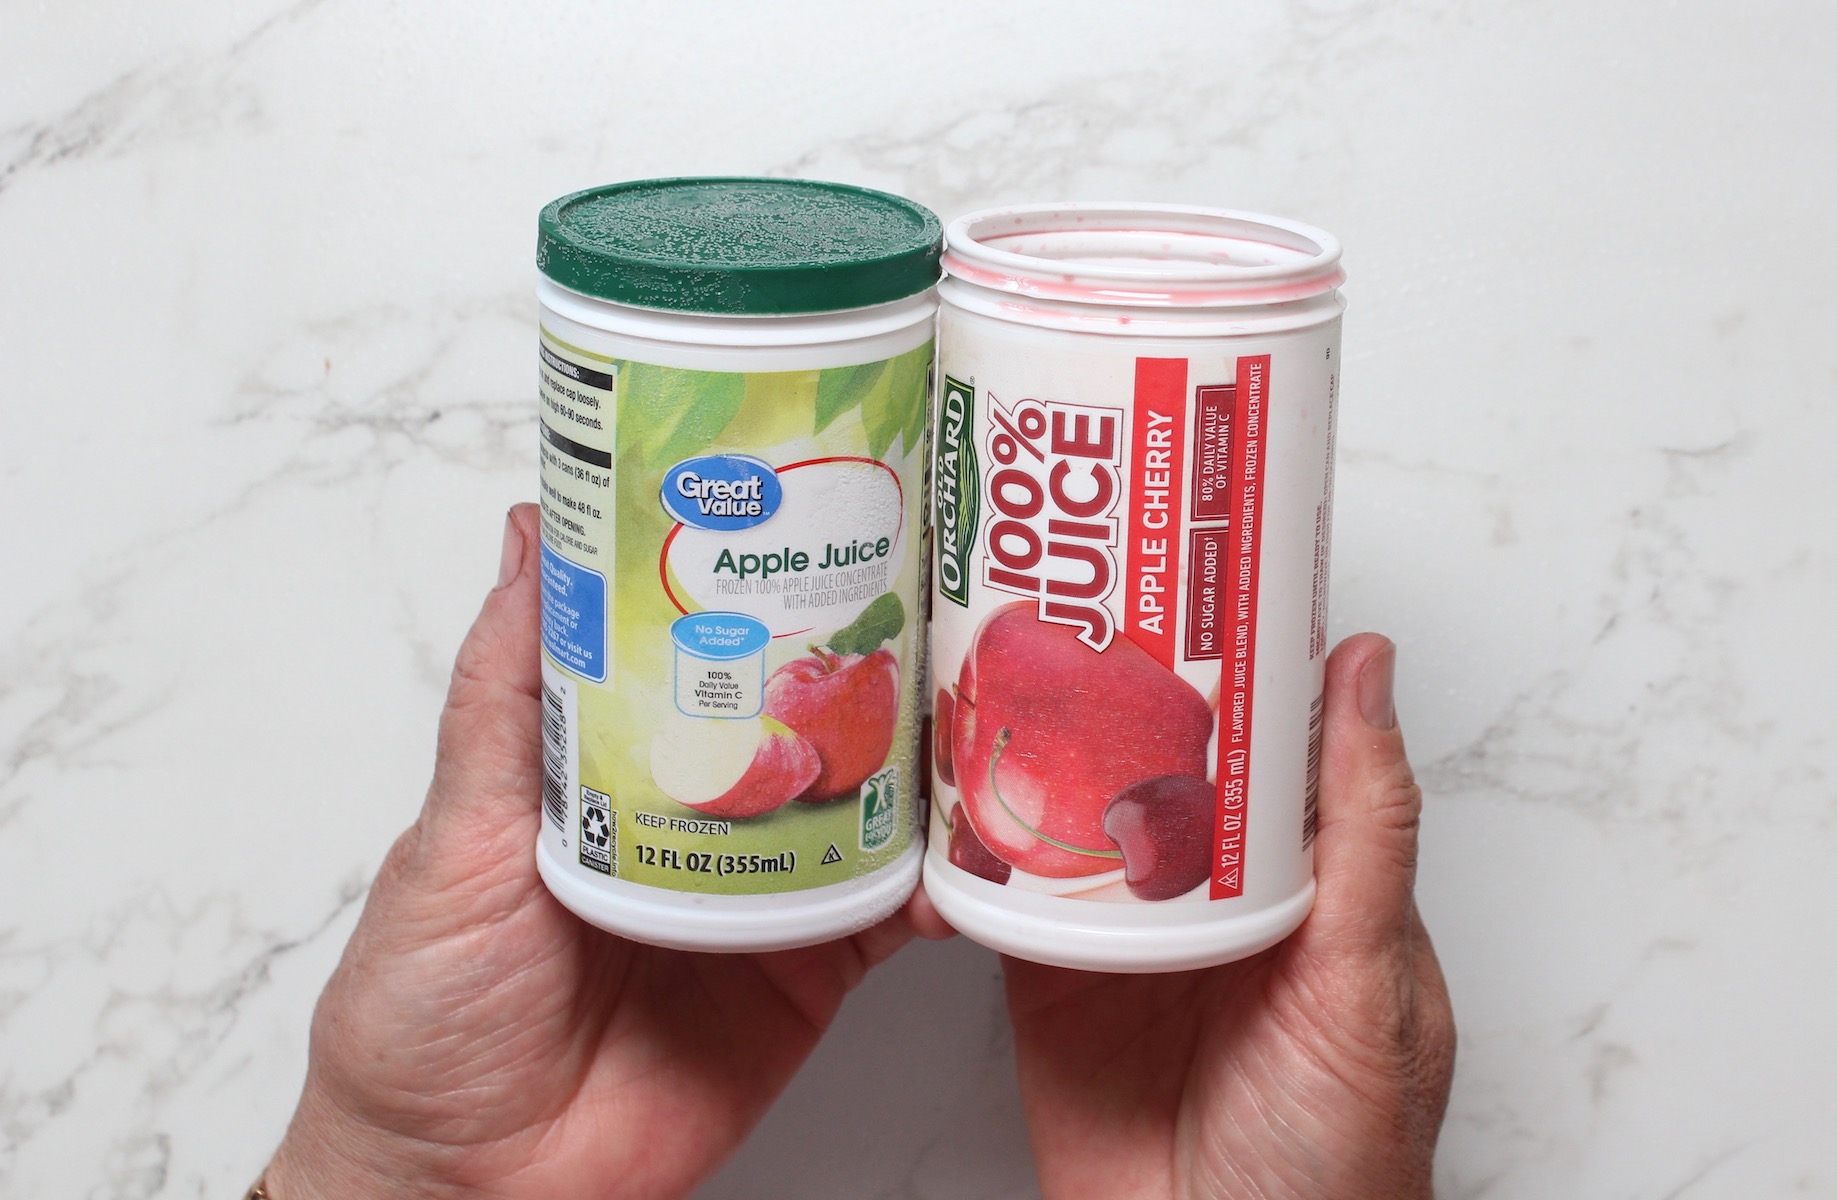
Using juice concentrate to replace sugar won’t really give you a low calorie pie, but I think it’s still worth using as a sweetener. According to this article from FruitSmart.com, The Power of Juice Concentrates :
"Compared to whole fruit, concentrates can contain more carbs and natural sugars, but when used as a sweetener in other products, fruit concentrate still carries fewer downsides than other forms of added sugar."
Simple Ingredients = Best Cherry Pie Filling
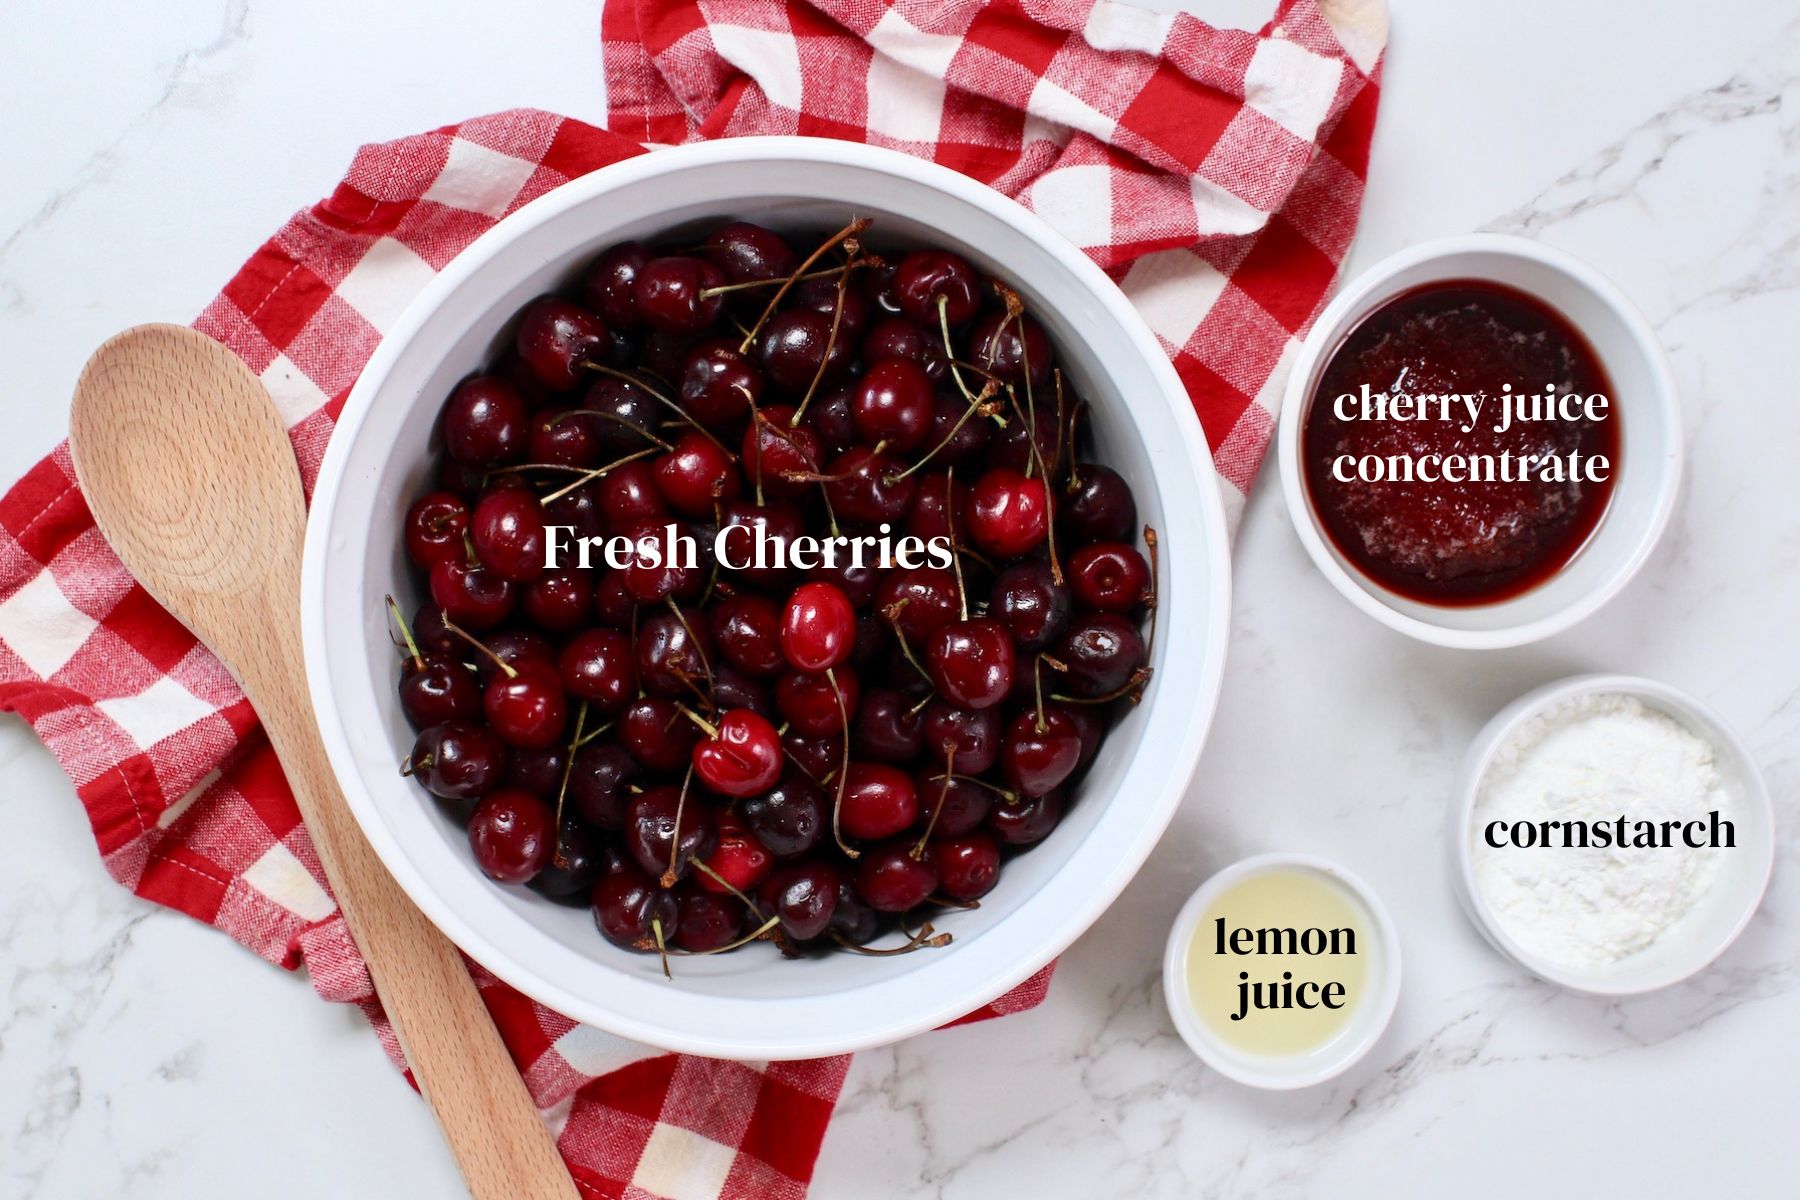
You only need 4 things to make the best cherry pie filling:
- Cherries (read on about fresh cherries)
- Frozen juice concentrate, cherry or apple
- Lemon juice, from a bottle or fresh squeezed - either are fine
- Cornstarch - if you’re allergic to corn, try tapioca starch
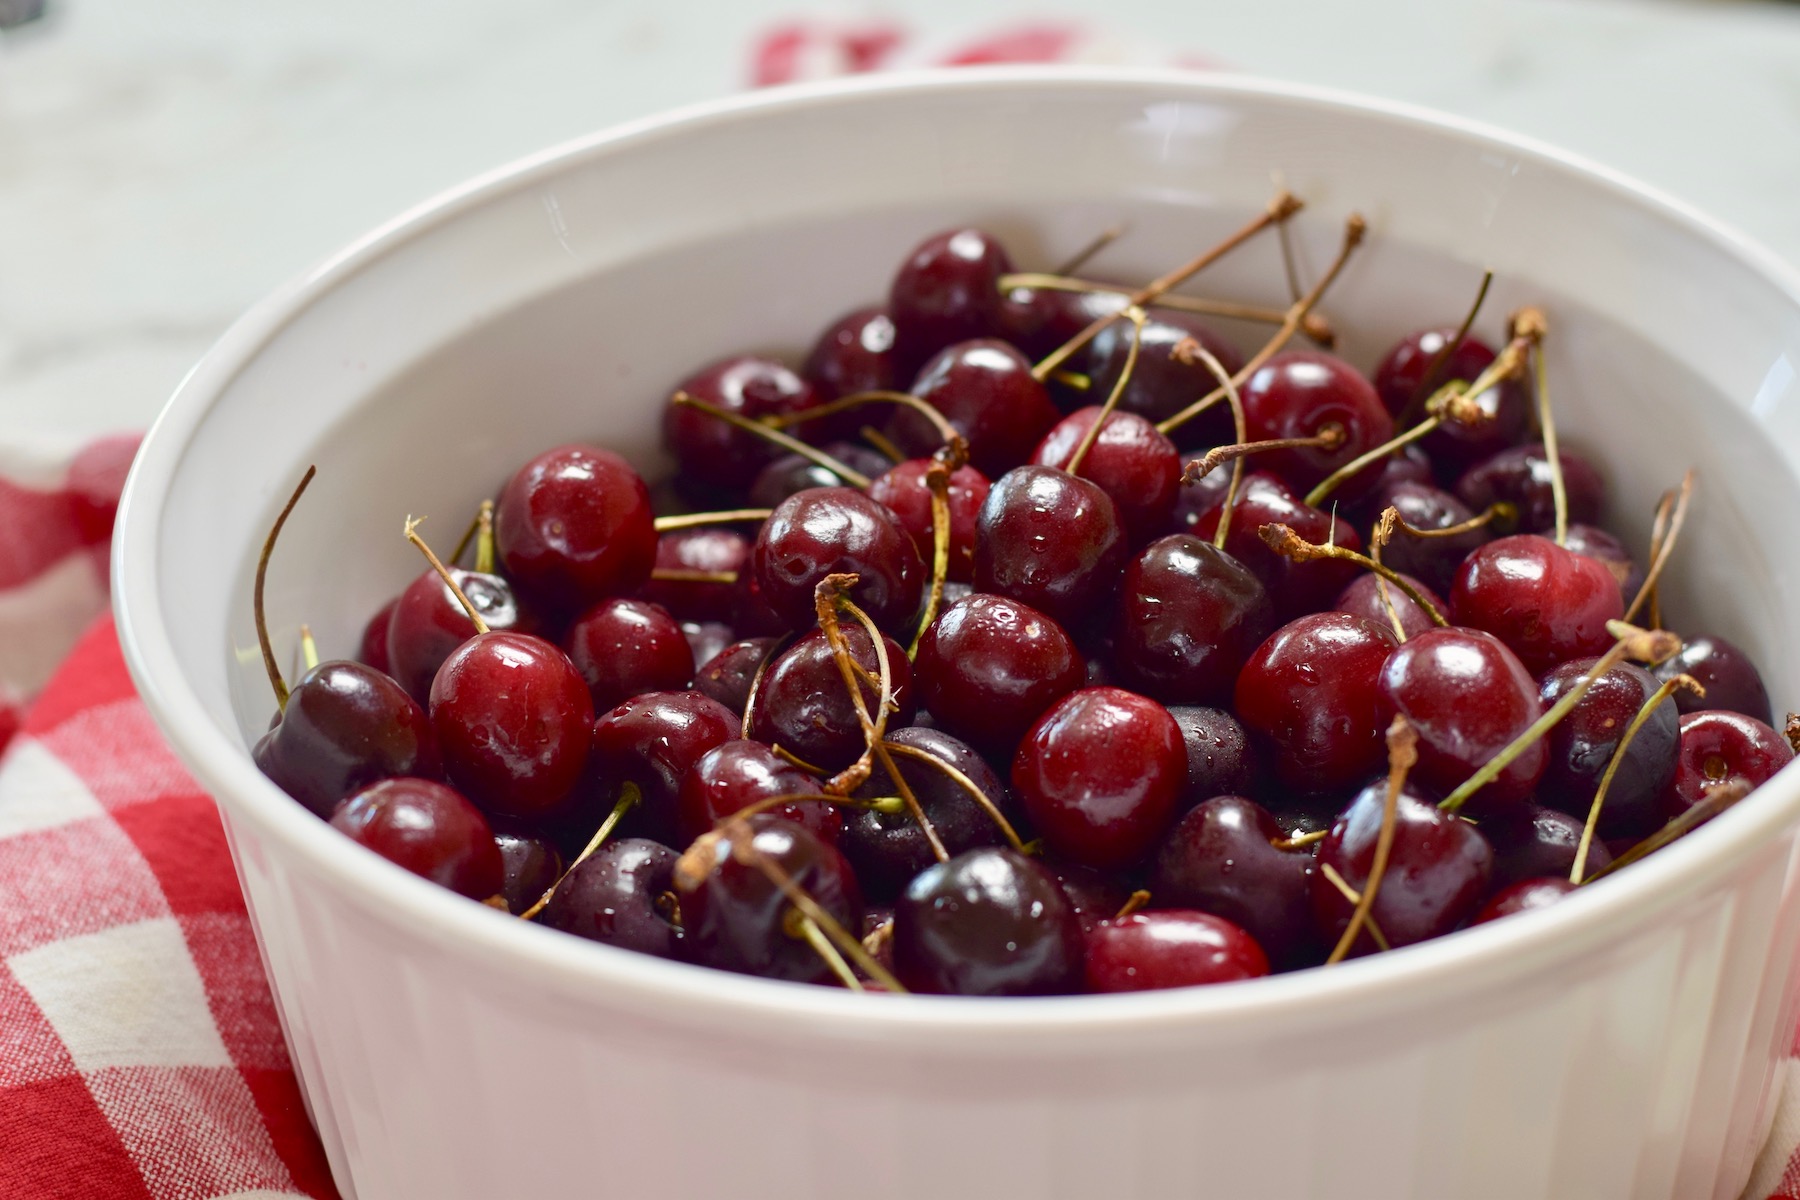
What Type of Cherry Should You Use?
Fresh Cherries 🍒
I created this recipe using fresh, sweet dark cherries. It should work well for any sweet cherry, like Rainier or Bing cherries.
I don’t know if this would work if you use sour cherries or tart cherries - you’d probably need to adjust the amount of juice concentrate to get the taste right for a tart cherry pie.
Frozen Cherries 🍒
We love to eat cherry pie with our Thanksgiving dinner, so using frozen cherries in a fruit pie is the best way to go during the cold months of the year. Since the filling is cooked on the stovetop, frozen cherries will work just fine. You’ll just have to cook it a little longer to take the chill off and drive off any excess water.
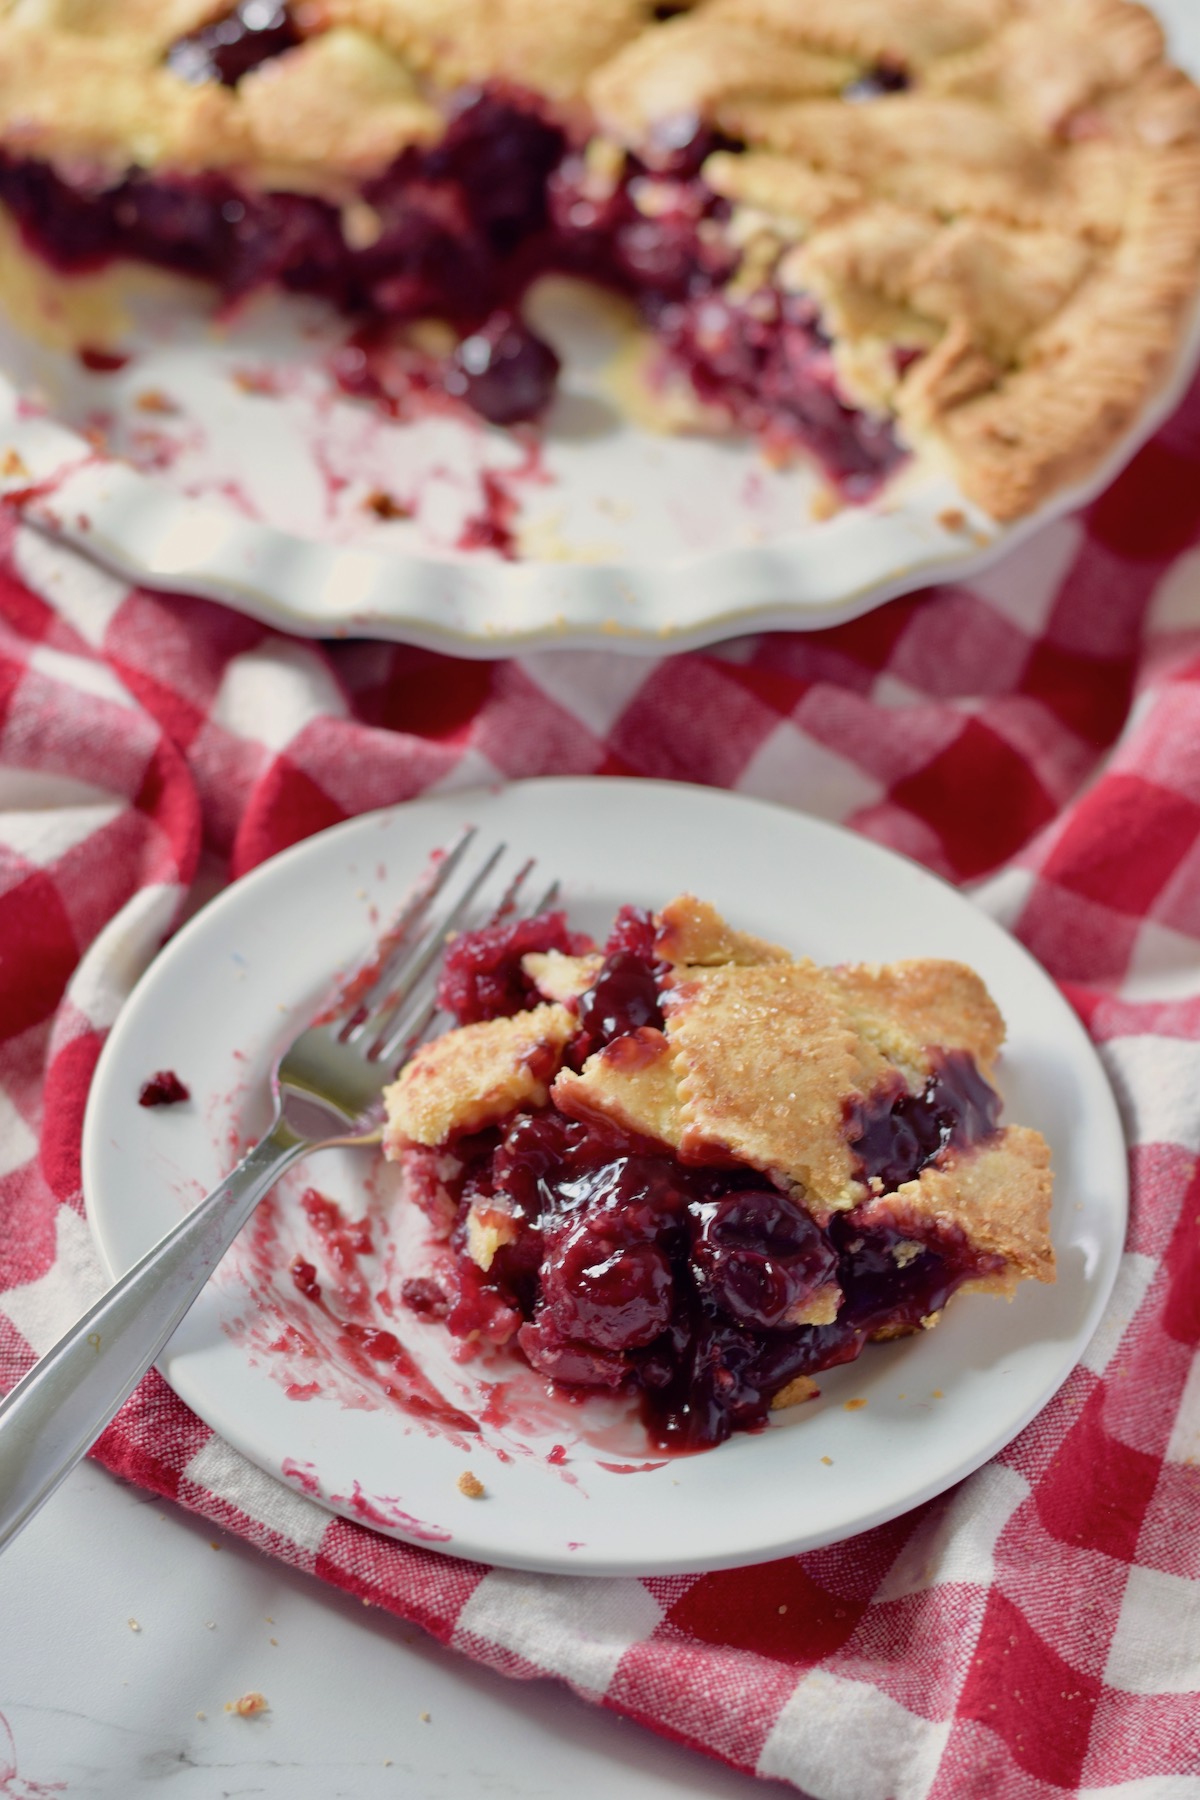
Tools You’ll Need to Make the Cherry Filling
If you’ve been lucky enough to go cherry picking and you now have a big bag of fresh cherries, the main tool you’ll need is a cherry pitter.
I’ve had a single cherry pitter for years which I admit is time consuming, but still fun. Let me show you the simple little trick I use to get perfect results:
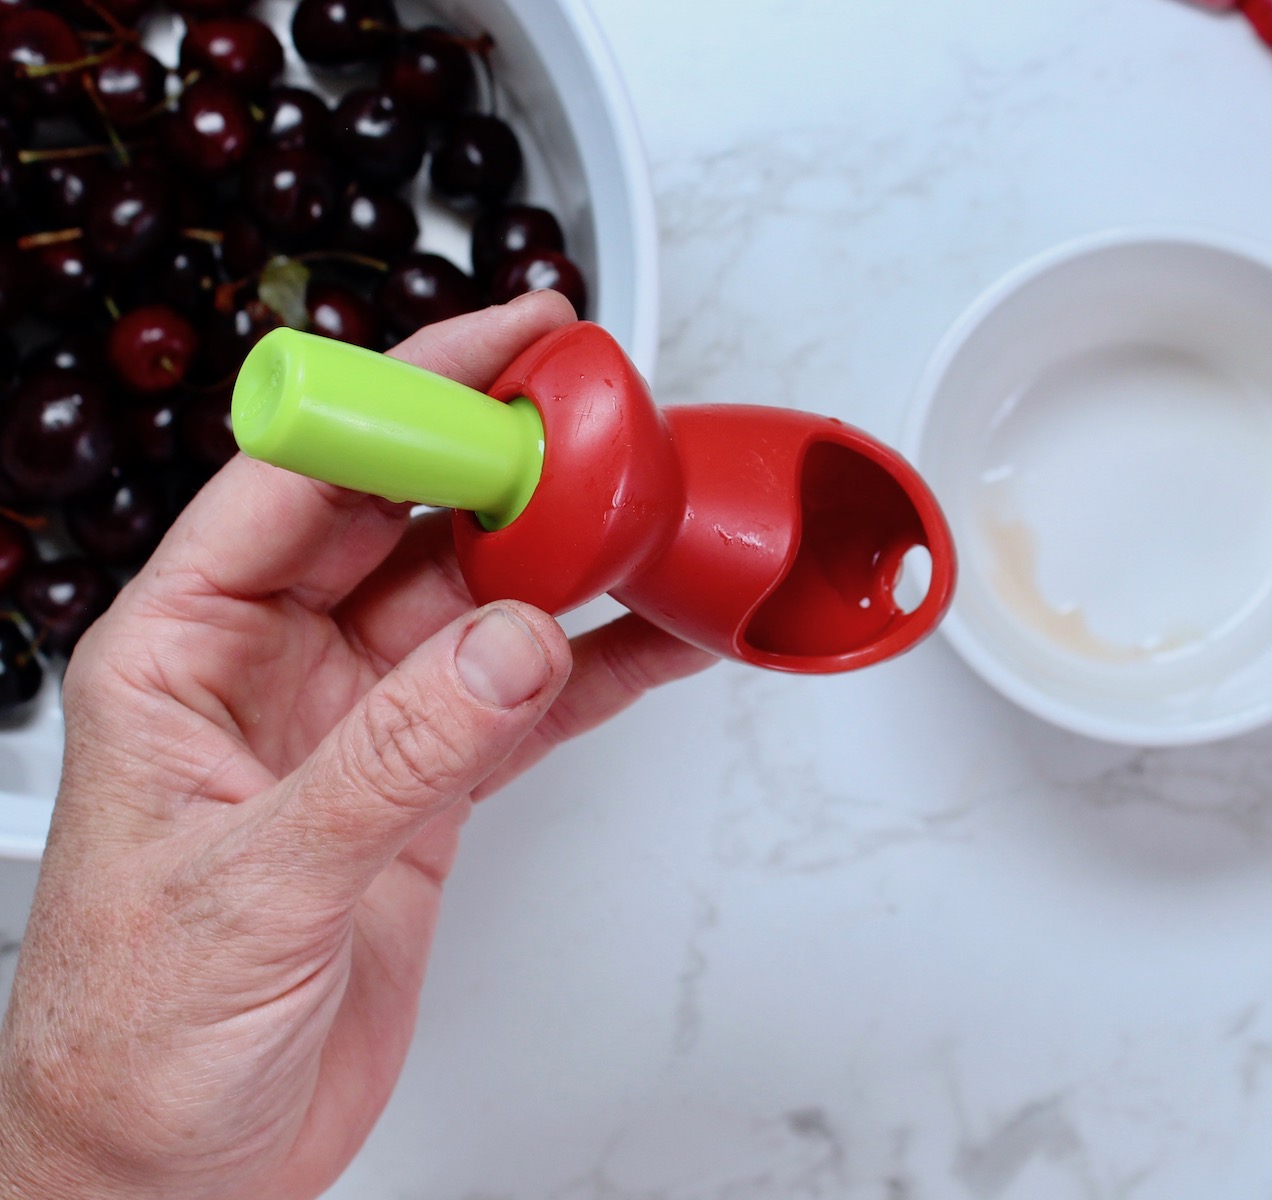
1.This is my single cherry pitter. Note the hole at the bottom.
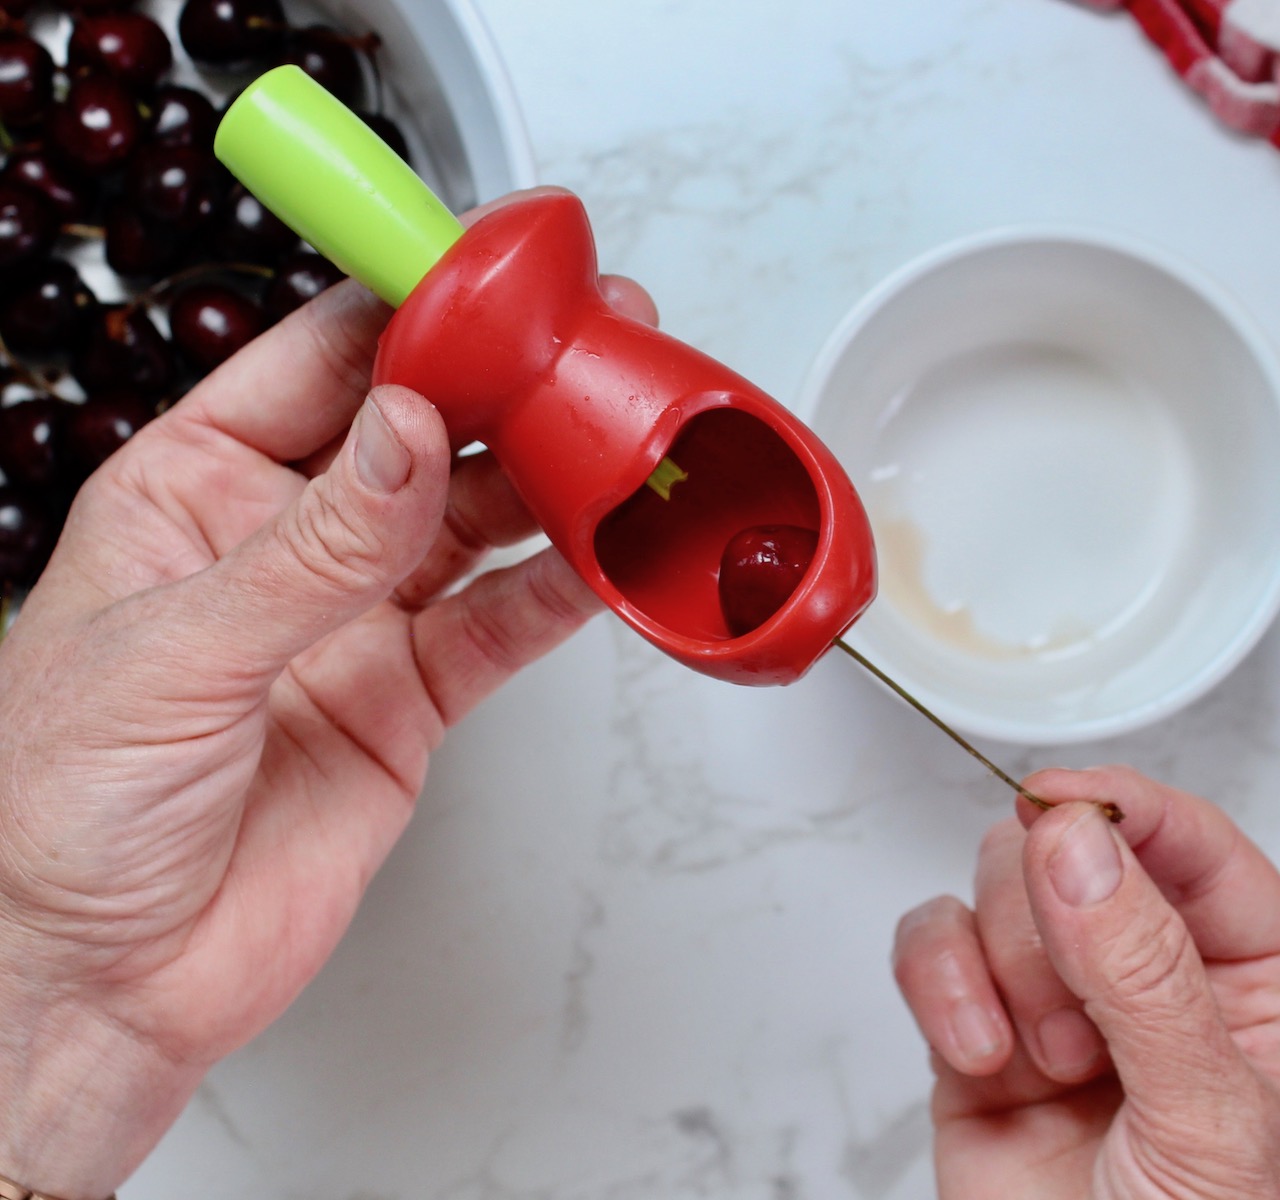
2.Put the cherry in the pitter, threading the stem through the hole.
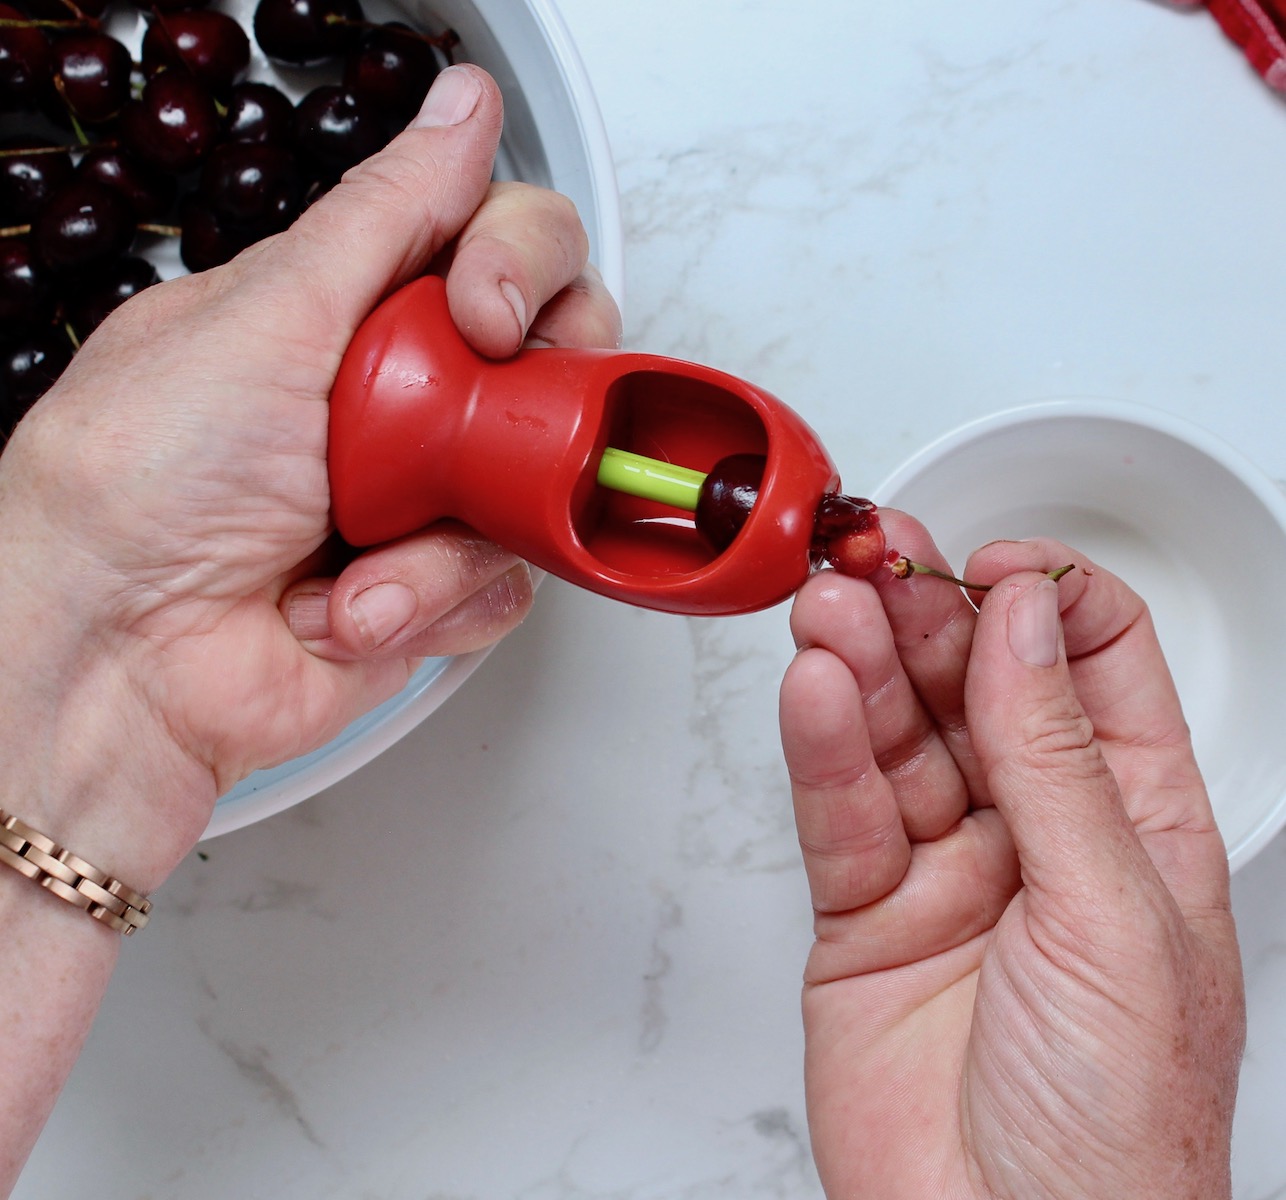
3.Hold on to the stem, and press the plunger down with your other hand.
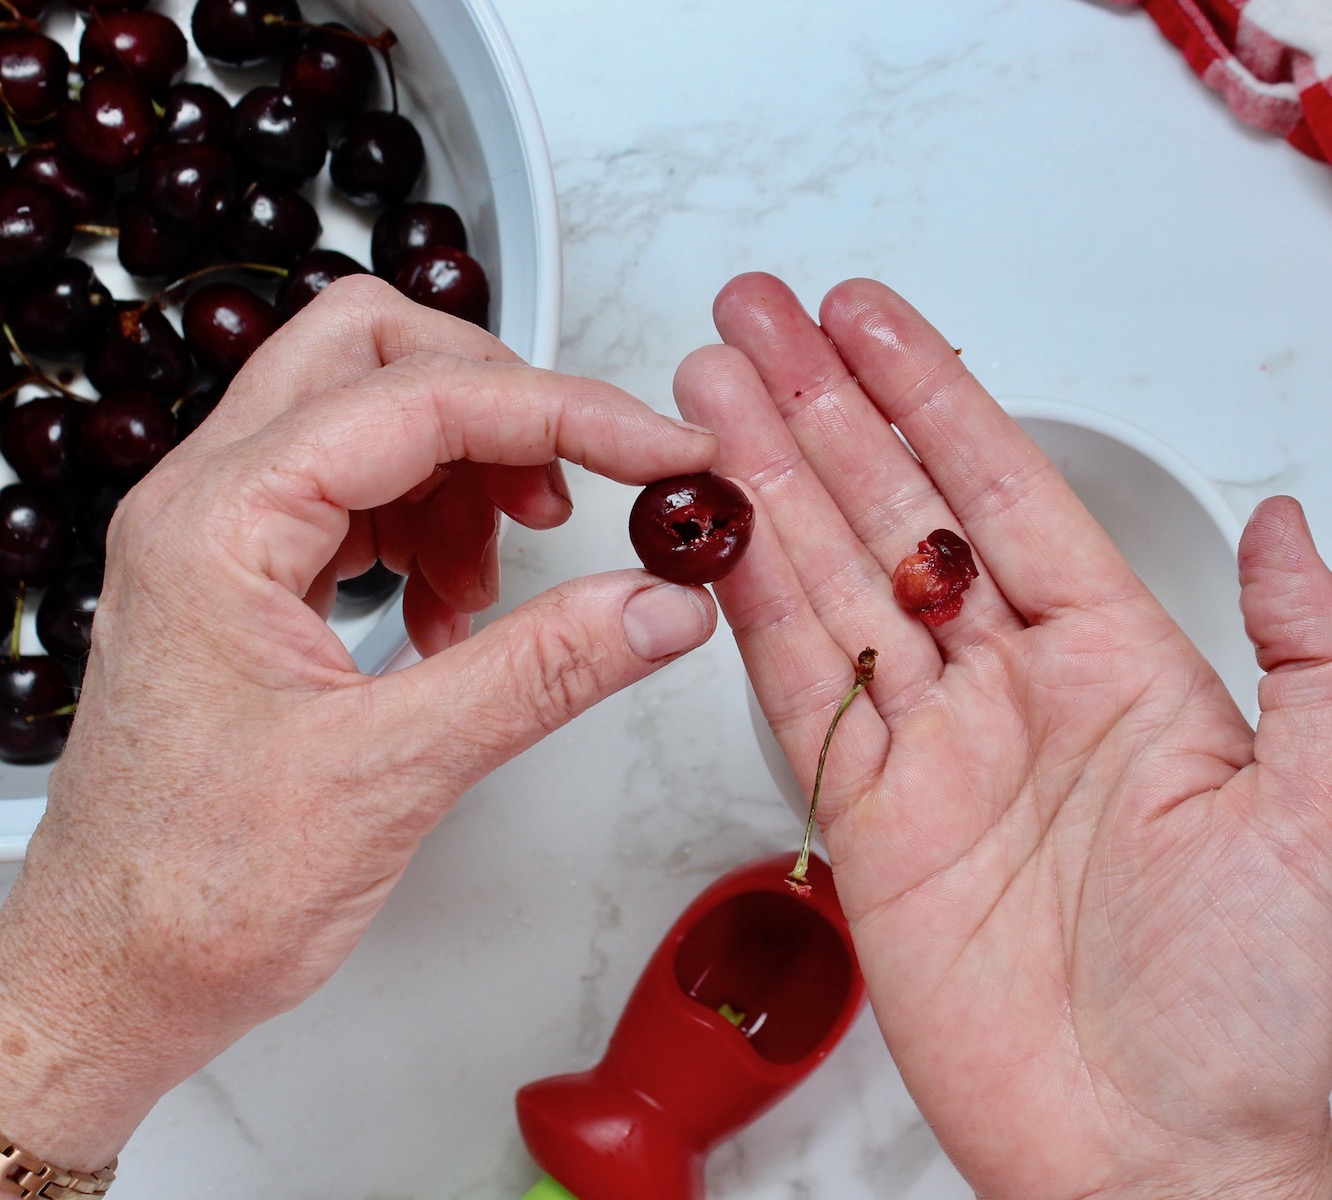
4.The pit will pop right out, leaving you with a lovely cherry ready for the pie filling.
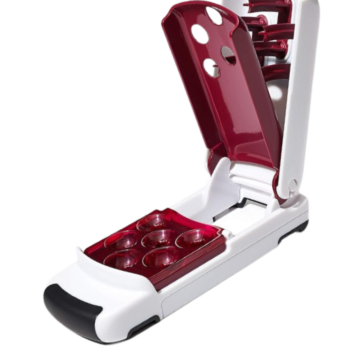
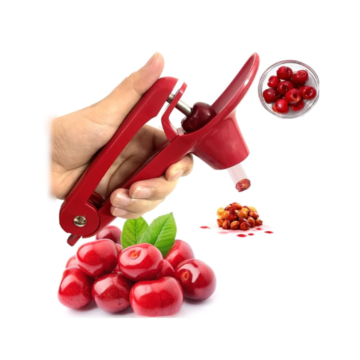
After I finished the recipe and photos for this blog post, I learned about this multi cherry pitter, which has great reviews on Amazon. The next time I make fresh cherry pie, this is what I’ll use - it should save so much time!
Cherry Pitters
 Buy Now →
  Buy Now →
 Tools You’ll Need to Make Gluten-free Pie Dough
I’ve got an amazing gluten free recipe for a delicious buttery crust along with complete, step-by-step instructions for how to make it by hand, or using a food processor. Go check out that blog post - it has EVERYTHING you need to know there.
But here’s a quick reference of tools you’ll need to make the pie crust by hand:
- Pie dish
- Large mixing bowl
- Whisk
- Box grater
- Rolling pin
- Parchment paper, plastic wrap, or waxed paper
If you have a food processor, you’ll need just 4 things:
- Pie pan
- Food processor
- Rolling pin
- Parchment paper, plastic wrap, or waxed paper
Gluten-Free Cherry Pie Recipe, step by step
Once you’ve made a large disk of pie dough, whether that’s my homemade gluten free pie crust recipe, or traditional pie dough of your choosing, you’re ready to make this cherry pie.

Step 1. Pit the cherries if needed.
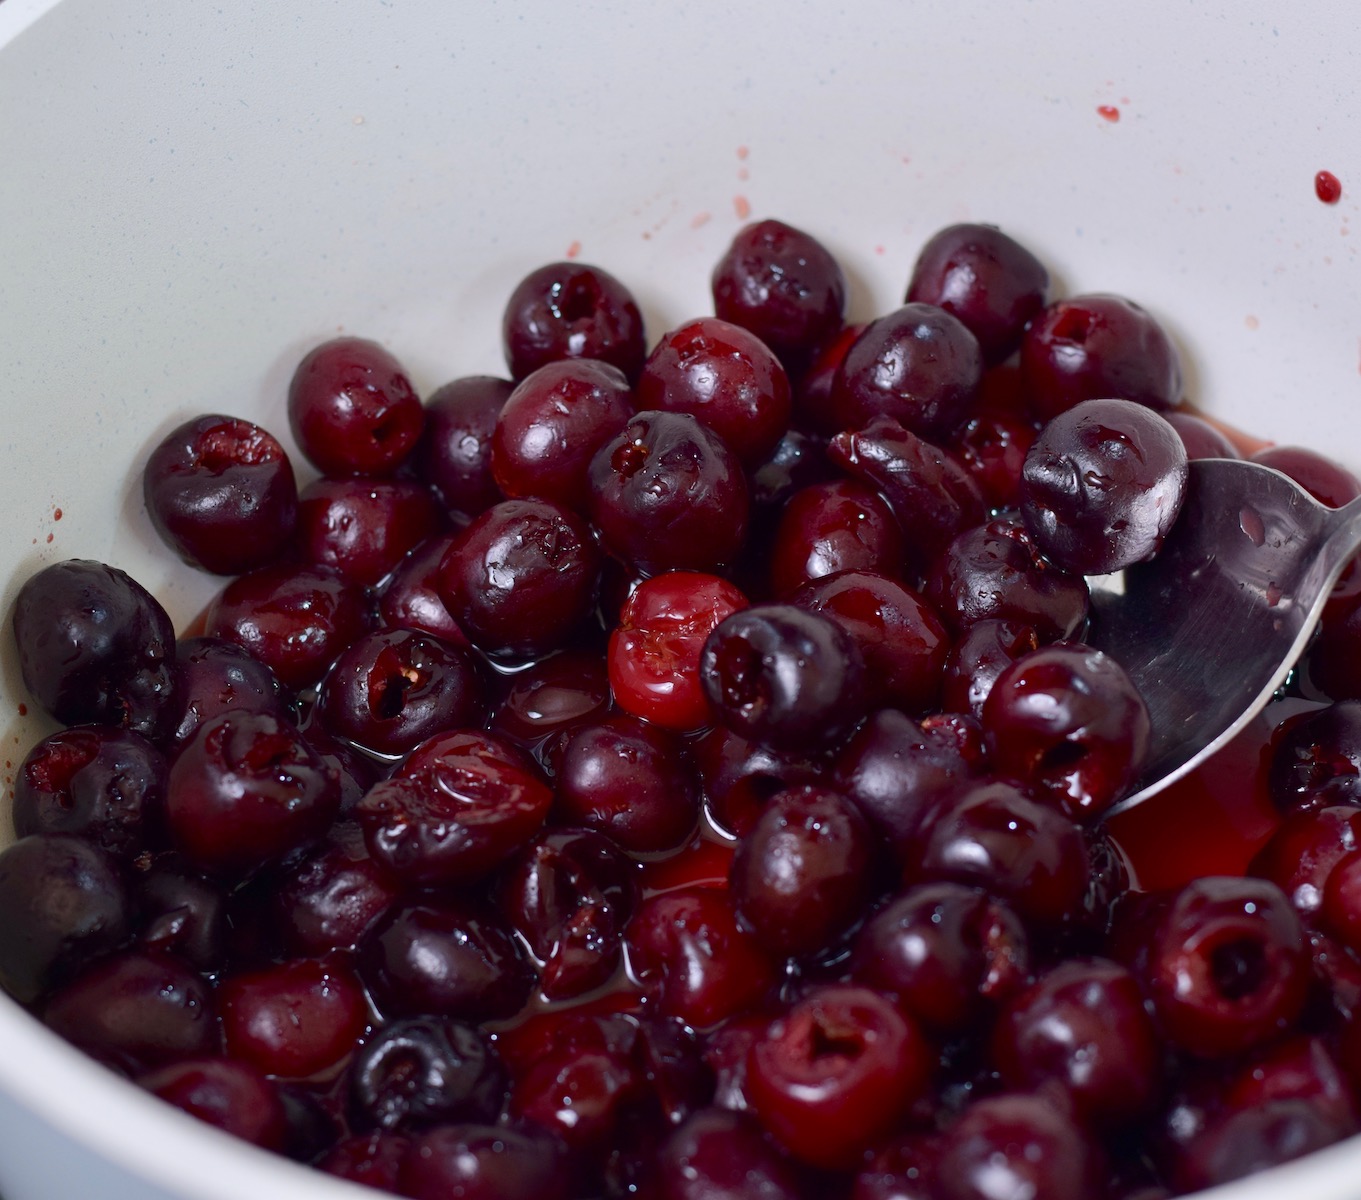
Step 2. Add cherries, lemon juice, and juice concentrate to a pan and heat on medium-low heat.
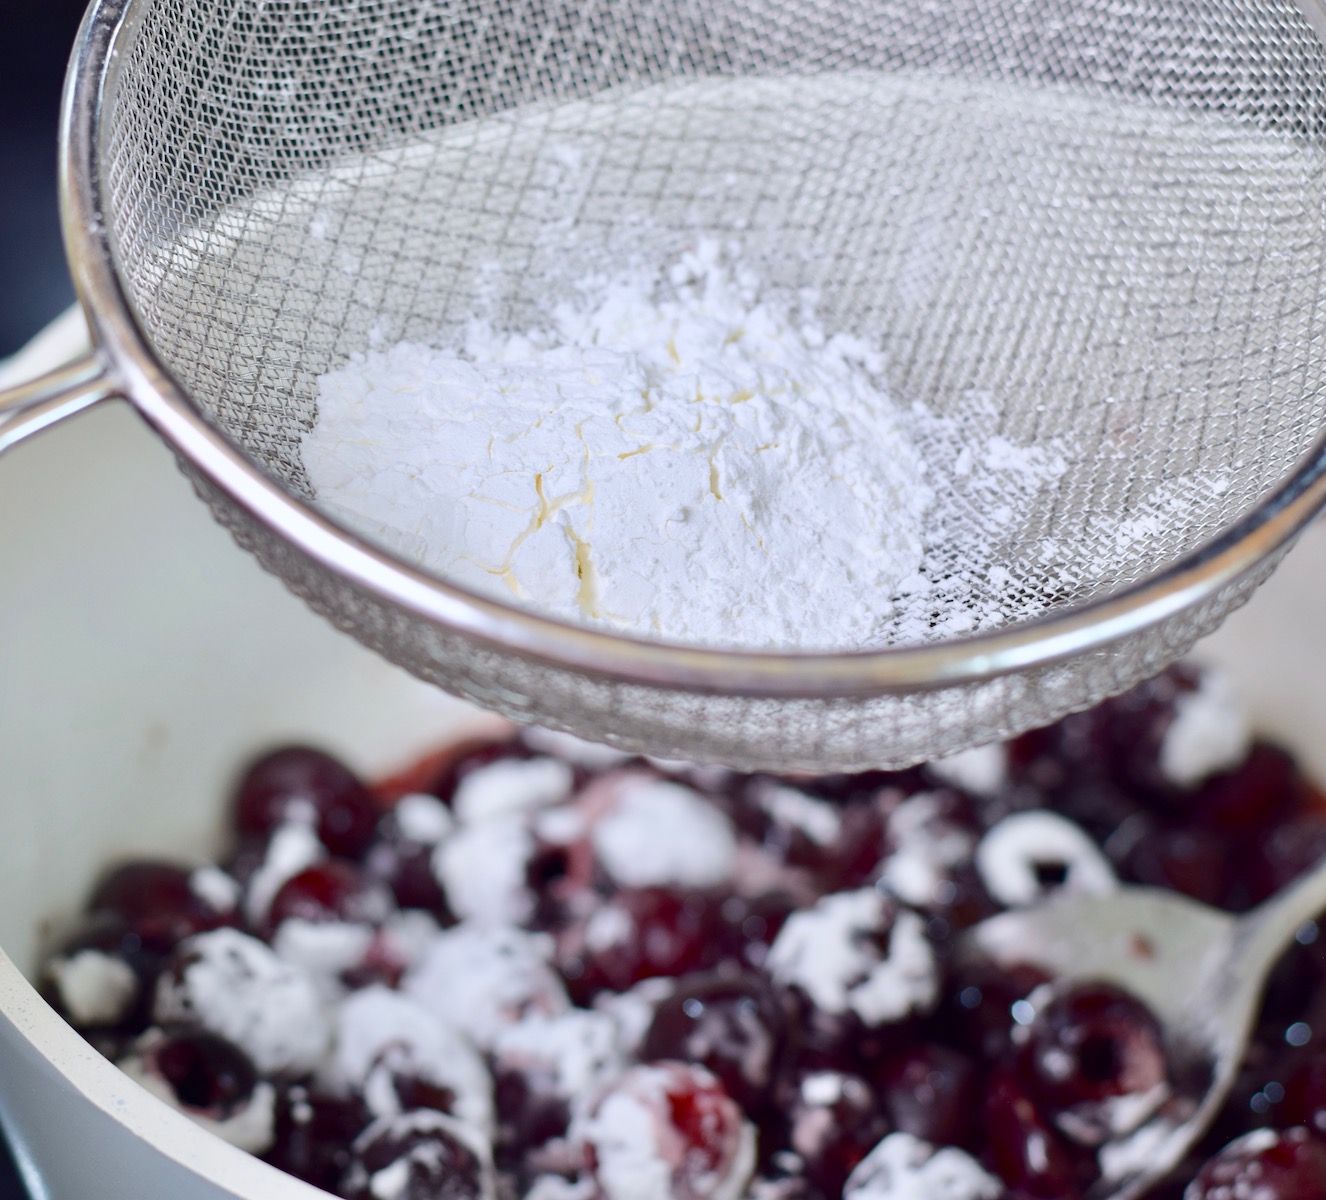
Step 3. Sprinkle cornstarch over the cherry mixture. Use a sieve for best results.
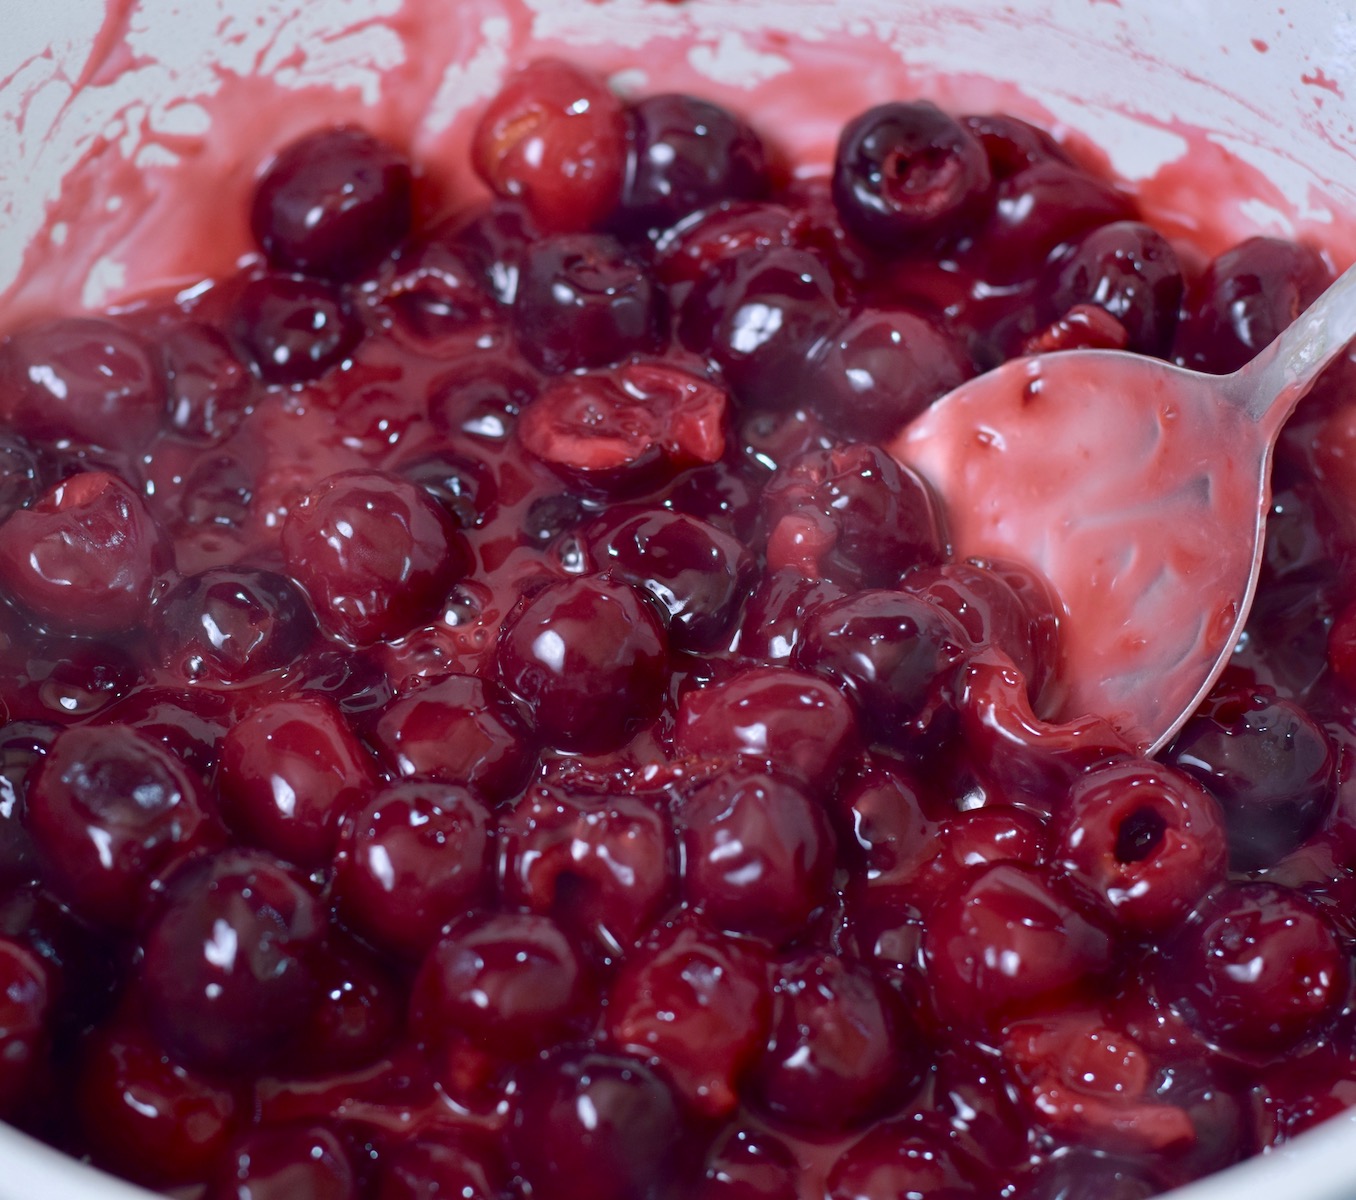
Step 4. Cook and stir until the filling begins to gel. Remove from heat and allow it to cool.
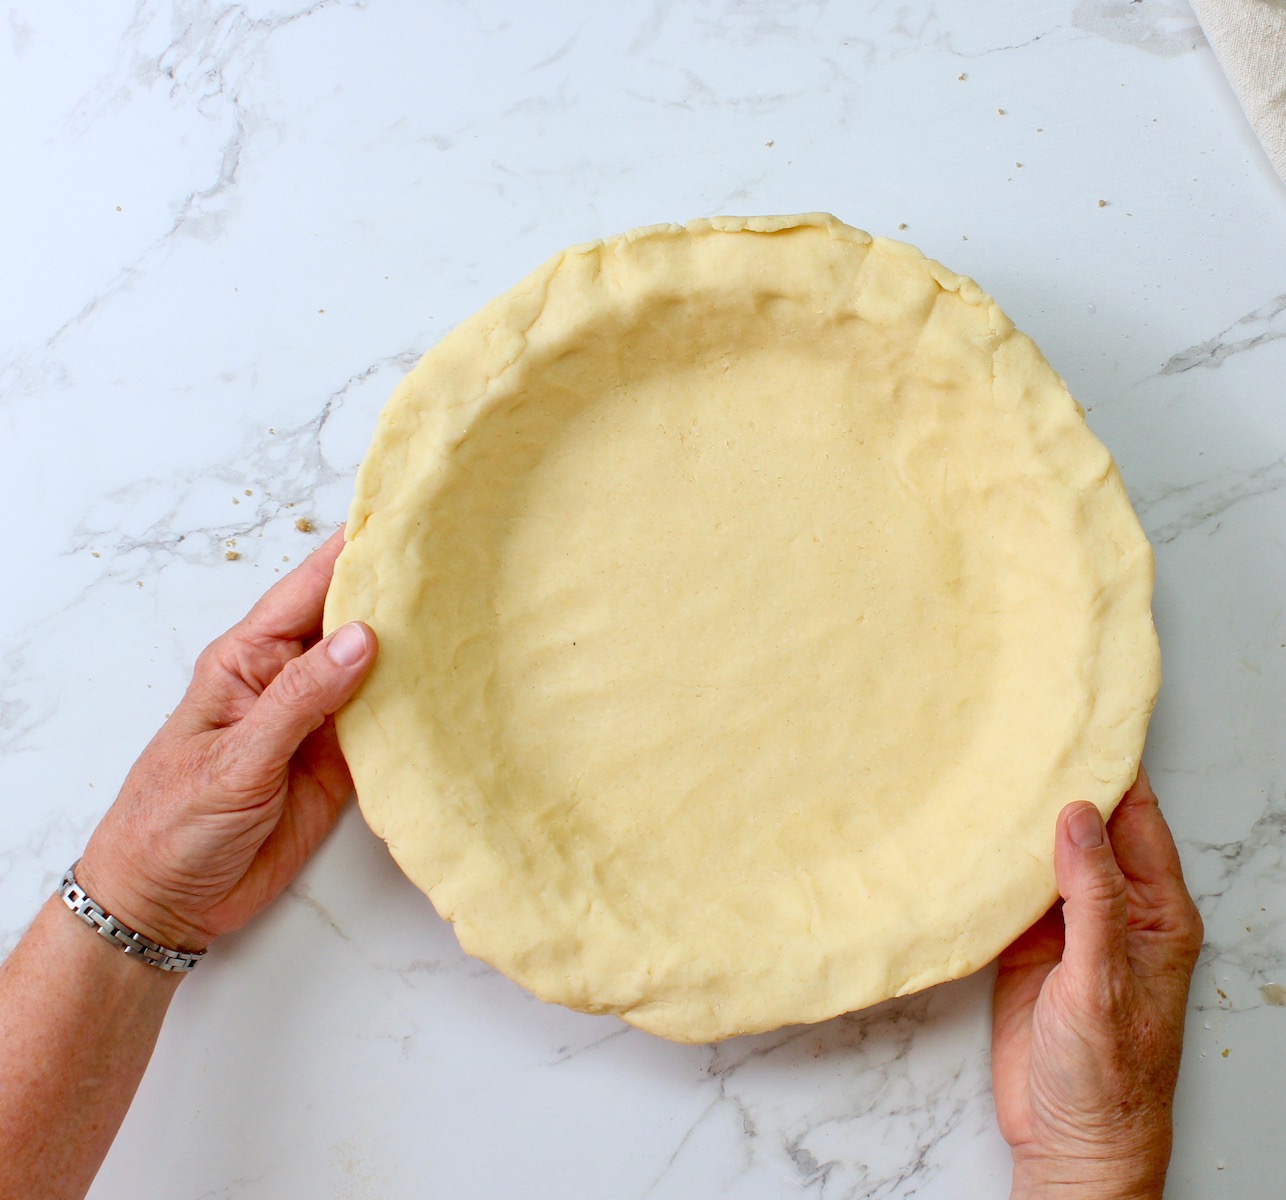
Step 5. Roll out the bottom crust and add to the pie plate.
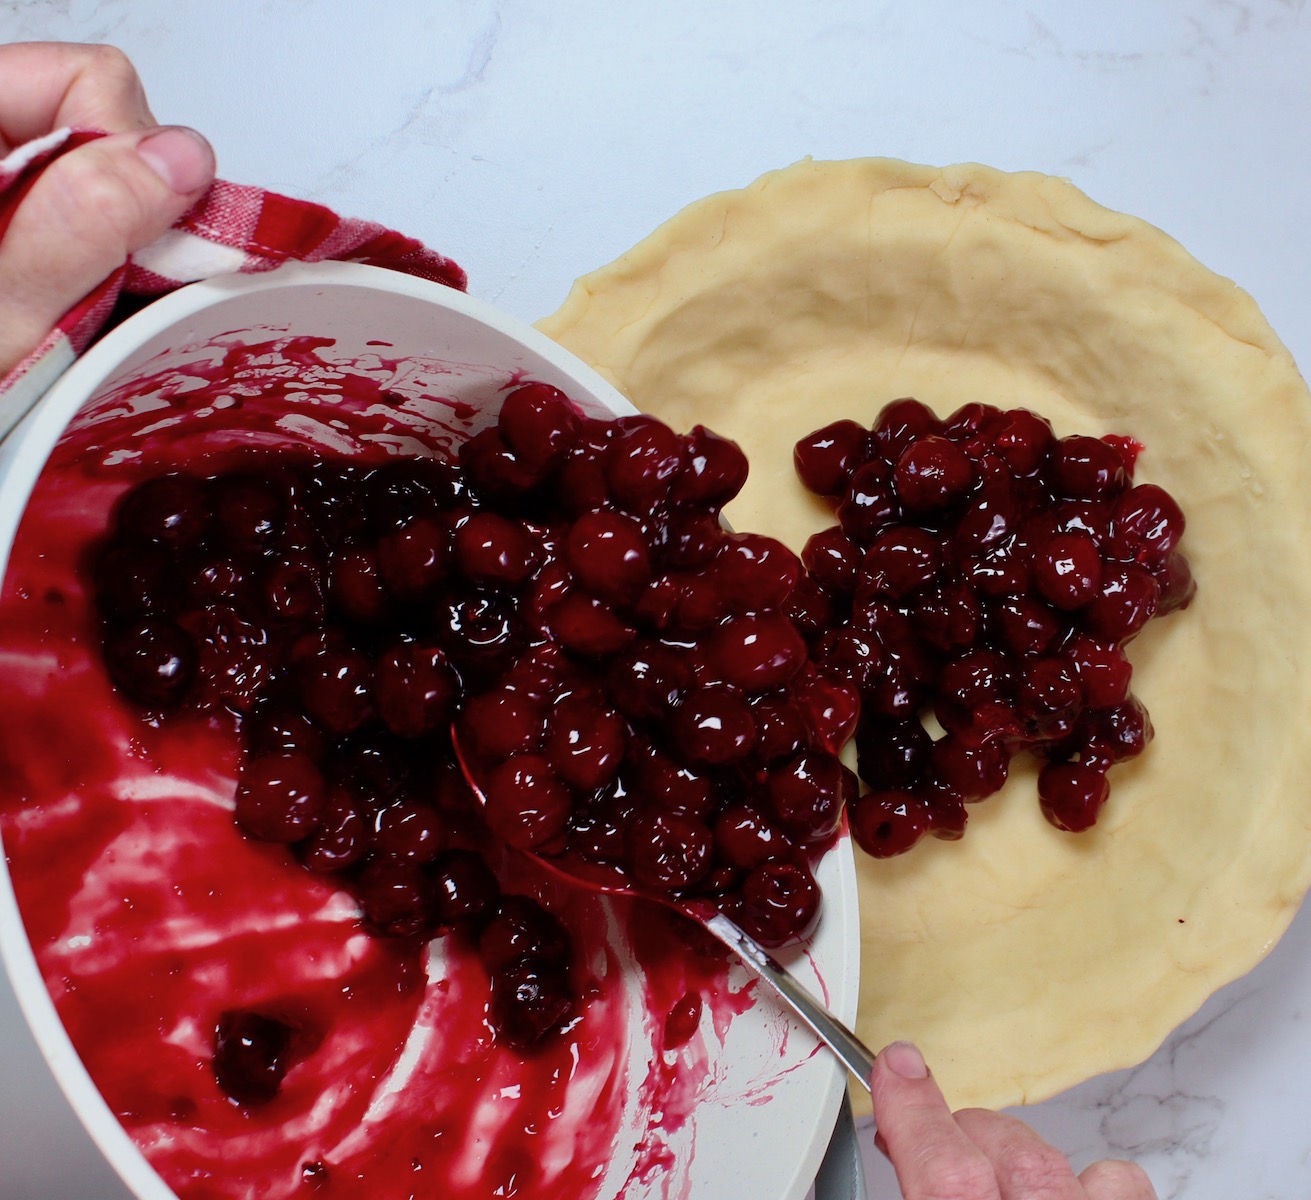
Step 6. Add the cooled filling to the prepared pie pan and put it in the fridge while you roll out the top crust.
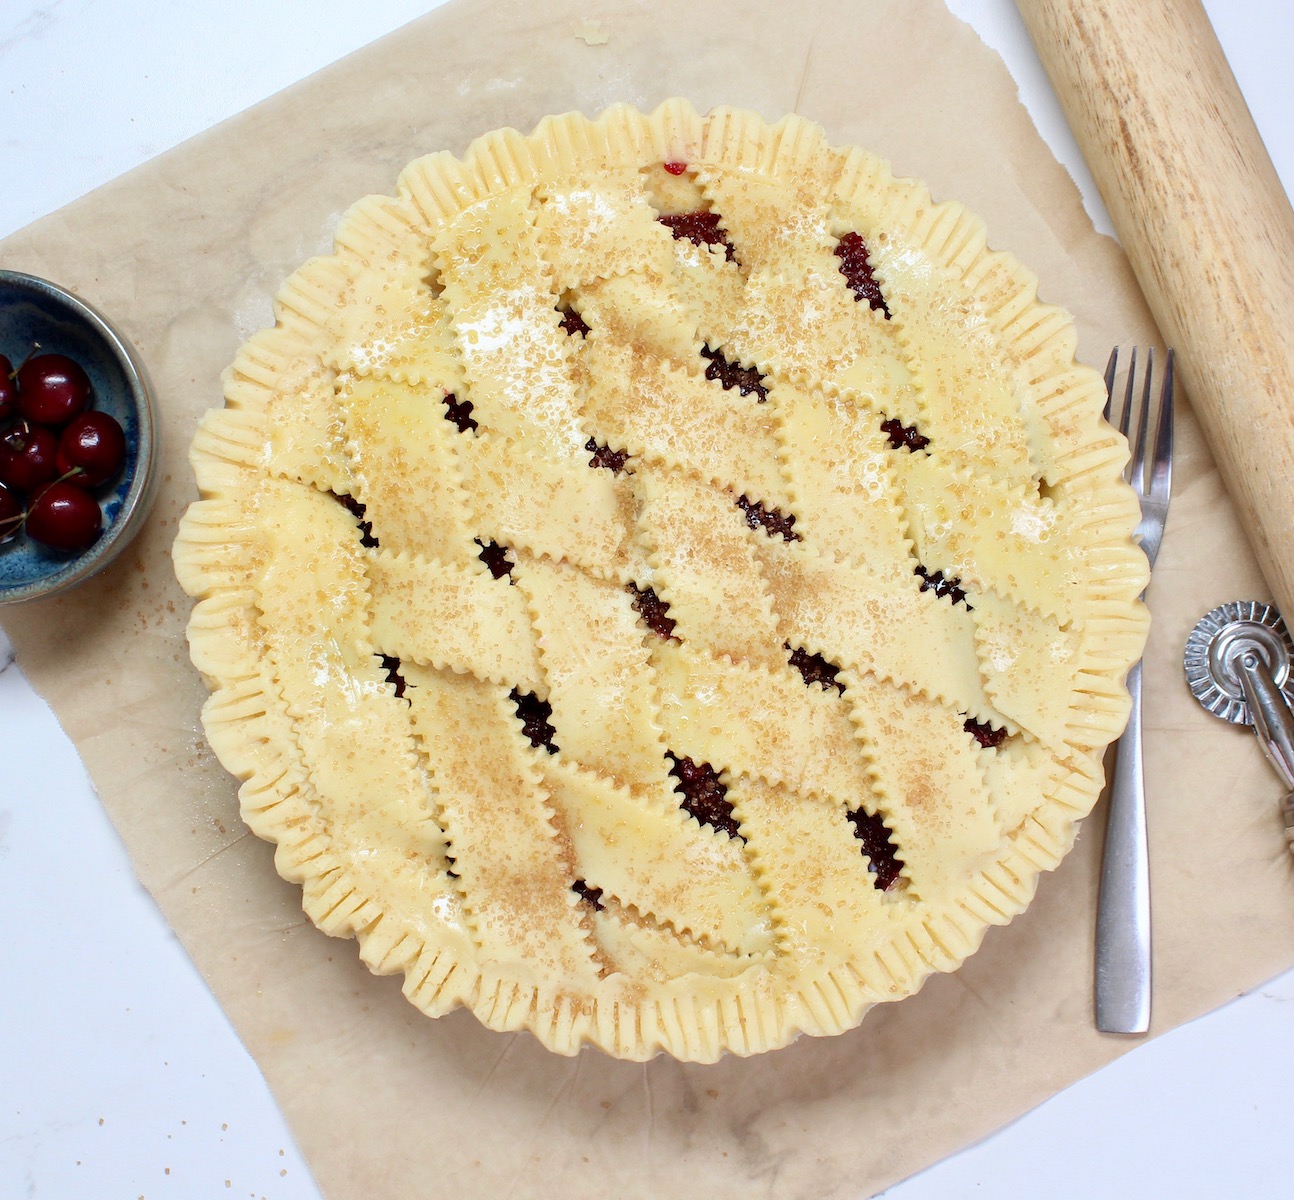
Step 7. Add the top crust and crimp the edges as desired. Sprinkle with some coarse sugar if you like (I like).
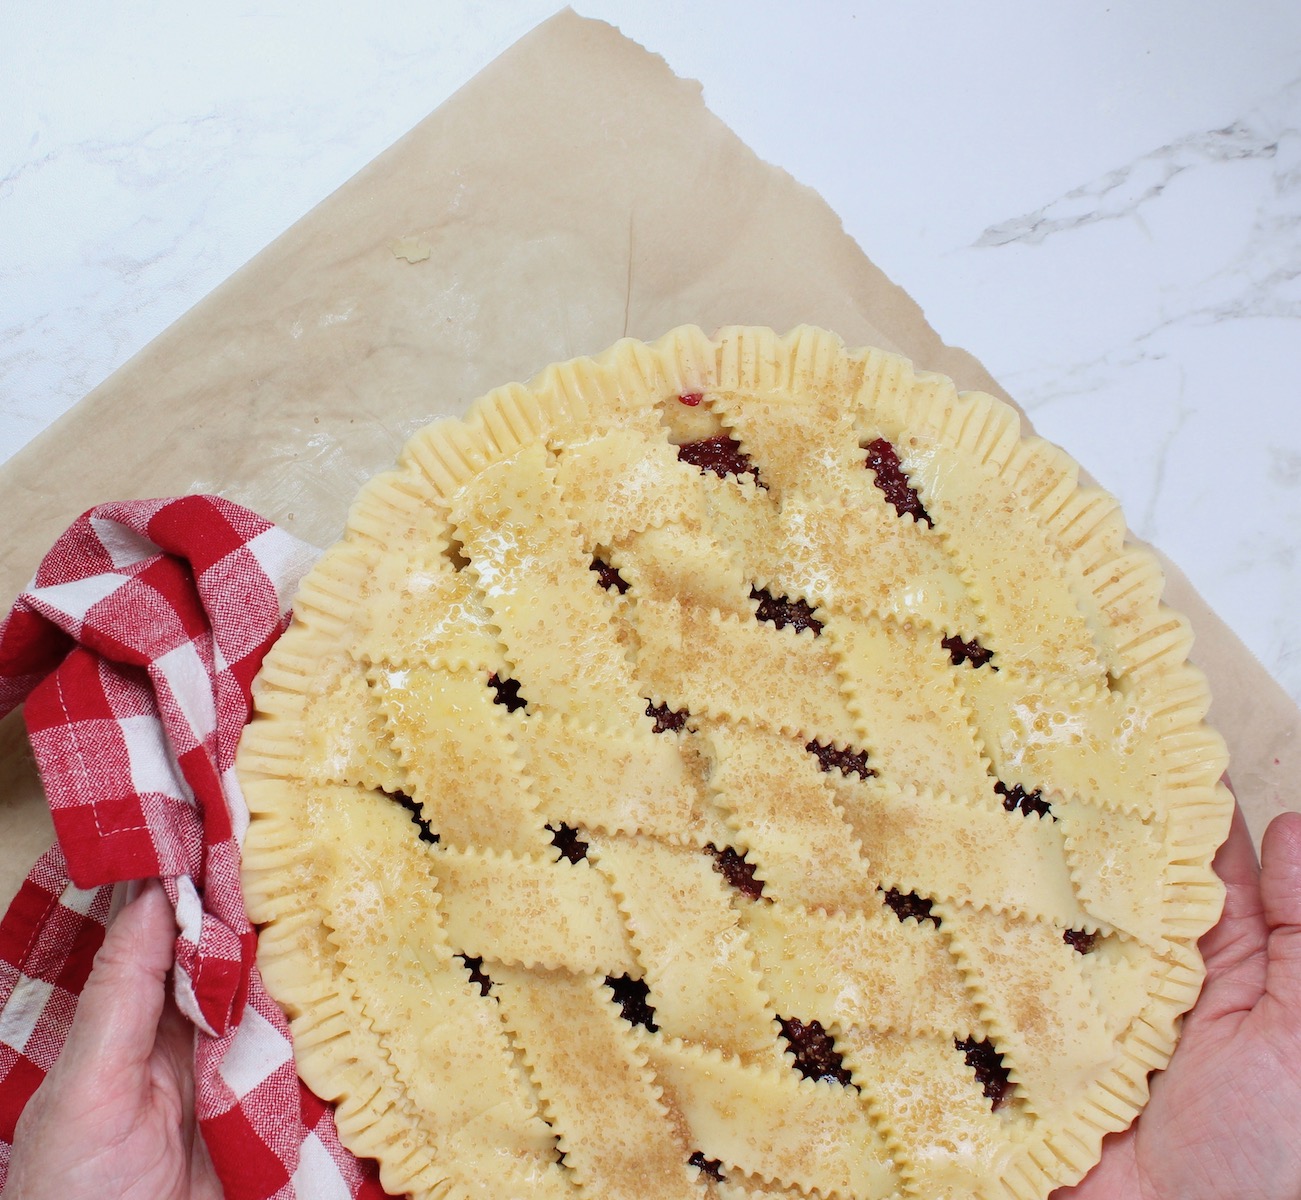
Step 8. Chill pie again while you preheat oven to 350℉. Bake for 50 minutes. Near end, brush with butter to help the crust brown.
Gluten-Free Crust or Regular Crust?
If you’re just here for the delicious, naturally sweetened cherry pie filling, it works with any kind of dough- gluten free, or regular pie dough made with wheat.
But let me gush a little bit about one of my most-requested recipes on my website 😊
After nearly 20 years of making gluten free pies, I’ve finally created a recipe that (in my humble opinion) is perfect. It is:
- Easy to roll
- East to shape - even with intricately detailed decorative cutters
- The cut outs and lattice hold their shape when baked - they don’t puff up too much or spread out
- It freezes well, whether it’s an unshaped crust, or a complete pie
- The crust can be made well in advance
You can find the recipe, along with extra tips and help for beginning gluten free pie bakers right here: The Best Gluten Free Pie Crust Recipe (Flaky and Easy)
Print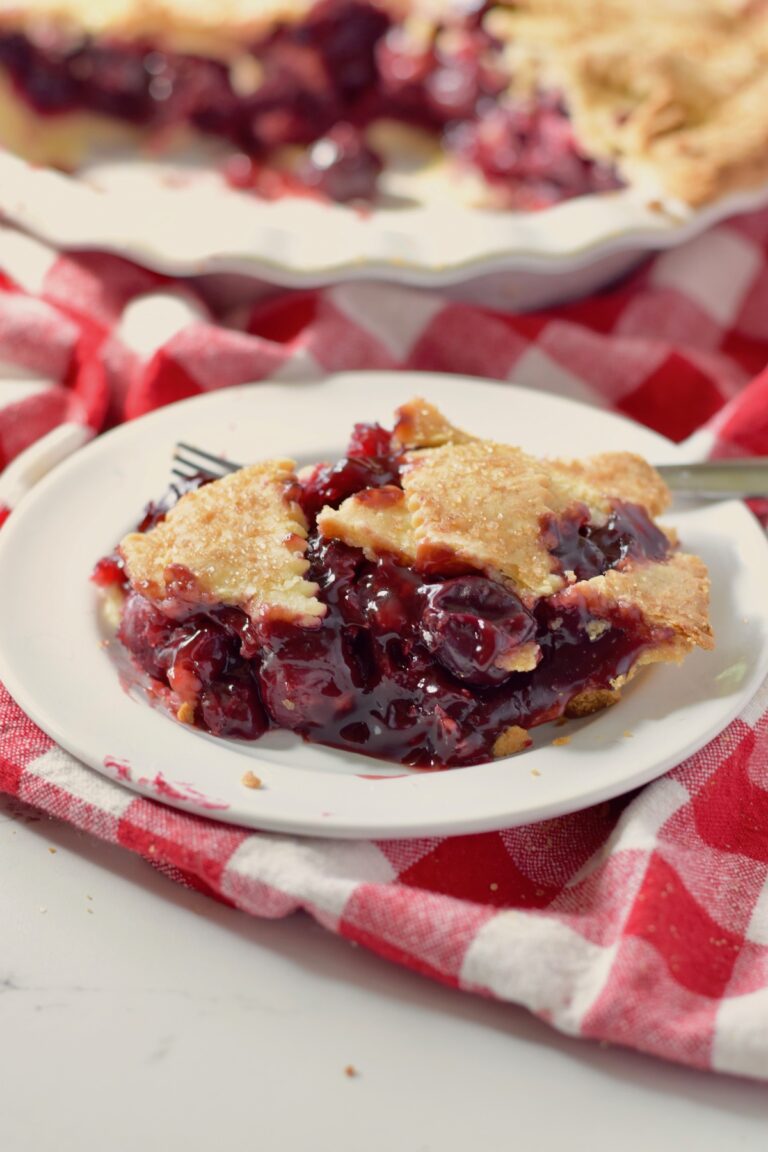
Best Gluten Free Cherry Pie Recipe (Naturally Sweet)
Buttery, flaky gluten free pie crust bursting with sweet juicy cherries! No sugar in this filling, its bright red color and sweet summer flavor comes from juice.
- Total Time: 1 hour 50 minutes
- Yield: 1 pie, 9 inch diameter 1x
Ingredients
- 5 cups sweet cherries, pitted
- 2 tablespoons lemon juice
- ¾ cup apple or cherry juice concentrate (frozen type)
- 4 tablespoons cornstarch
- Gluten free pie crust dough, enough for a double crust
- 2-3 tablespoons melted butter or cream, for brushing the crust
- Coarse sugar (optional) to sprinkle on top
Instructions
- Add cherries, lemon juice, and juice concentrate to a pan on the stove. Heat on medium-low heat.
- Sprinkle cornstarch over the cherry mixture to avoid clumping. This is easily done using a sieve.
- Cook and stir until the filling begins to thicken. Stir constantly as it cooks so it won’t burn. It will congeal suddenly so it must be watched closely. If the filling becomes too thick, add a spoonful of water and stir vigorously over low heat until the filling becomes smooth and glossy. Remove from heat and allow to cool completely.
- Roll out the pie dough following the recipe instructions and put in the pie pan as desired.
- Top the bottom crust with the cooled cherry filling. Chill as you prepare the top crust. Keeping pie dough as cold as possible will give the best results, especially for gluten free pies.
- Add the crust to the top of the pie as desired.
- Chill pie again while you preheat the oven to 350℉.
- Bake at 350℉ for 50 minutes. About 10 minutes near the end of cooking time, brush with melted butter or cream. This will help the gluten-free pie crust to brown better. An egg wash is also a good option. Sprinkle with coarse sugar (optional).
Notes
Please note, the nutrition information is only for the cherry pie filling.
Fresh cherries can be used, but frozen cherries are perfectly fine too.
The coarse sugar sprinkled on top is totally optional, but since gluten free crust does not always brown evenly, it helps to give a better color to the finished pie
- Prep Time: 60 minutes
- Cook Time: 50 minutes
- Category: dessert
- Method: bake
- Diet: Gluten Free
Nutrition
- Serving Size: 1 slice
- Calories: 138
- Sugar: 25.1 g
- Sodium: 7.1 mg
- Fat: 0.3 g
- Carbohydrates: 34.4 g
- Fiber: 2.6 g
- Protein: 1.4 g
- Cholesterol: 0 mg
Questions About Gluten Free Cherry Pie
Most canned cherry pie fillings use a starch to thicken it, such as cornstarch or tapioca, which are both gluten free. But commercial cherry pie filling typically contains corn syrup, red food color, and other ingredients you may not want to include in your pie. Better to use a homemade pie filling recipe!
Yes you can use frozen cherries to make pie filling, as long as they have the pits removed. Since the pie filling is cooked on the stove top, they can be added to the recipe in their frozen state. The cooking time will have to be adjusted, and the color may not be as bright red as with fresh cherries, but should still taste the same. We love to eat cherry pie with our Thanksgiving dinner, so using frozen cherries in a fruit pie is the best way to go during the cold months of the year.
We tested 3 ingredients that are commonly used to thicken fruit pie filling, and you can read about the results here: How to Thicken Pie Filling (using gluten free ingredients). Spoilers, cornstarch was our favorite 🙂
Cornstarch is gluten free, but if you are allergic to corn or just need to replace it with something else, tapioca starch can also be used.
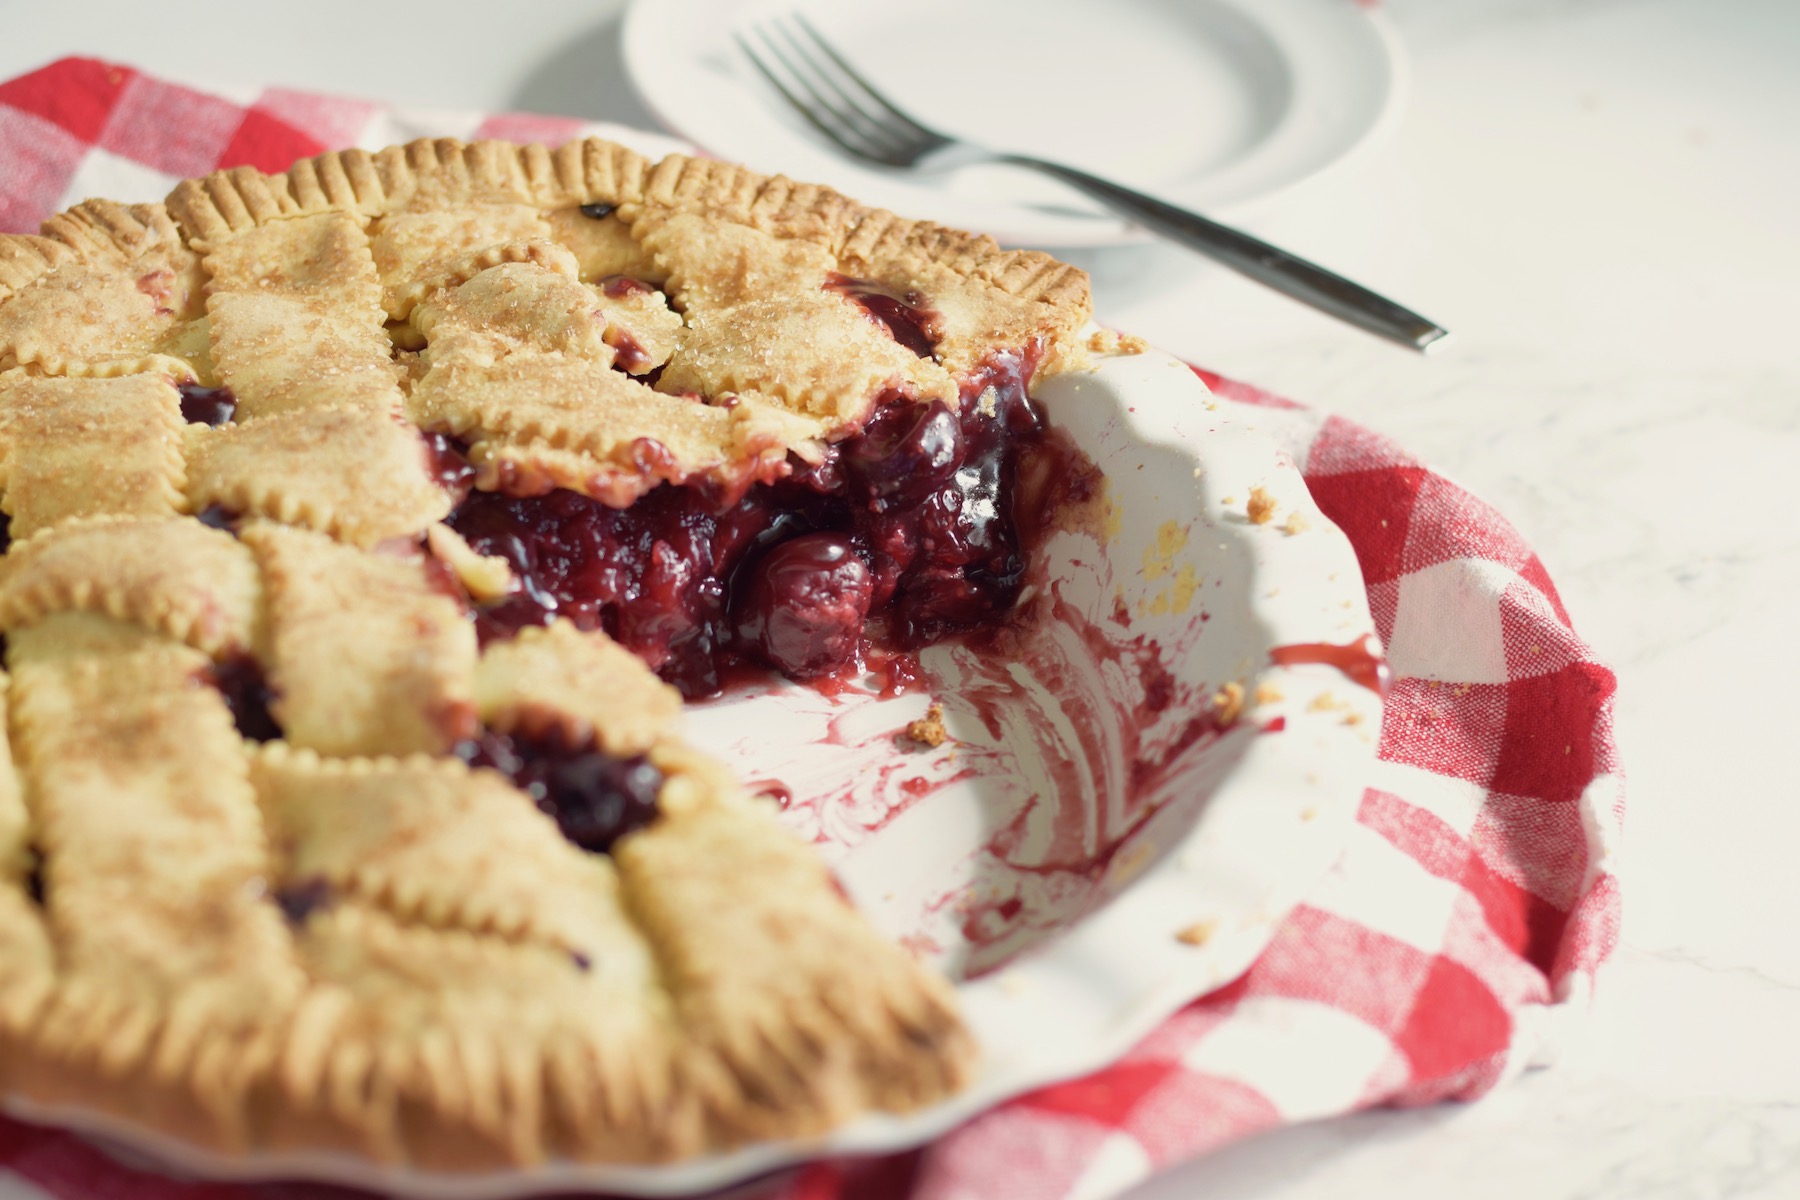
The best thing to do after you have baked your fruit pie is to let it cool completely before slicing it. Hot fruit pie filling is almost always runny when it comes out of the oven. If you like to eat a warm slice of cherry pie with a scoop of vanilla ice cream or whipped cream on top, you will have better results by heating up the cooled down slices of pie in the oven or microwave before serving. The filling will be set and ready to eat by then.
There are several reasons why gluten free pie crusts fall apart. First, you have to let gluten free dough rest for a period of time before rolling out the pie and baking it. Gluten free flour takes longer to absorb liquids in the recipe, and if not given the time they need the finished product will be too dry and fall apart. Second, make sure you include binding ingredients like xanthan gum and egg. This will help to replace part of the job that gluten does in pie crust - hold ingredients together. And lastly, make sure you let the pie cool completely before cutting into it. Gluten free starches in the crust and the filling are brittle when hot, and need time to solidify and set. If you do these 3 things, and follow great recipes (like the ones on this website) your pie crusts should not fall apart.
Homemade Gluten Free Desserts

Recipe creator and pie lover: Kristie Winget, who loves making pies so much, her family created their own holiday, called "Pie Day", which is the day before Thanksgiving (USA).

