This post contains affiliate links. Thank you for supporting Beneficial Bento!
When you are new to a gluten-free lifestyle, learning how to bake a different way can feel overwhelming. I’ve been baking without gluten for 20 years, and I’ve learned a lot from my own experience. I’m going to pass on my very best tips and tricks for baking gluten free so you can avoid costly mistakes, and have fun baking.
Here is my best gluten free baking advice for beginners, in the form of 12 pro tips. I tried to keep it a ‘top 10 list” but all 12 of these great tips are too important to leave any one of them out.
- I’ll share each tip
- tell you why it works
- and give you some ways you can use that tip yourself
By the time you finish reading this guide, you should have the info you need to try some gluten free recipes with confidence. I’ll share links to my favorite recipes throughout this post so you can easily get the help you need to be successful ASAP.
1. You need more than one type of flour
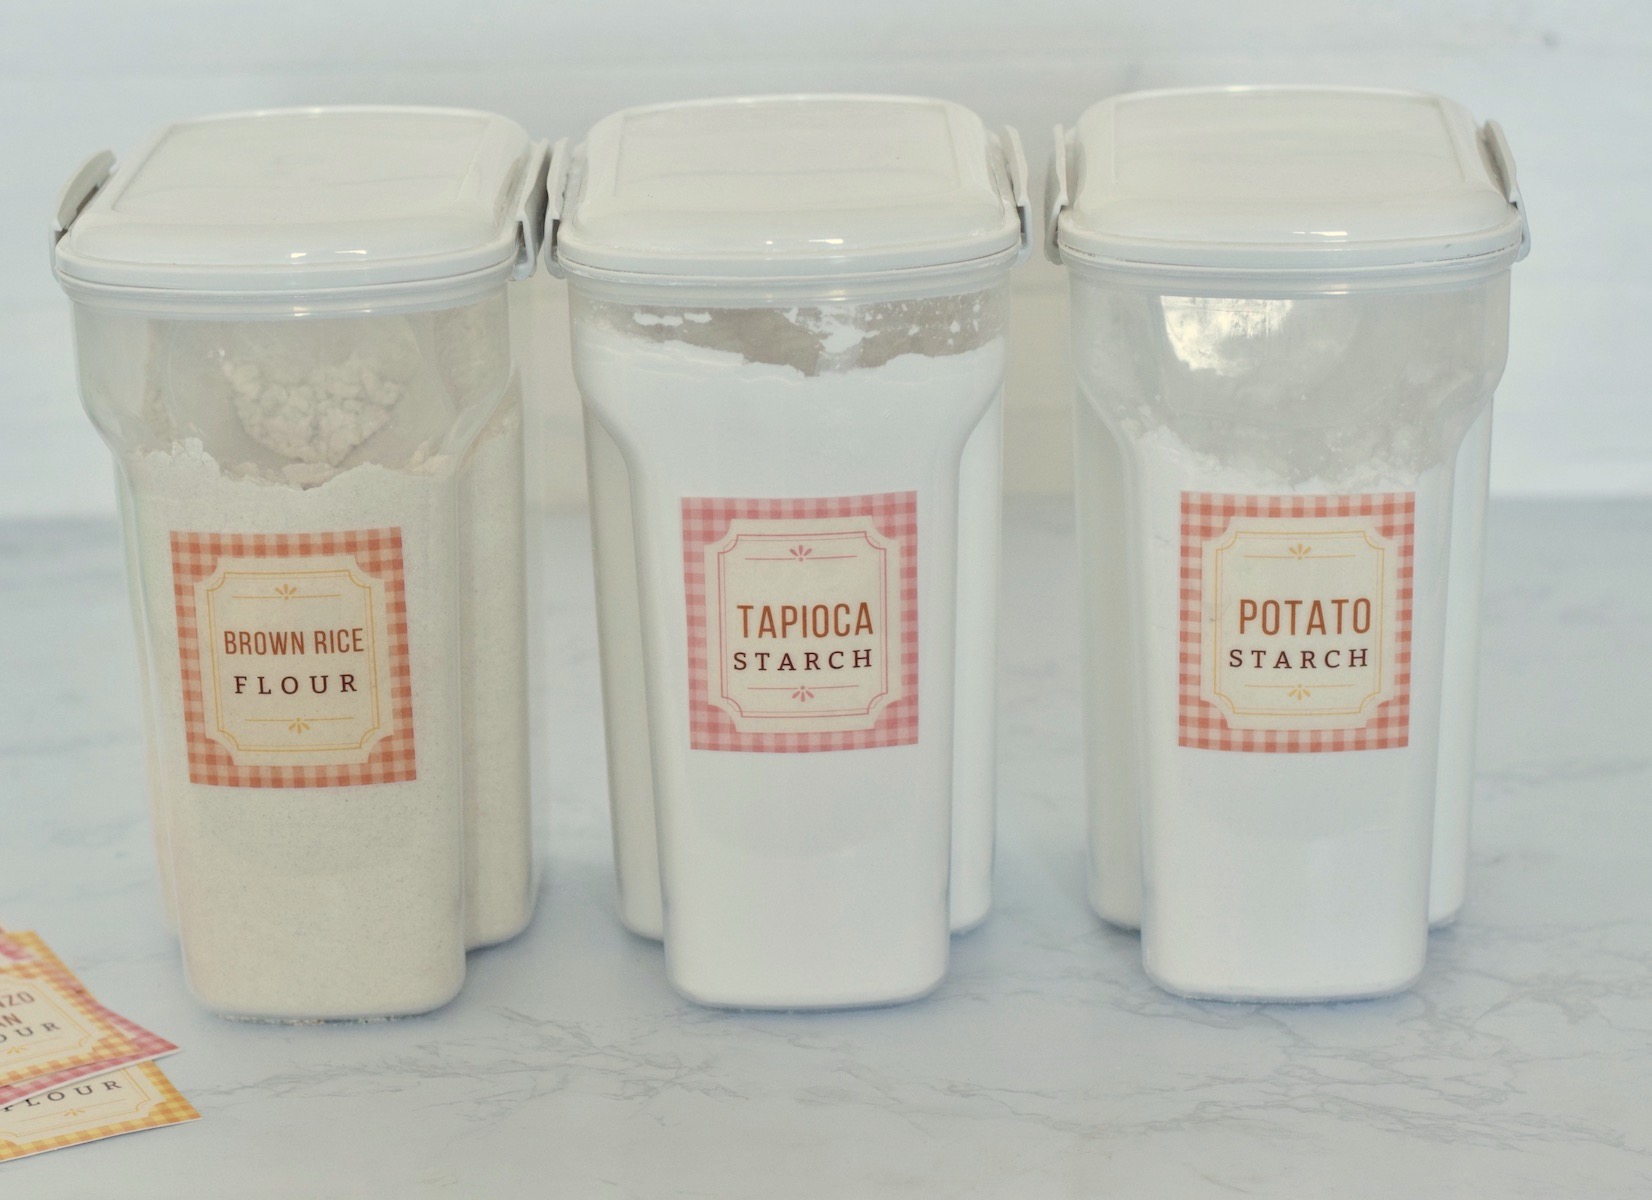
The sad truth: there isn’t any one gluten free flour that will do all the jobs that the gluten in wheat flour does.
The good news: there are many gluten free flours that each do some of those jobs, and you can combine them together to make delicious gluten-free foods.
But different recipes often call for a different combination of flours. Gluten-free bread will have a different combo than cookie dough. And biscuits are a little different from gluten-free cakes.
Obviously you can't just drop any gluten-free flour combo into a recipe and expect it to work. They are all different, and each flour contributes a different quality to the final product. So this means that the flour blend and the recipe need to match up. If they're not compatible with each other, then you're just wasting expensive ingredients.
Here's what to do:
- Using tried and true gluten-free recipes is the smartest way to get started baking gluten free.
- Another great place to start is to download my free PDF, Gluten Free Baking for Beginners. In it I’ll walk you through the basics, show you where to shop for gluten free ingredients, and give you a few simple recipes that will give you the best results, even if it's your first time baking gluten-free recipes.
- And check out the links to the recipes throughout this post.
Gluten Free Flours I Use and Love
There is a wide variety of gluten-free flours out there! I'll list the ones I am familiar with in three categories -
Processed flours and starches
- potato starch
- tapioca starch
- white rice flour
- sweet rice flour
Whole grain flours
- brown rice flour
- millet flour
- buckwheat flour
- teff flour
- oat flour
- sorghum flour
- corn flour
Alternative flours
- chickpea flour (also called garbanzo flour)
- almond flour
- coconut flour
Is there more you need to know about gluten free flour? I'm working on a few PDFs for you to download, and I'll let you know when they're finished (subscribers will be notified first). so far the working titles are: A Guide to Gluten Free Flours, and Make Your Own Gluten Free flour blends.
Subscribe and I'll send you a free PDF!

#2: You need to include a binder
Wheat flour contains a lot of natural gluten, but gluten-free flours don’t contain any at all.
As you’re making a recipe (whether it’s gluten free or traditional baking) the granules of starch in the flour will swell as you add liquid and other ingredients, creating a good structure.
The job of gluten is to bind to those starches and hold up that structure as the food bakes, like a net. That’s what makes cake tender and spongy, and cookies soft or chewy.
So how do we bake without gluten then?
Gluten is very strong and elastic. When we have to bake without it, adding a binder is one of the best ways to help form that net-like structure.
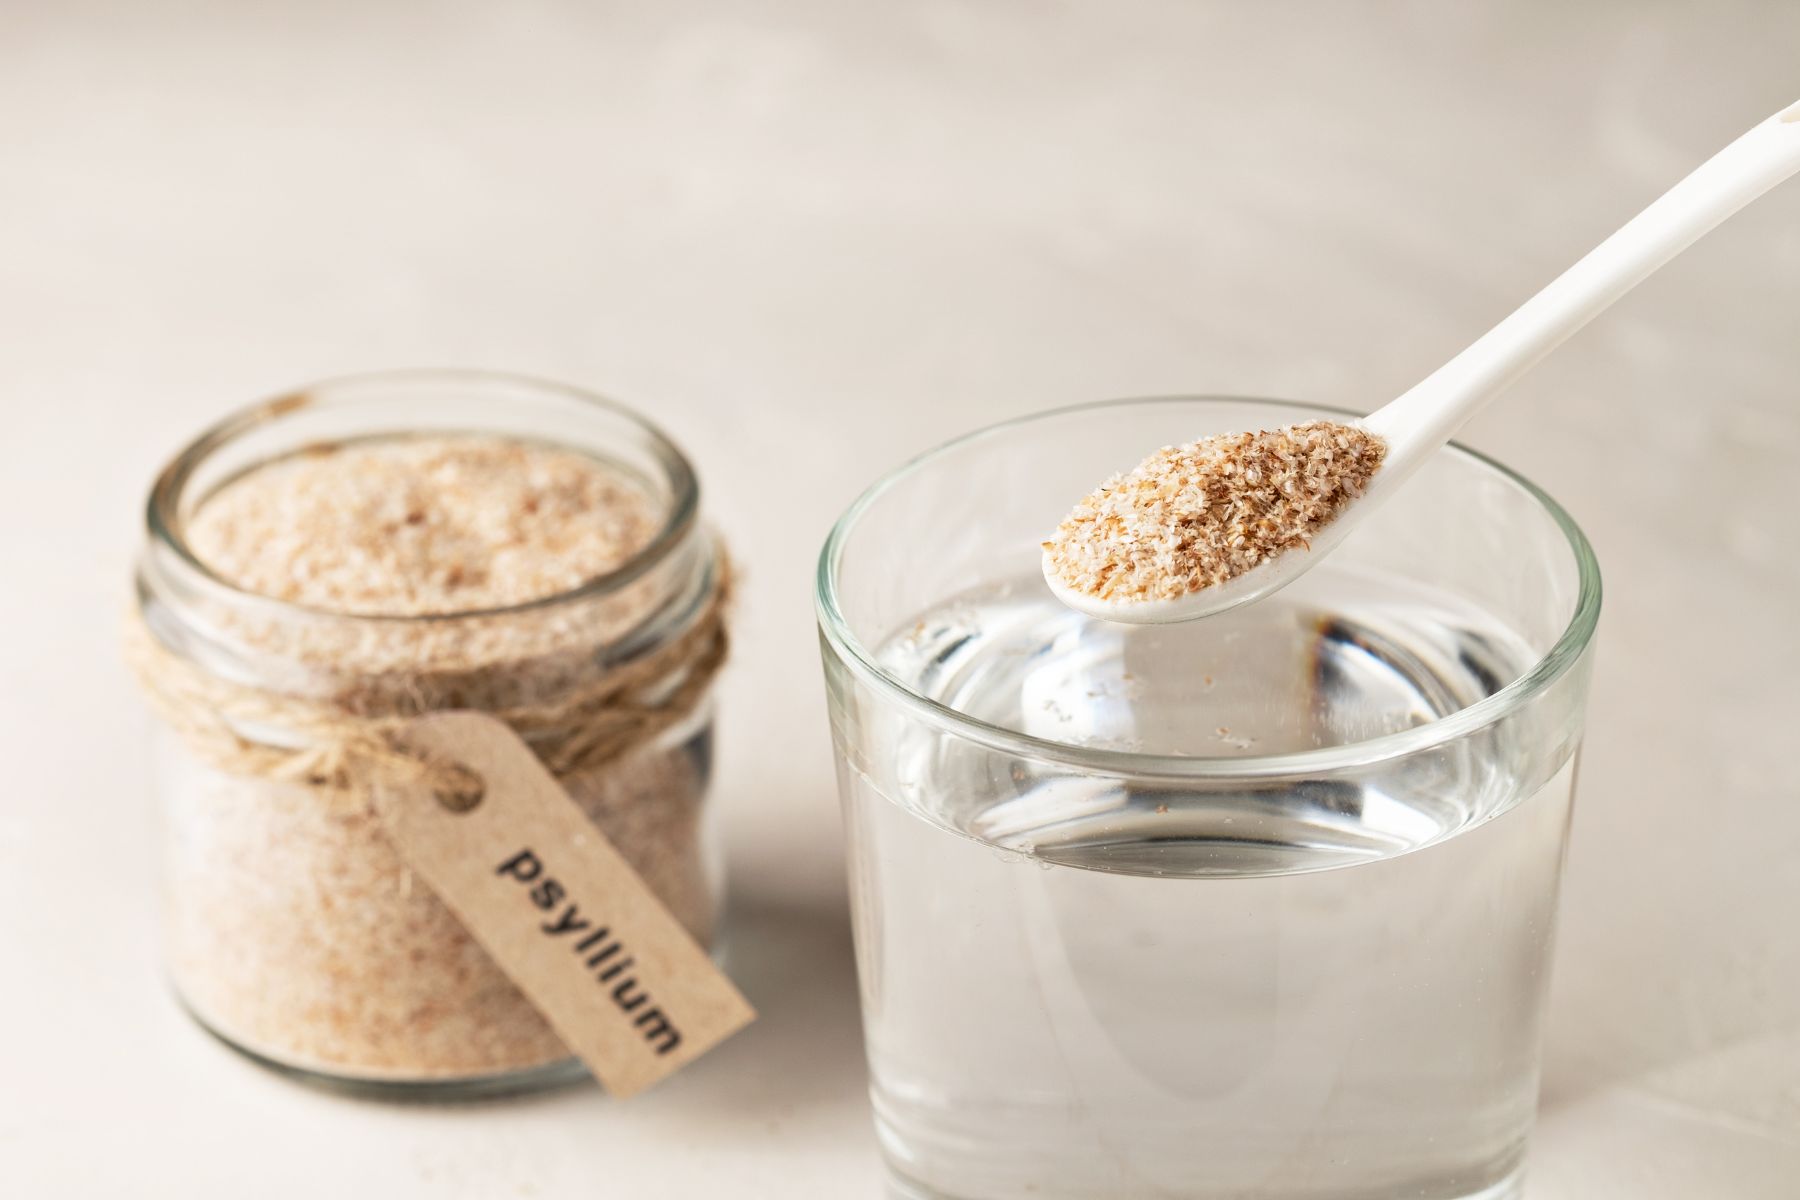
Xanthan gum is the most common binder. Other effective ones are guar gum, and psyllium husk. Flaxseed meal, eggs, and cellulose powder have a little bit of a gummy texture that helps with binding, but would not stand on their own in baked goods. Check out my baking recipes section - I use xanthan gum for most things, and sometimes psyllium husk.
#3: Increase the leavening
Leavening refers to baking powder, baking soda, or yeast. Since gluten-free flours have a weak protein structure, they can’t hang on to the air bubbles that are created by leavening agents very well.
How do you fix that?
Adding a binder and some extra protein will help with that, but adding a little extra leavening will ensure that your baked goods will get a better rise and stay fluffy when they’re baked.
See this tip in action when you make my gluten free biscuits and dark chocolate zucchini muffins
#4: Include extra protein
What does protein add to gluten free recipes?
- Gluten itself is actually a protein, so when we have to bake without it, adding extra protein to your recipes is helpful.
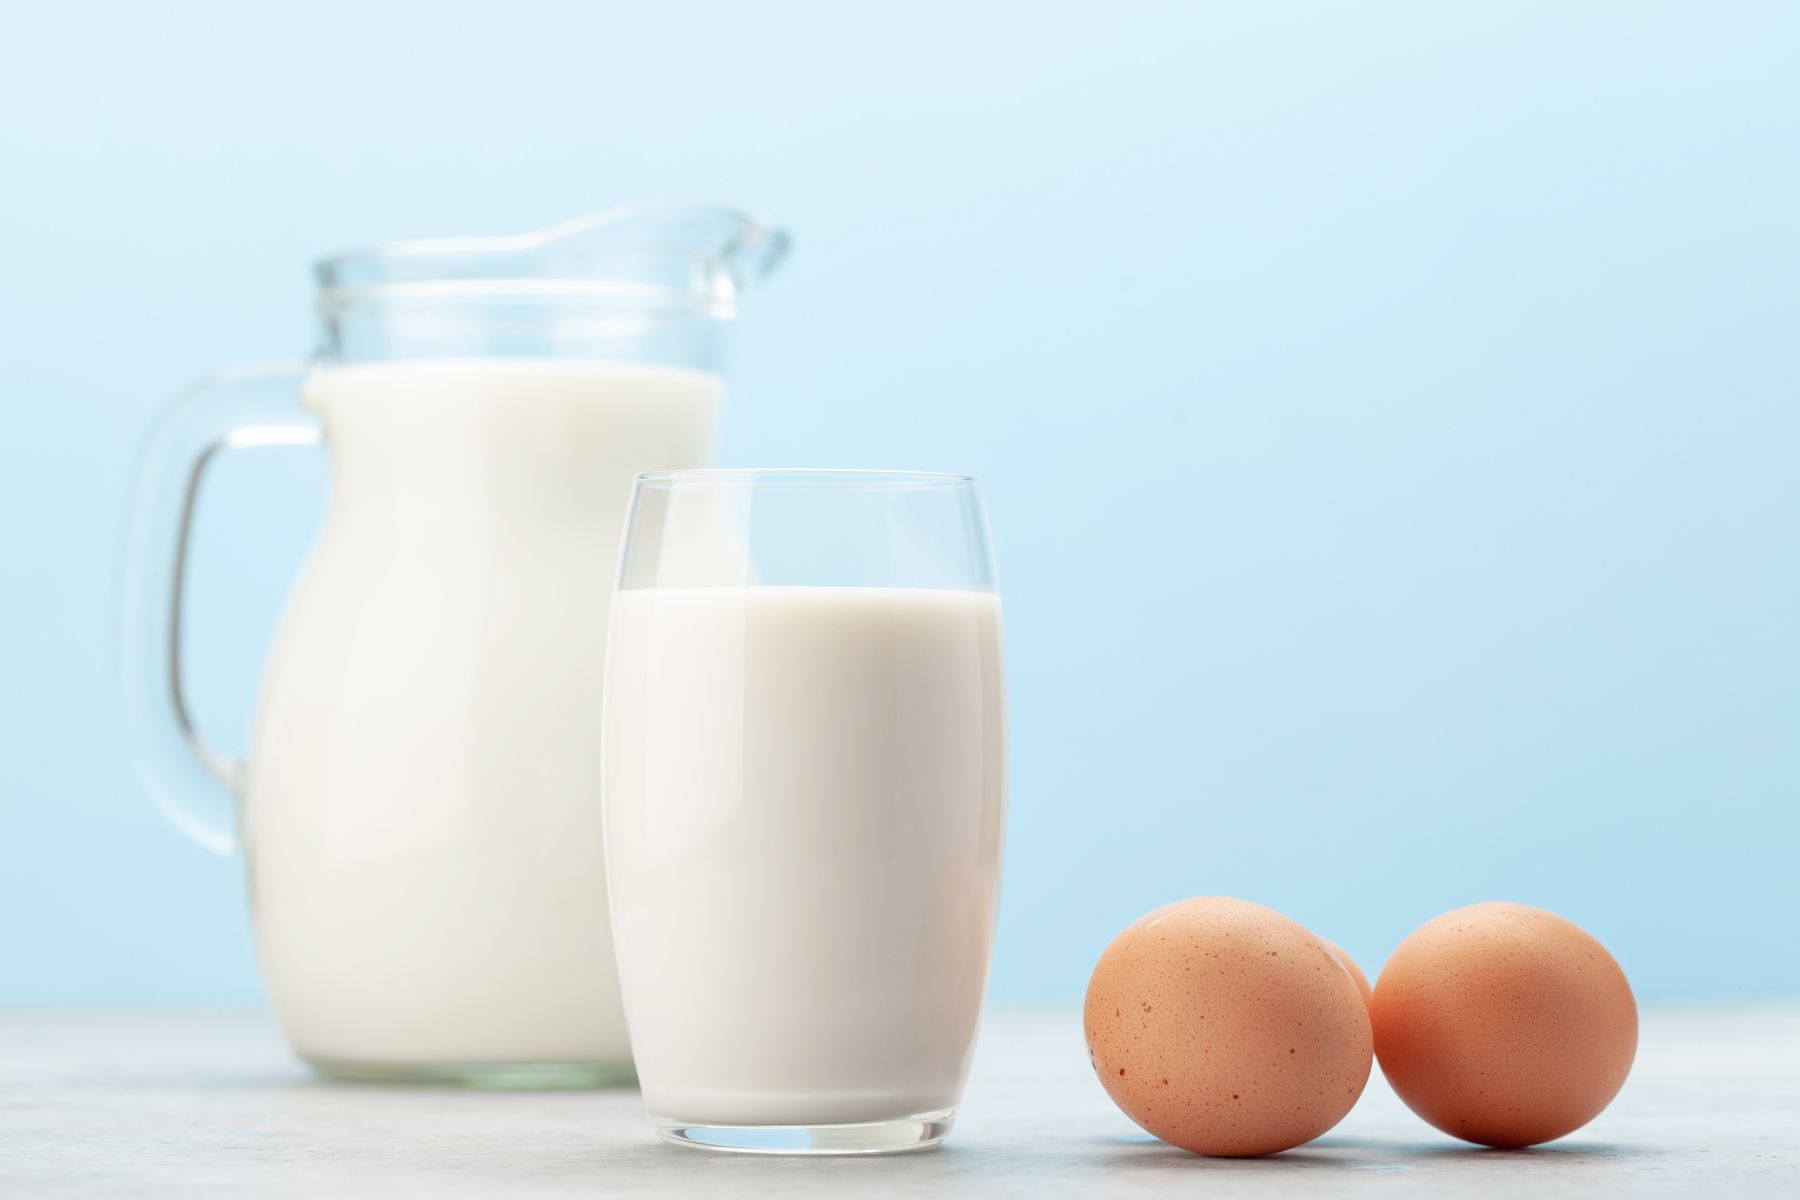
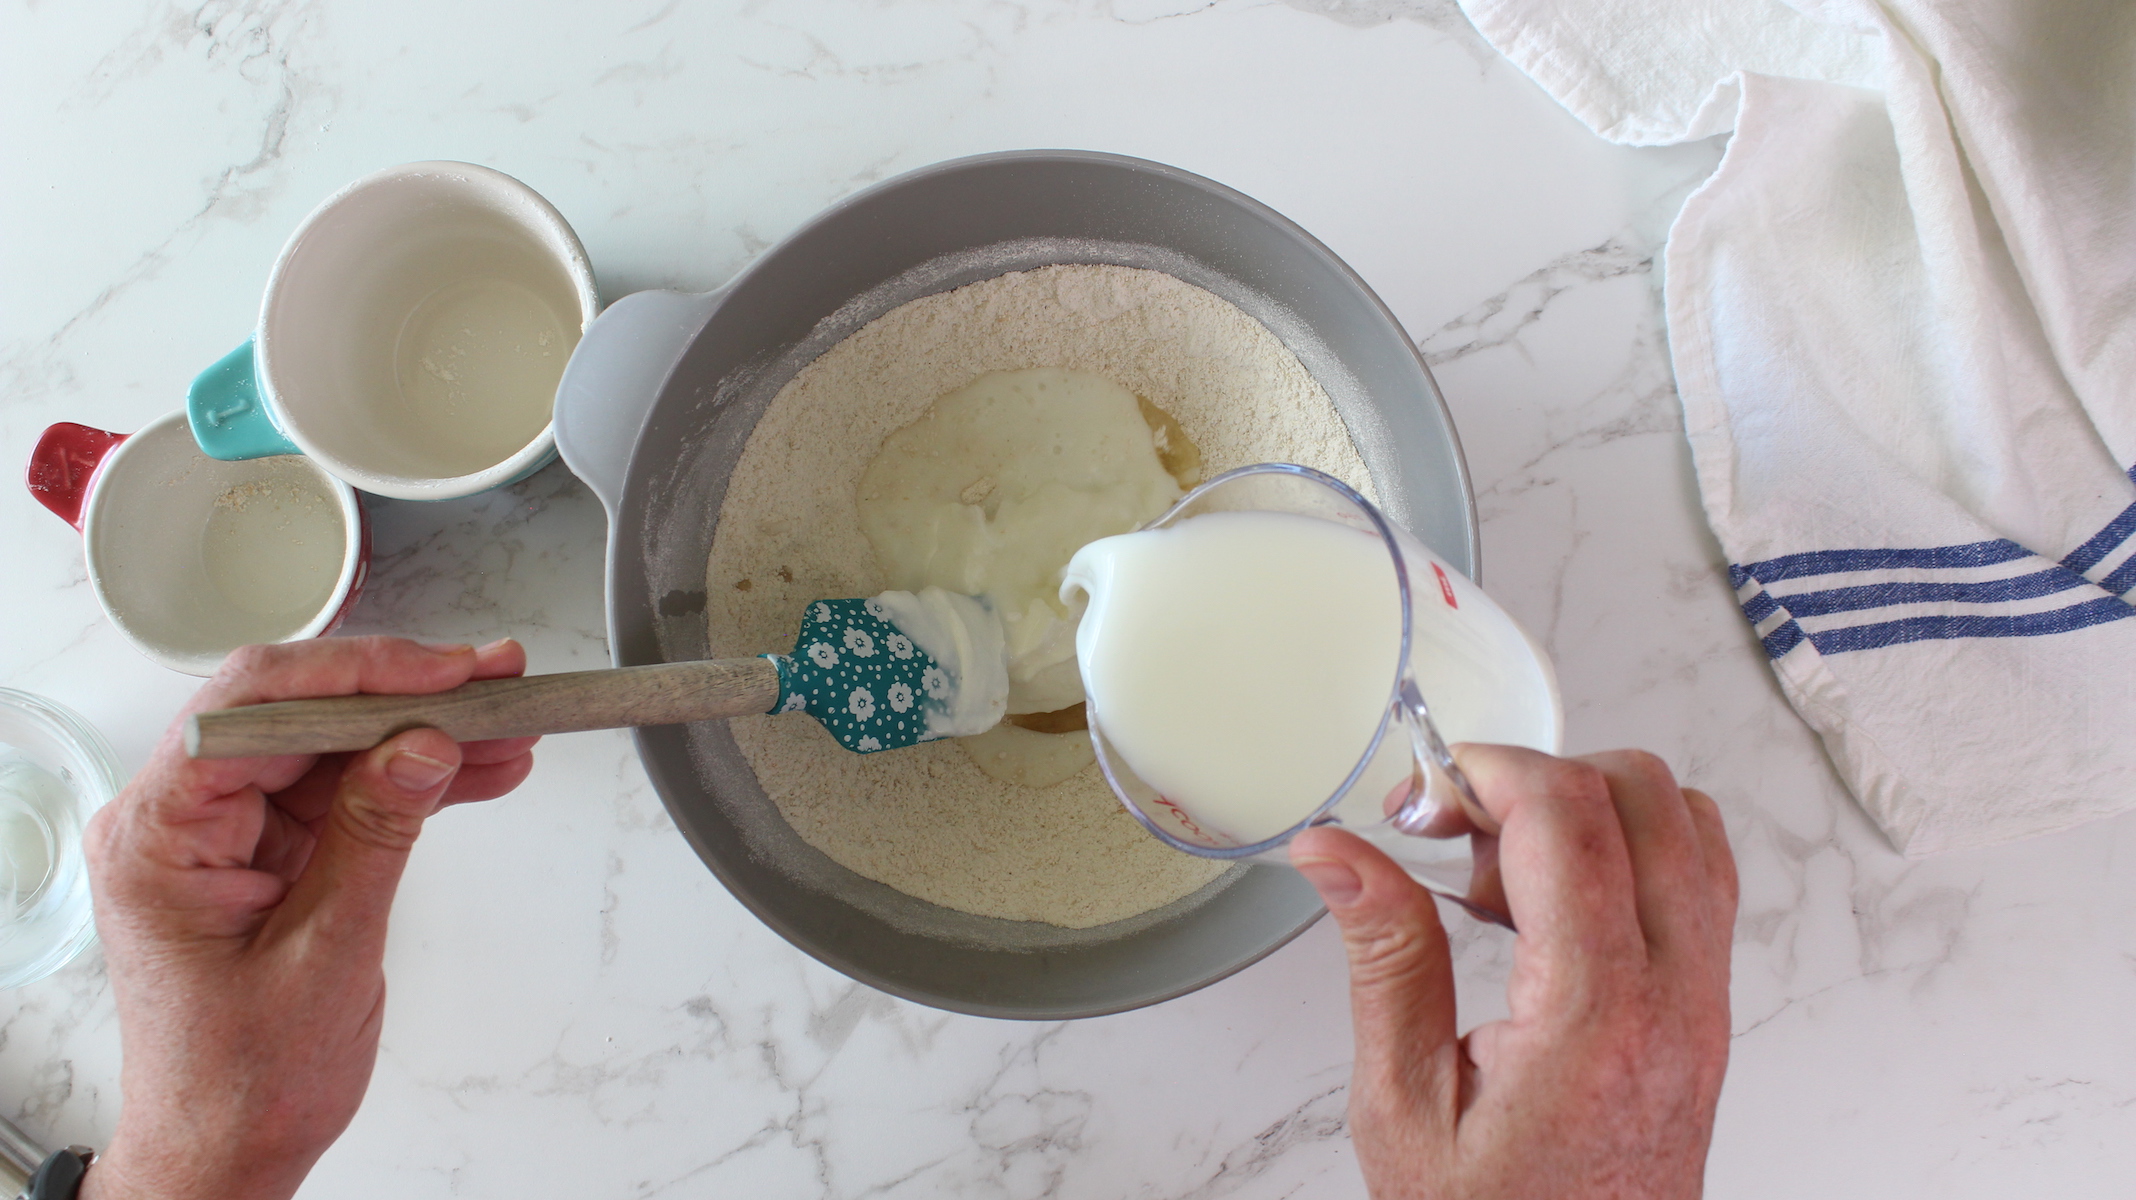
- Including certain protein-containing ingredients like eggs, yogurt, or buttermilk will even help the leavening do an even better job. Beaten eggs add foam to the batter/dough that helps the leaveners create a network of bubbles that give loft to baked goods. And yogurt and buttermilk contain acid which will boost the effectiveness of baking powder and baking soda.
- Dairy ingredients like sour cream, milk, and powdered milk contain protein that help baked goods develop a nice golden brown color, which can be hard to achieve when baking with gluten free flour.
You will find buttermilk in my gluten free banana bread, eggs in my sandwich bread, and yogurt in my cornbread. Check out my flatbread recipe which has almond flour in it.
Protein sources
Dairy
- cow or goat milk
- butter
- sour cream
- yogurt, especially Greek yogurt
- buttermilk
- nonfat dry milk powder
- whey protein powder
Non-Dairy
- cashew milk
- oat milk
- soy milk
- pea/quinoa protein powder
High-Protein Flours
- almond flour
- coconut flour
- chickpea flour
#5: Gluten free flour needs help to absorb fat
If your recipe contains oil and turns out kind of dry, don’t be tempted to add more oil next time. Gluten free flour just doesn’t absorb oil as well as wheat flour does.
Butter is a good first step that could fix it. I often replace the oil in a boxed mix with melted butter - it contains some protein, and is a dairy ingredient which works really well in gluten free baking. I always do this with gluten free brownie mixes with excellent results.
Another idea that works is to swap the oil with a protein-containing ingredient to make up for the moisture that oil provides. Milk, sour cream, yogurt, and egg are ingredients that do this.
My pie crust recipe contains a lot of fat in the form of butter, but the addition of a little cream makes it work beautifully. I used to use shortening in my pie crust, but when I changed to butter and cream the dough was so soft and pliable - every bit as good as pie crust made with wheat! It makes an amazing Gluten Free Apple Pie.
#6: Add ingredients that contribute moisture
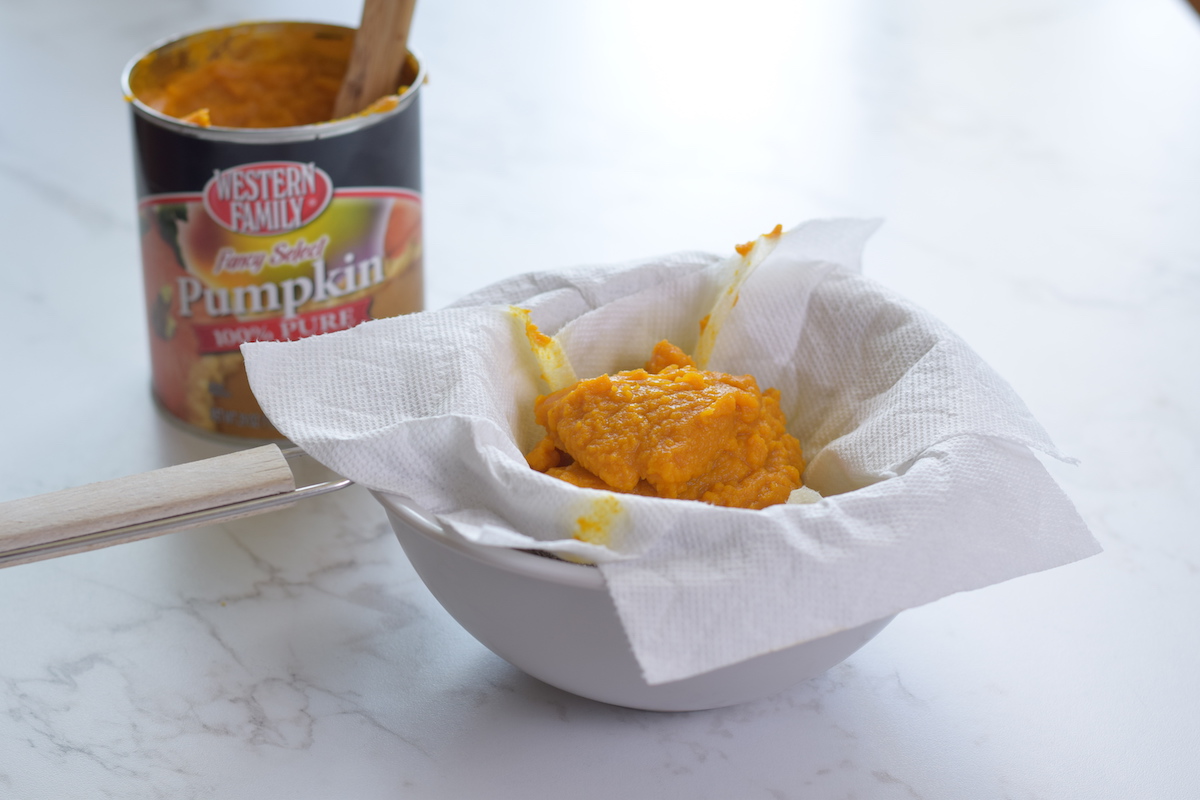
Extra moisture can help turn dry, gluten-free flour into delicious baked goods. But please use tried and true gluten free recipes when trying this technique.
I’m going to give you a list of some of my recipes that have different ingredients that add moisture to gluten free baked goods so you can study them and try them out for yourself:
- Dairy products ( cornbread, pie crust)
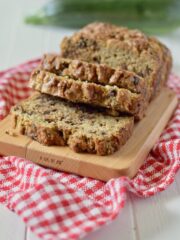
- veggies like pumpkin ( pumpkin pancakes or cookies), shredded carrot (carrot cake) or zucchini (chocolate zucchini muffins, zucchini bread),
- pureed fruit like applesauce or banana (banana bread)
- Flax seed meal ( soft gingersnaps, banana muffins)
- Extra egg adds moisture, and is also a binding agent (like the bread in my gluten free yeast bread workshop)
#7. Measure Carefully
When you're following gluten-free baking recipes, even a little too much liquid might turn what would have been a moist, tender treat into a dense disappointment with a gummy texture. So it's important to measure the dry ingredients and the eggs carefully and accurately!
It hardly seems fair - gluten free food seems like it's fighting against us! But here's why accurate measurements are so important:
- Gluten free flours and starches are a lot finer than wheat flour, so just scooping them into a measuring cup might not be very accurate, and different flours could give you a slightly different amount, even with the same measuring cup.
- Eggs are not all the same exact size. Just take a close look at a carton of large eggs (or medium, it doesn't matter): the size can vary quite a bit. Even if that small amount inside the egg is off by a teaspoon, it's possible that it could change the outcome of your recipe.
Here's the solution:
- Use a kitchen scale to weigh the flours in your gluten-free baking recipes. Use grams, not ounces, for the best accuracy.
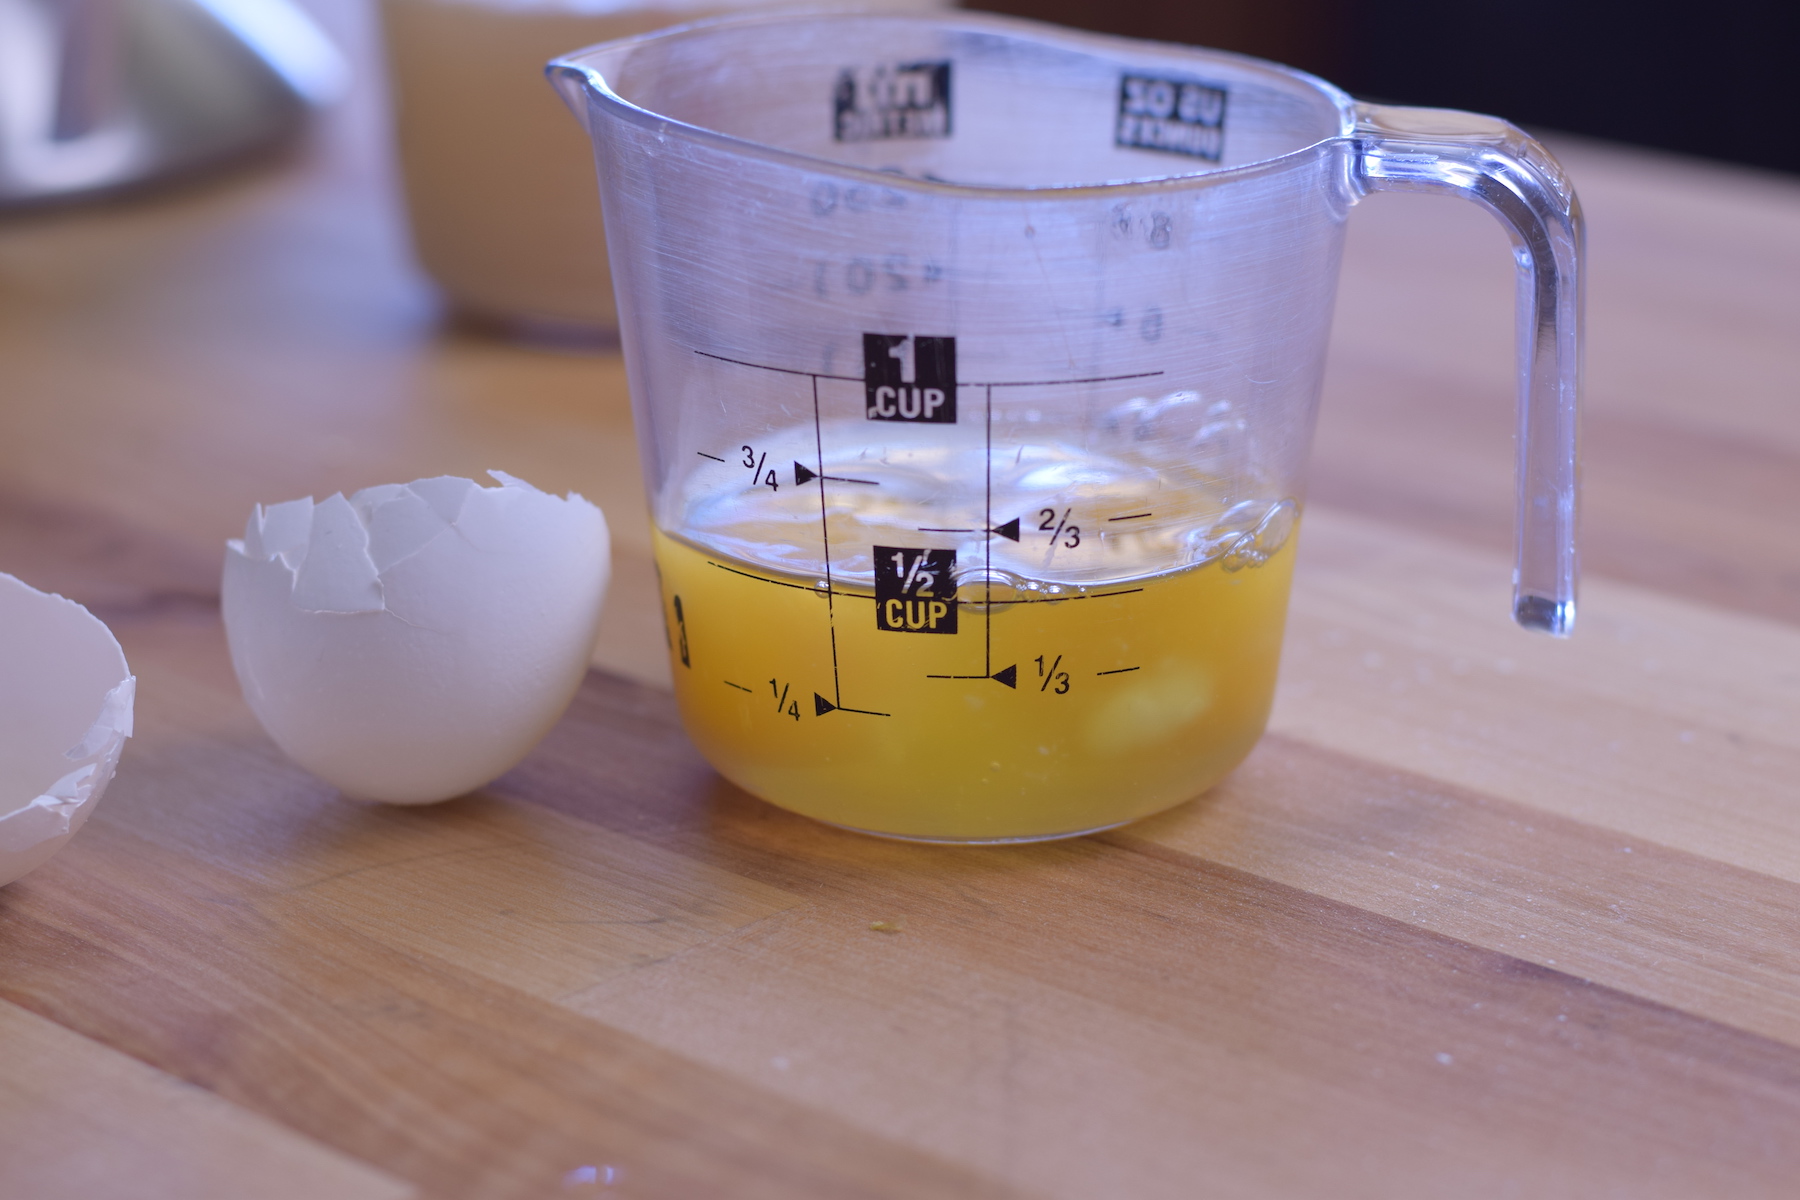
- Crack your eggs into a liquid measuring cup. 1 large egg may measure from ¼ cup to ⅓ cup, but if the recipe says "⅓ cup of liquid egg" it will never change.
Now you might be asking - "Why aren't ALL your recipes like that?" 😬🫢
Okay, this is a tip I learned not too long ago. And I made a LOT of mistakes before I figured this out! There are plenty of forgiving recipes that will still turn out pretty great if you don't measure the flour and eggs so precisely.
But the 2 gluten free baked goods that would sometimes give me fits have always been - gluten free bread, and gluten free pie crust. Sometimes they would turn out perfect, and other times they would be too dry and crumbly, or have too much moisture and have a very gummy texture.
But once I altered the recipes to show grams of flour, and egg by the cup, I turn out perfect bread and pies every single time.
I am in the process of updating all my baked goods to show the more accurate way to measure flours and eggs. But it will take time! Be patient with me as I work through that project.
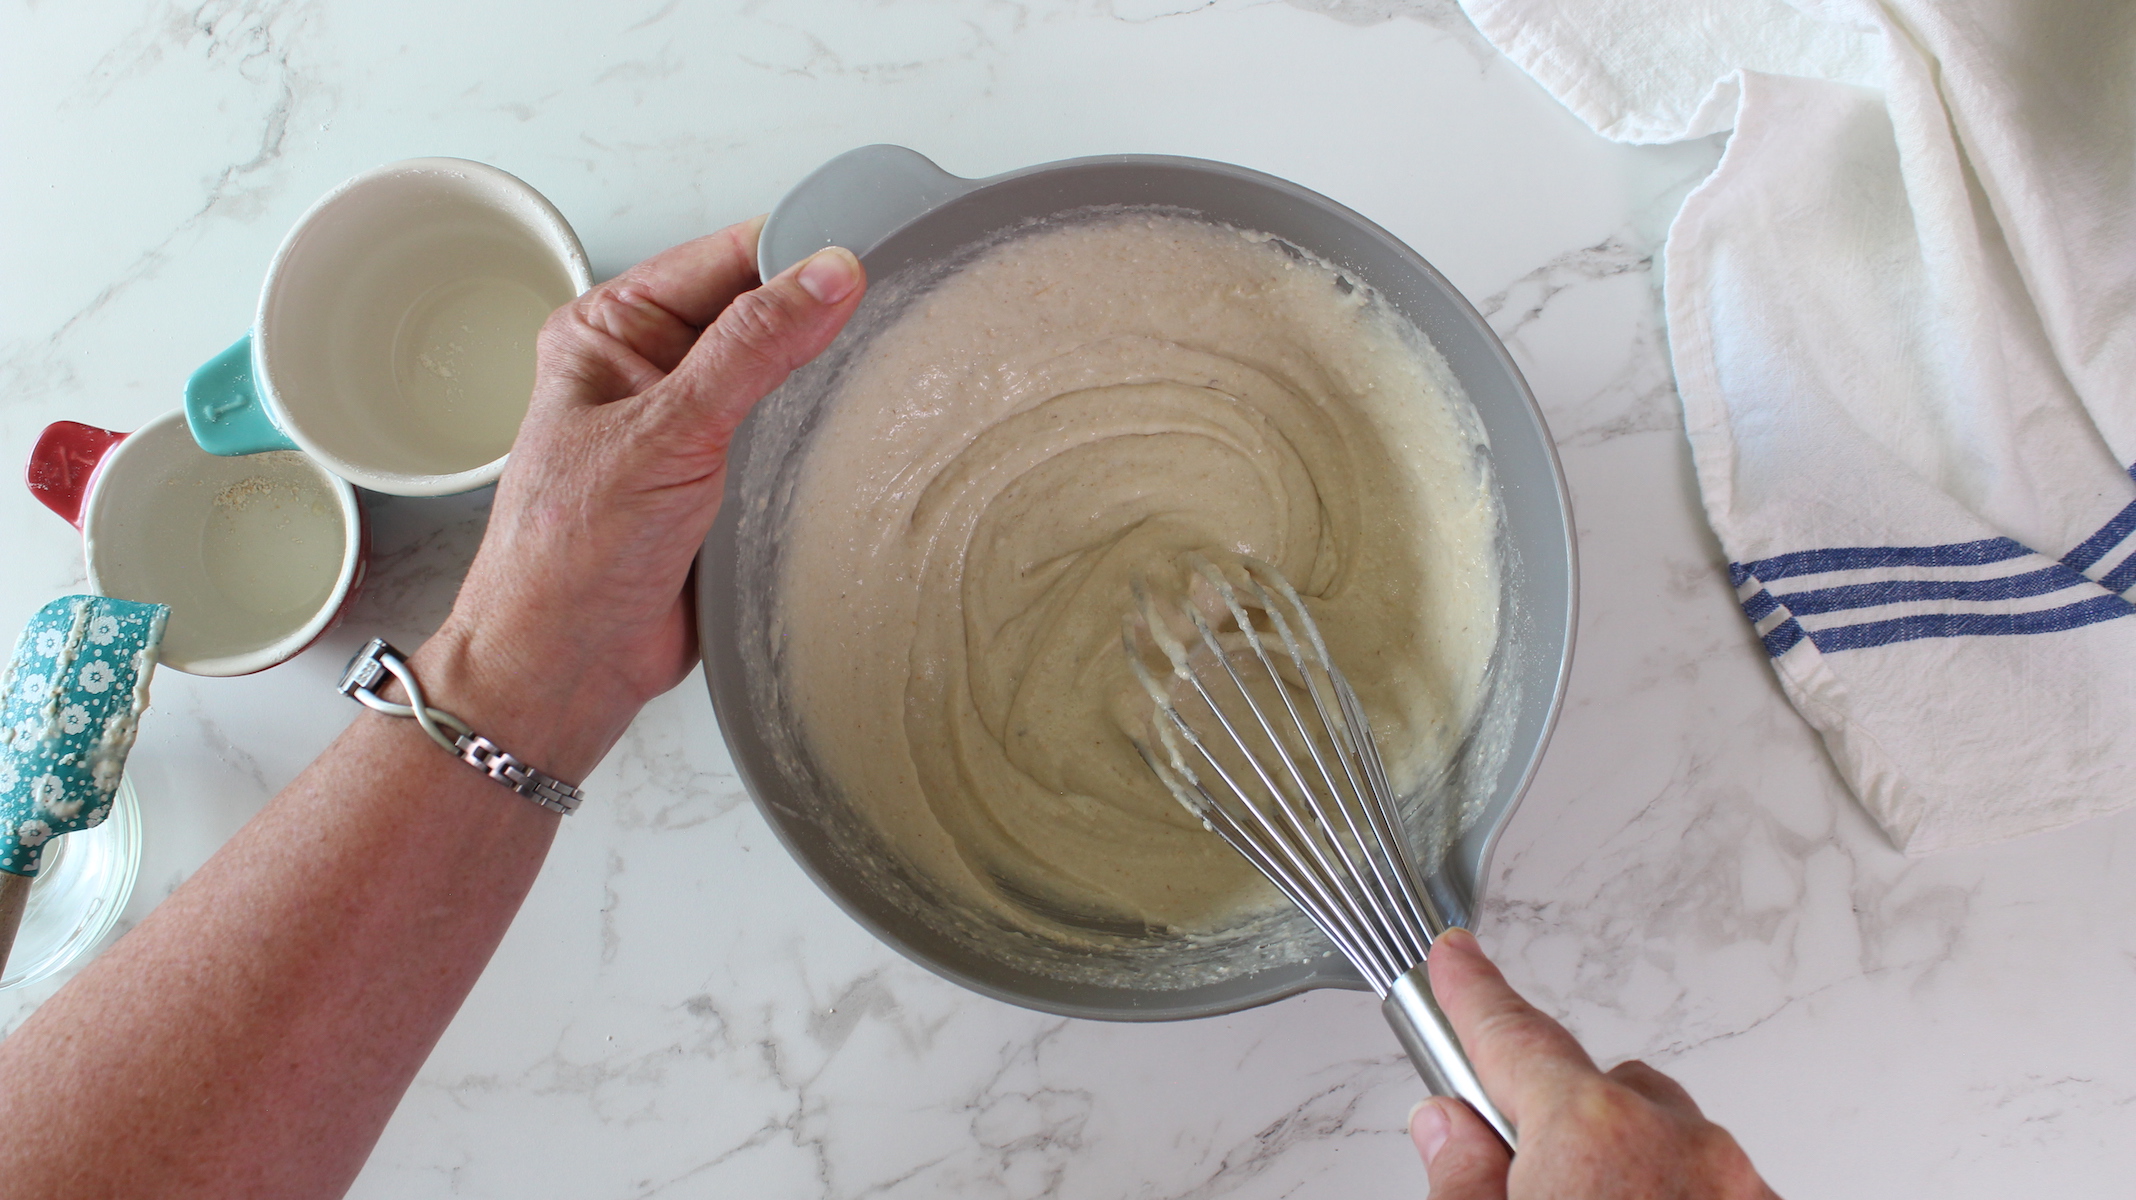
#8 Mixing batter or dough for a longer time
If you’ve been baking for a while with regular flour, this might go against what you have learned. With wheat flour we’re told not to over mix the batter (like for muffins and pancakes) because it will make them tough or rubbery.
But the opposite is true for gluten free baked goods. Beating or mixing gluten-free batters for an extended time builds structure in the finished product and hydrates every ingredient, making your baked goods puffy and tender.
My general rule that you'll see again and again in my recipes is: set a timer and mix for 2 full minutes.
If you’ve been disappointed with gluten free baked goods that turn out flat with a sandy or gritty texture, mixing for longer and giving it a rest (the next step) are the two best steps to prevent that.
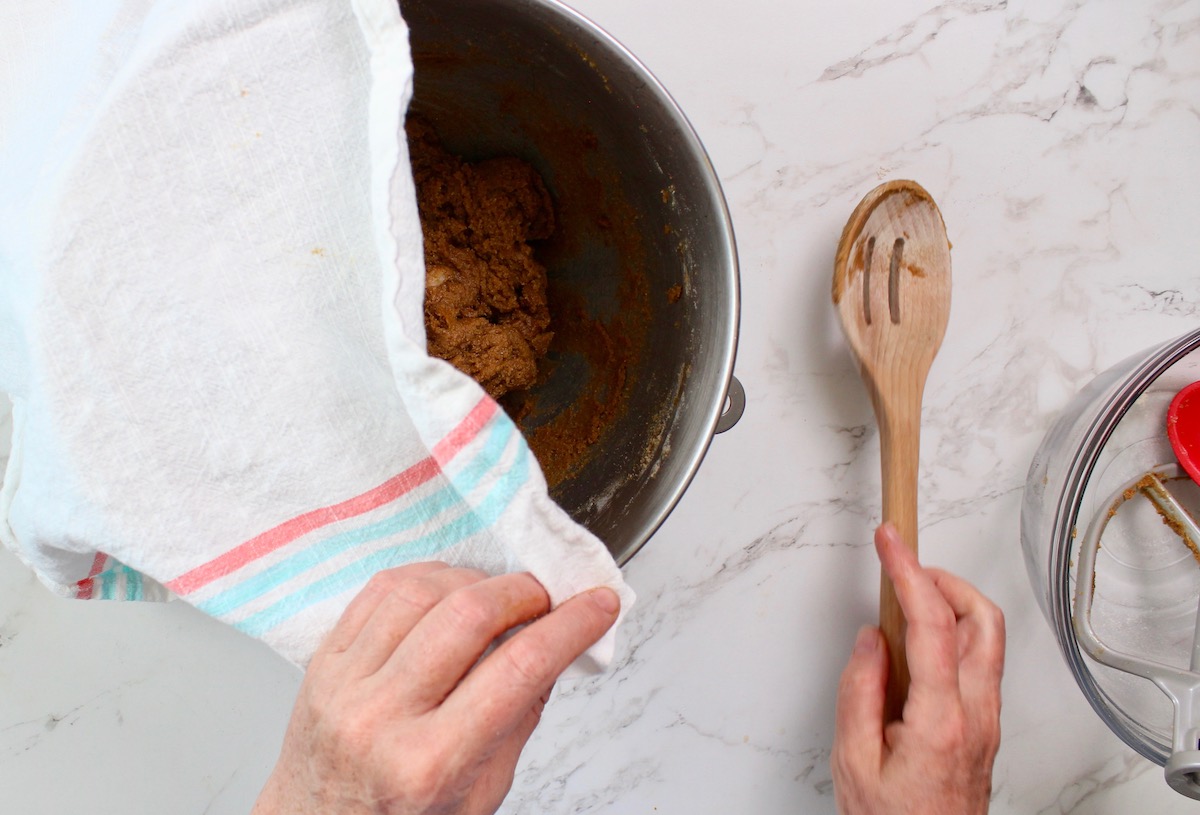
#9: Let the dough or batter rest
Most gluten free recipes are made with several different flours, and each flour absorbs liquids at different rates. Giving them enough time will make sure every flour is hydrated to its optimum potential.
Here's how to apply this tip:
- As a general rule I like to give dough or batter made with baking powder and baking soda a 15-30 minute rest at room temperature.
- yeast breads, at least 60 minutes or more (each recipe will be a bit different, so follow the instructions)
Can you let a batter rest too much?
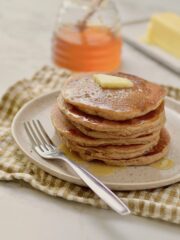
Baking powder reacts to both liquid and heat so it is activated in 2 stages. For maximum loft, bake it after 30 minutes of rest time to catch both the liquid activation and the heat activation of the oven. However, I have made pancake batter the night before and left it in the fridge for about 9 hours. I made pancakes in the morning, and they were so tender and delicious! I’m sure the liquid activation had probably “expired” but the heat activation of the baking powder was potent enough to make great pancakes.
#10: Don’t add too much flour
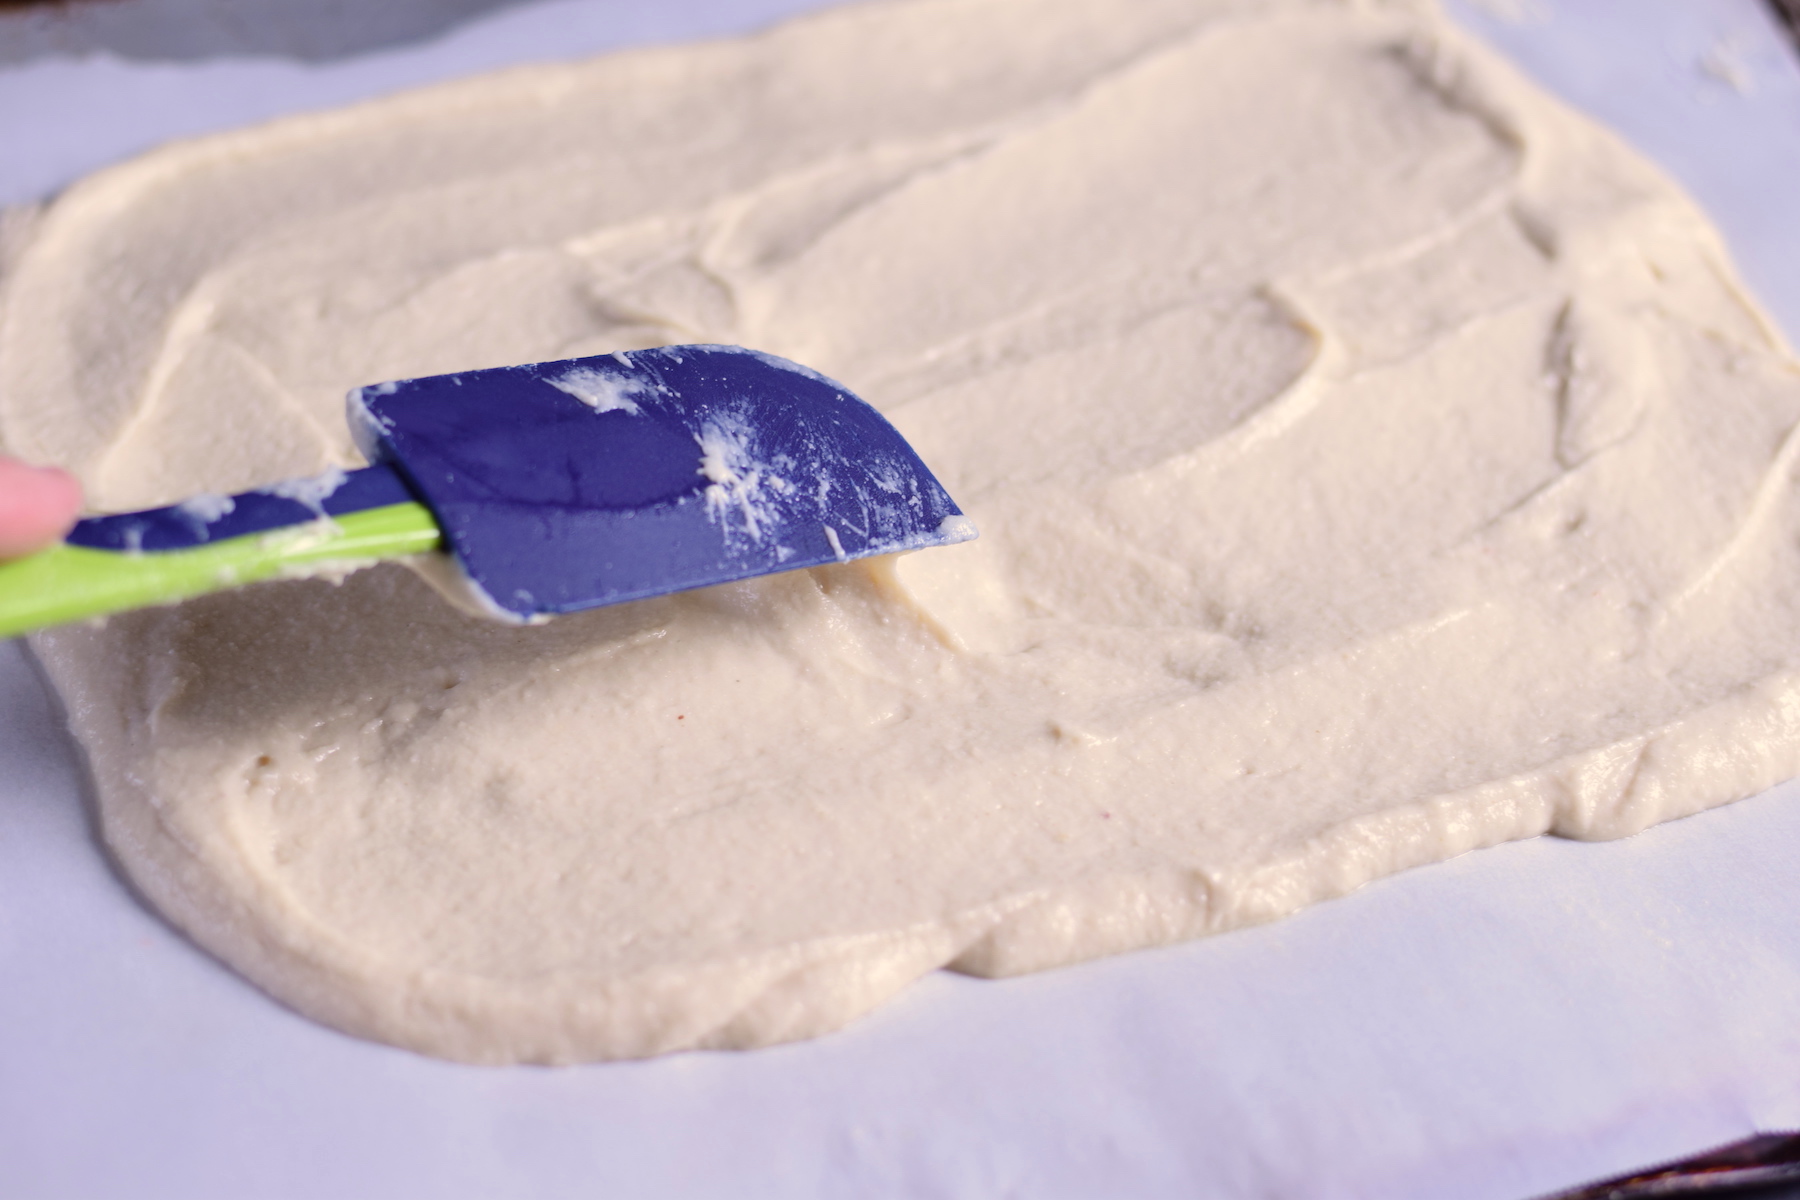
This one is especially true for yeast breads: As a general rule, use water, not extra flour, when you shape gluten free bread dough. A mistake I see from beginning gluten free bakers is adding too much extra flour so they can roll out or shape their bread dough, cookies, or pie crust. That usually leads to a tough, chewy outcome. Most gluten free dough (especially bread dough) has a texture more like very wet potter's clay, or very thick cake frosting, and adding extra flour won't change it for the better.
Some flour is needed to shape baked goods that get rolled out like graham crackers, biscuits, and pie crust. It becomes a problem when you add way too much flour to try to compensate for dough that is too sticky.
Here's what you can do:
- When you’re working with a gluten free dough that is excessively sticky, that usually means the flours aren’t hydrated enough. Cover the dough and try letting it rest in the fridge for 30-60 minutes first. I learned this when developing my pie crust recipe and graham cracker recipe.
- After that resting time try again, using as little flour as possible to roll out and shape it.
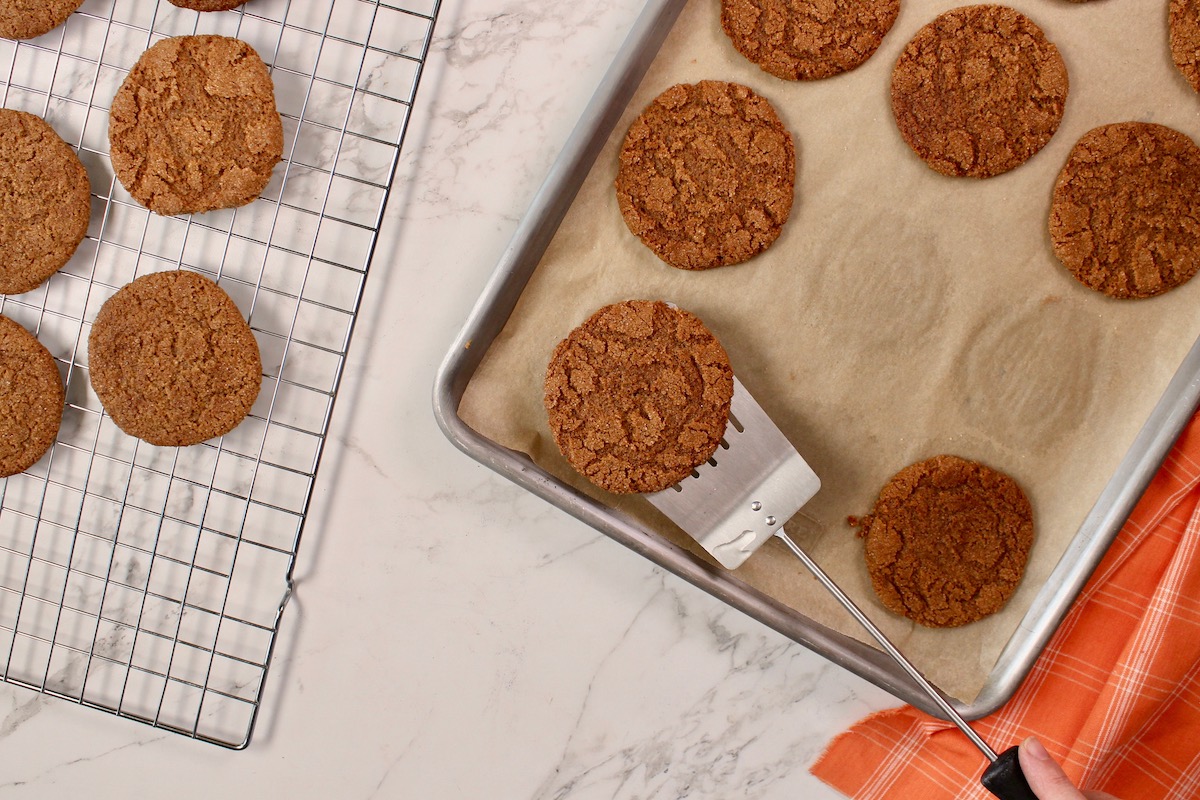
#11: Let food cool before handling it after baking
The starches in GF baked goods are brittle when hot. If you try to bite into it, or even move it while it’s too hot, it might break apart into crumbs.
They won’t solidify and set until the food has cooled down a little.
Once you have given the starches time to cool down for at least 5 minutes or more, you can lift them out of the pan, and they will still be warm and delicious.
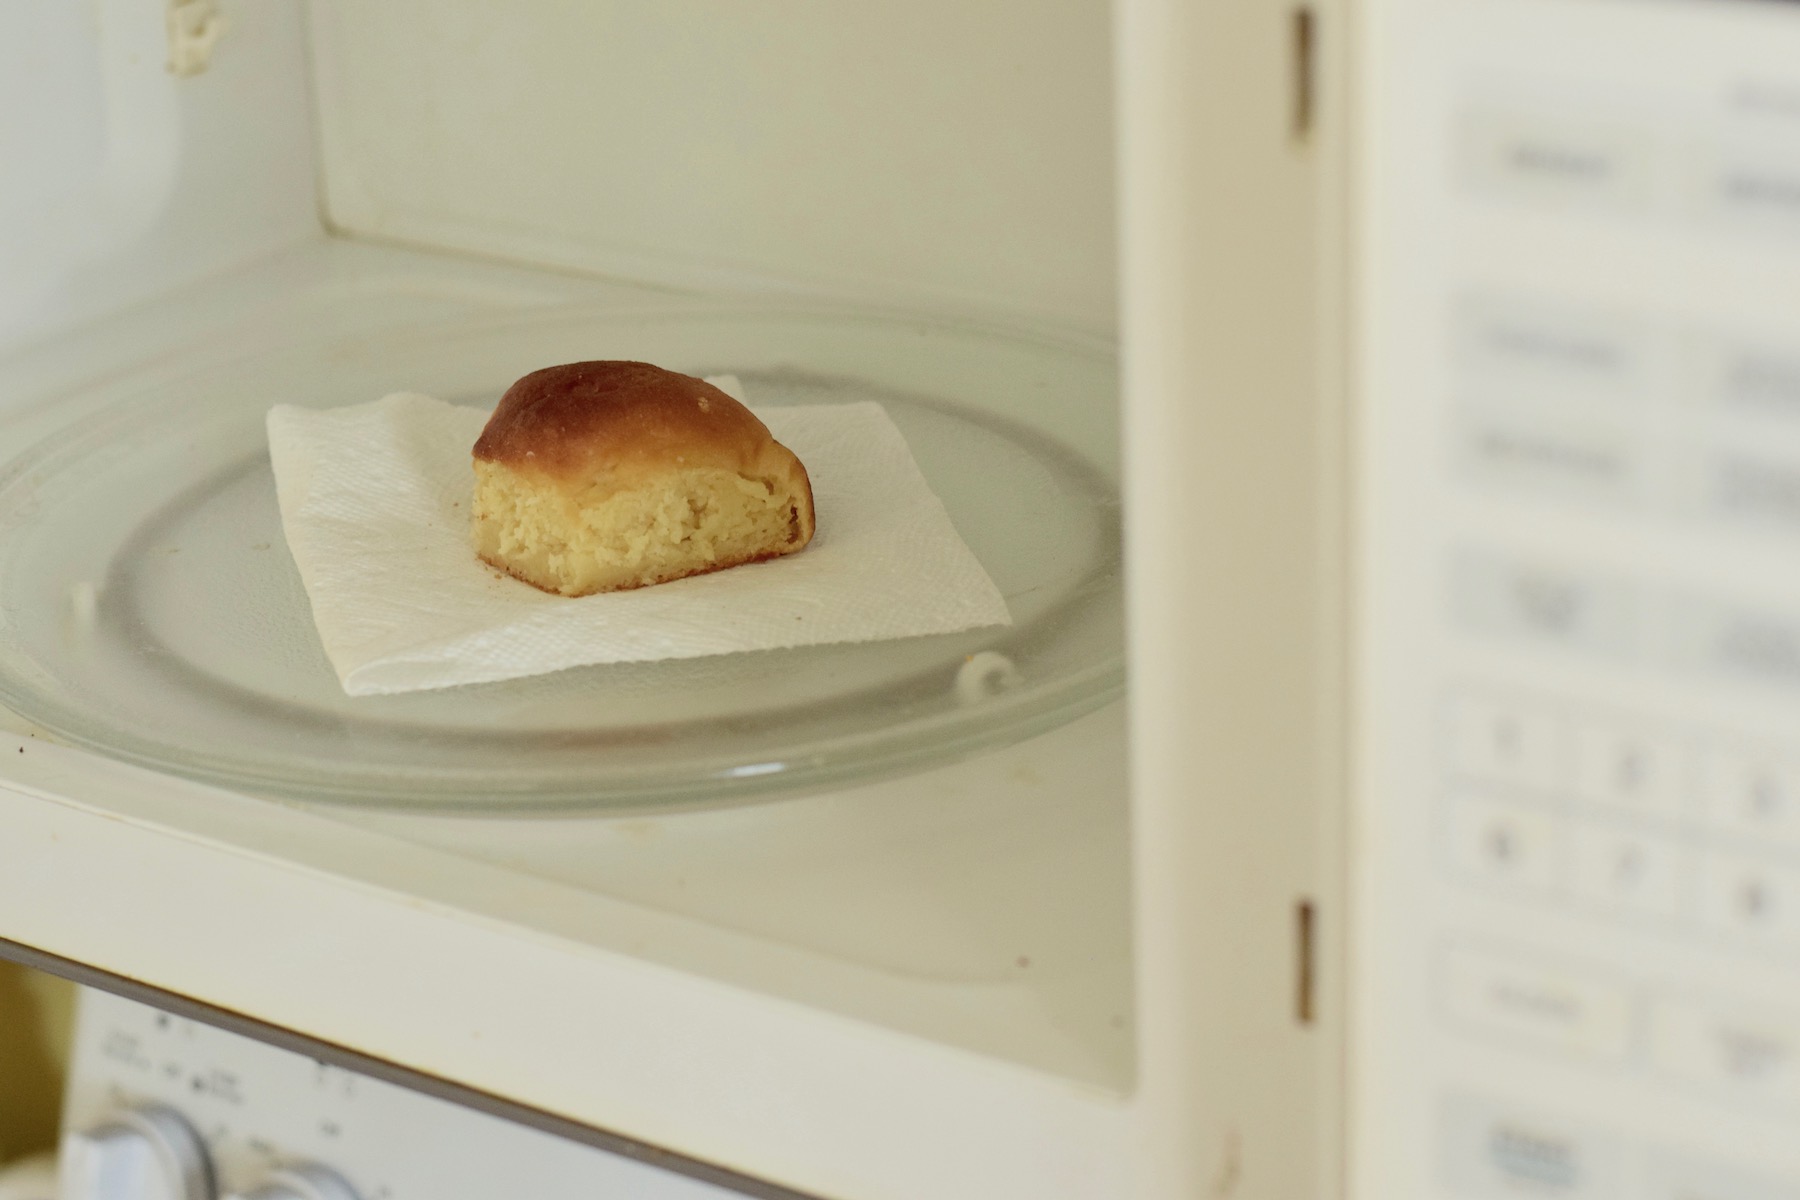
#12: Gluten free baked goods will often turn hard and crumbly when they are refrigerated
Gluten free baked goods will often turn hard and crumbly when they are refrigerated. But don’t worry, a quick zap in the microwave and they will soften right up and taste fresh again. And more good news - gluten free foods reheat in the microwave beautifully - even better than the kind made with wheat.
For a small item like a roll or slice of bread, try heating for 15-20 seconds. Then see if it needs any extra time beyond that.
If you have questions or want to learn more:
Please leave a comment below, or drop me an email at: [email protected]
Visit my Youtube channel - I have a gluten free baking playlist !
And don't forget you can sign up to get Gluten Free Baking for Beginners - there's more info in there, and more to come in the future!

russ says
Very thorough, It gives me hope that I could make this without the help of my wife.