Who doesn’t love a sweet slice of apple pie, with a tender, flaky crust? OR even better, with a scoop of vanilla ice cream? But even better than that - this is gluten free apple pie, and it is so, SO delicious!
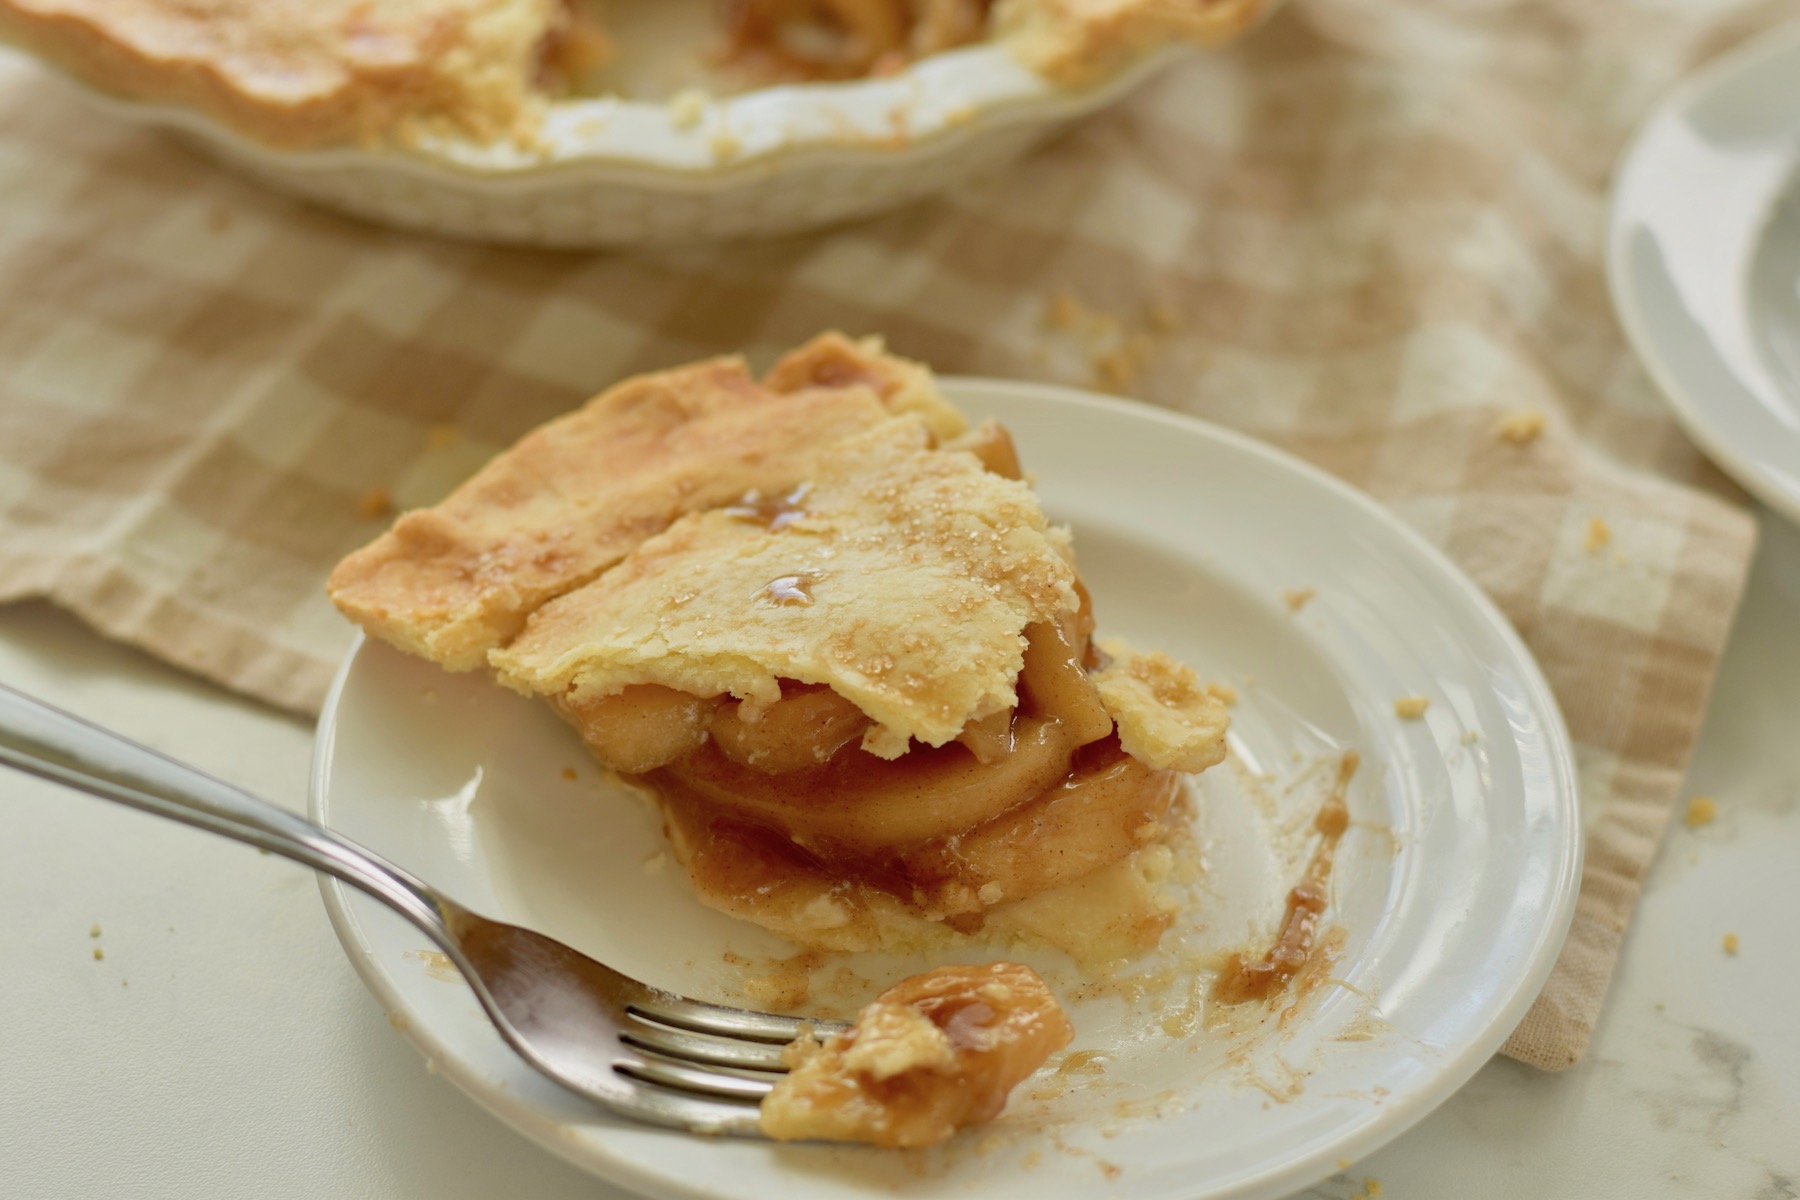
How do you say I love you without saying I love you? Make a gluten free person you love this homemade apple pie. That will do it - no words required (your mouths will be too full of pie anyway)!
Jump to:
Why you Need Homemade Apple Pie in your Life
- It’s so much easier to make than you are probably thinking. Scroll through this post, take a look at the step by step photos, and you just might end up making one ( I really hope you do). And for more help be sure to read "Best Beginner's Tips for Successful Gluten Free Baking".
- Store bought apple pie is NOTHING compared to homemade. The apples are different, tender but not mushy. The sweetness isn’t overpowering like it often is from a pie from the grocery store. And the crust is fresh and flaky, never soft or soggy.
- There’s something so “homey” about a homemade apple pie! And it will make your home smell like a little bit of heaven. There’s a reason there are so many scented candles that smell like apples and pie, you know.
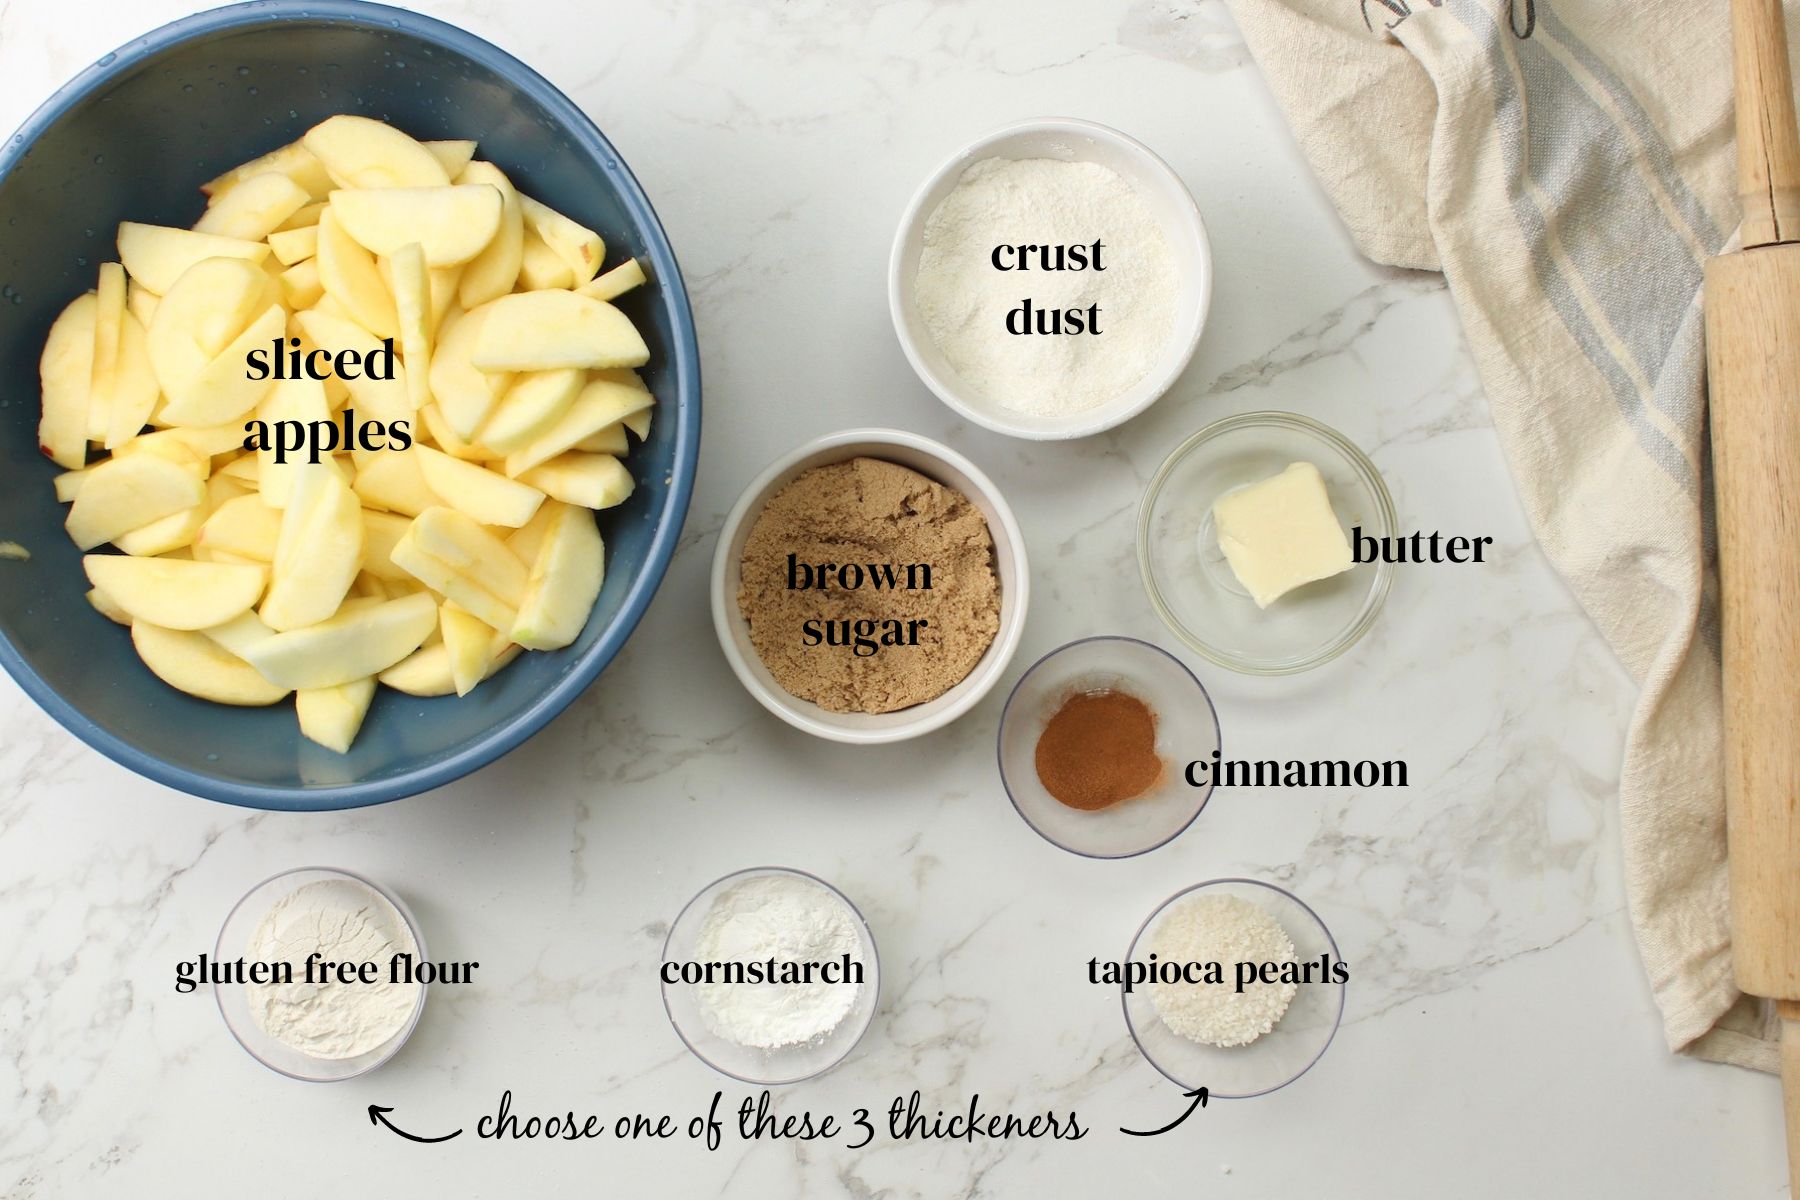
Classic Apple Pie Ingredients
- One batch of pie dough ( that makes a double crust)
- Apples (see varieties we love below)
- Brown sugar - imparts a caramelly sweet goodness
- Cinnamon - no other spice will do
- Butter - makes the pie filling silky smooth
- “Crust dust” - scroll down to learn more - it’s a game changer 🙂
Thickener - see How to Thicken Apple Pie Filling below⤵️
Start With the Best Gluten Free Pie Crust
After nearly 20 years of making gluten free pies, I’ve finally created a recipe that (in my humble opinion) is perfect. It is:
- Easy to roll
- East to shape - even with intricately detailed decorative cutters
- The cut outs and lattice hold their shape when baked - they don’t puff up too much or spread out
- It freezes well, whether it’s an unshaped crust, or a complete pie
- The crust can be made well in advance
You can find the recipe, along with extra tips and help for beginning gluten free pie bakers right here: The Best Gluten Free Pie Crust Recipe (Flaky and Easy)
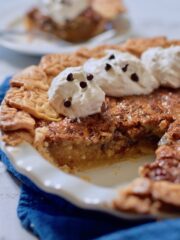
We always bake apple pie for our Thanksgiving dinner. Your gluten free Thanksgiving menu wouldn’t be complete without this pecan pie (which has chocolate chips!)
Basic Tools for Making Apple Pie
As far as making the crust goes, you can find all the info about that in my Gluten Free Pie Crust post. But here’s a quick rundown of the basic things you’ll need to bake an apple pie from scratch:
- Pie dish
- parchment paper or plastic wrap
- rolling pin
- Large bowl
- saucepan
- coarse sugar
- apple peeler
- pastry brush
Best Apples for Pie
Not every apple makes a good pie. There are some apples that wouldn’t work at all in a pie, and plenty that do. We decided to test our family’s three favorite pie apples to see which ones were the most popular as the filling in my gluten free apple pie. These are Honeycrisp, Granny Smith, and Golden Delicious. Here’s what we learned -
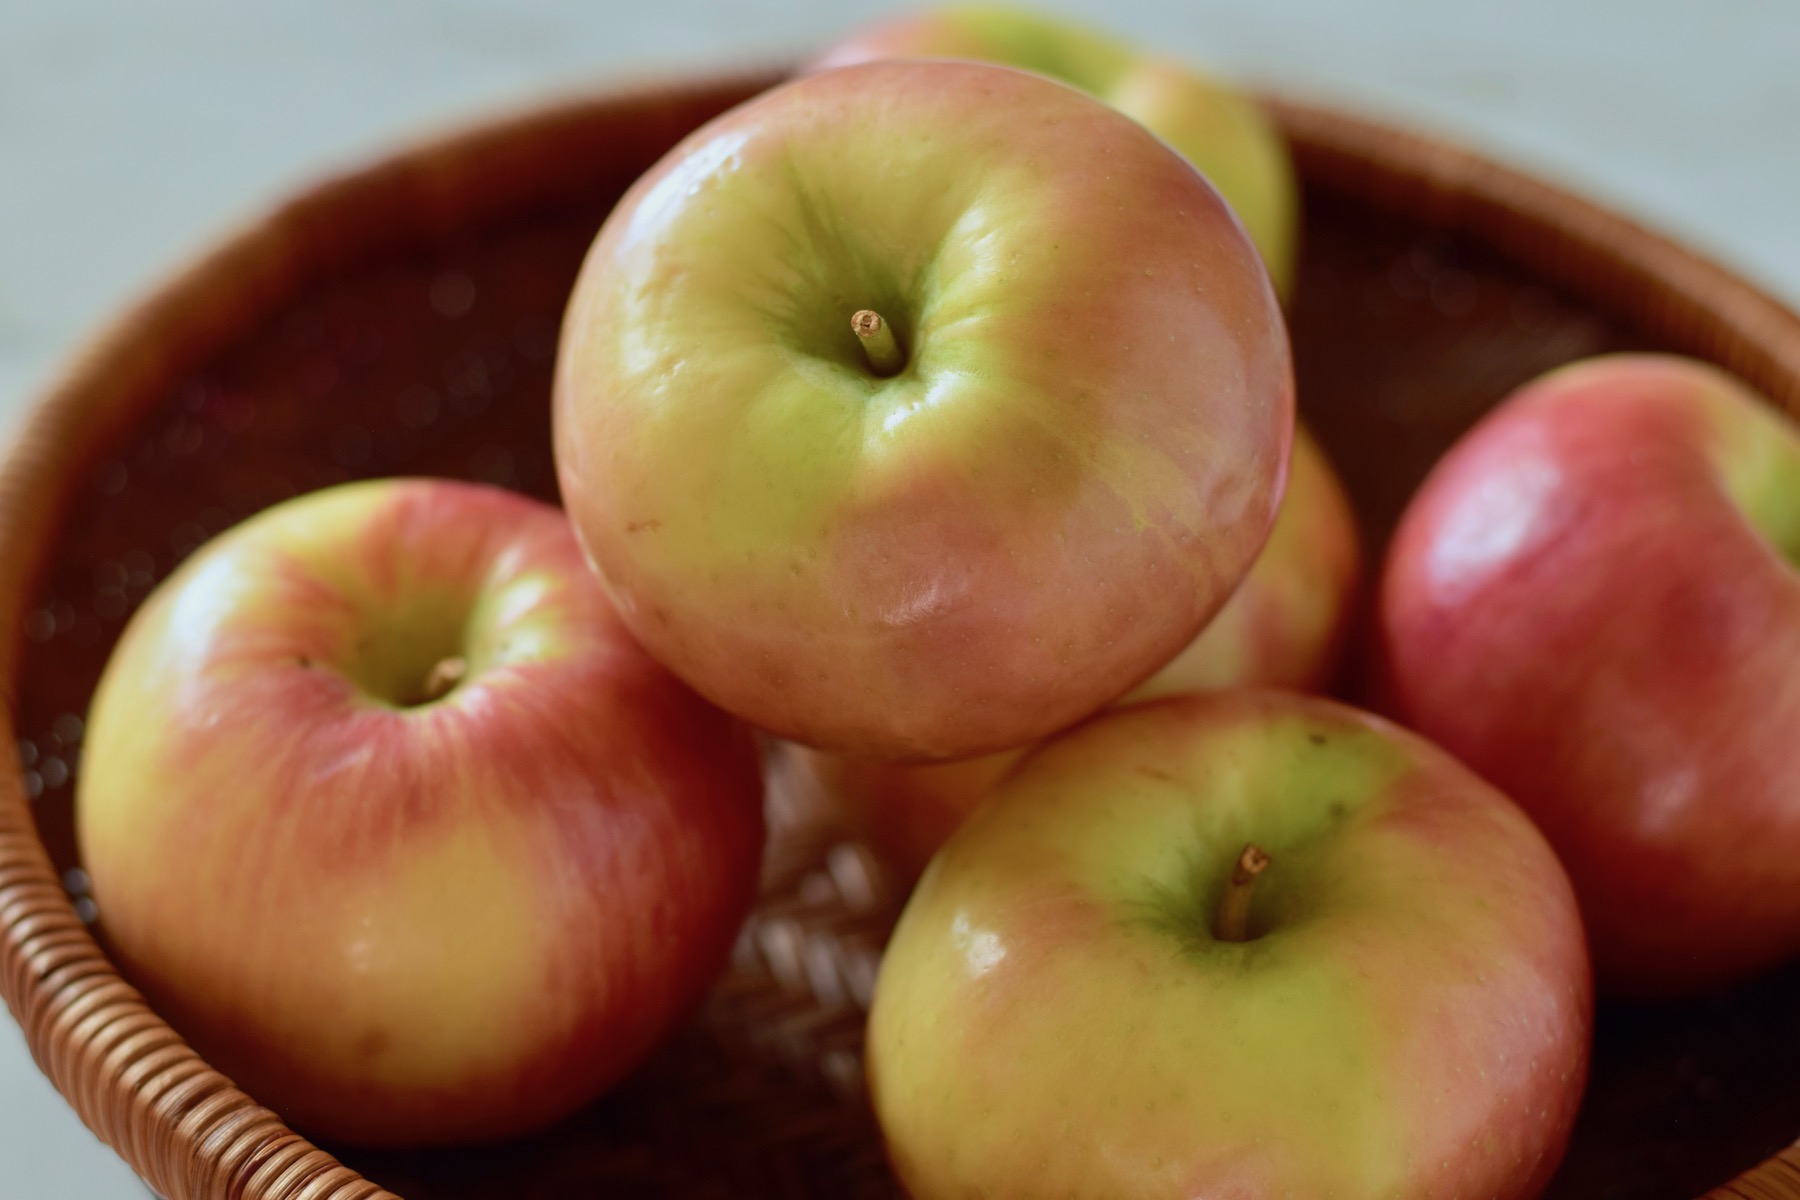
Honeycrisp Apples
- Best overall flavor, both for snacking and pie
- Help up well in pie filling - did not turn mushy
- Our family really loved the Honeycrisp apple pie! As a snack or in a pie, Honeycrisp apples are a family favorite.
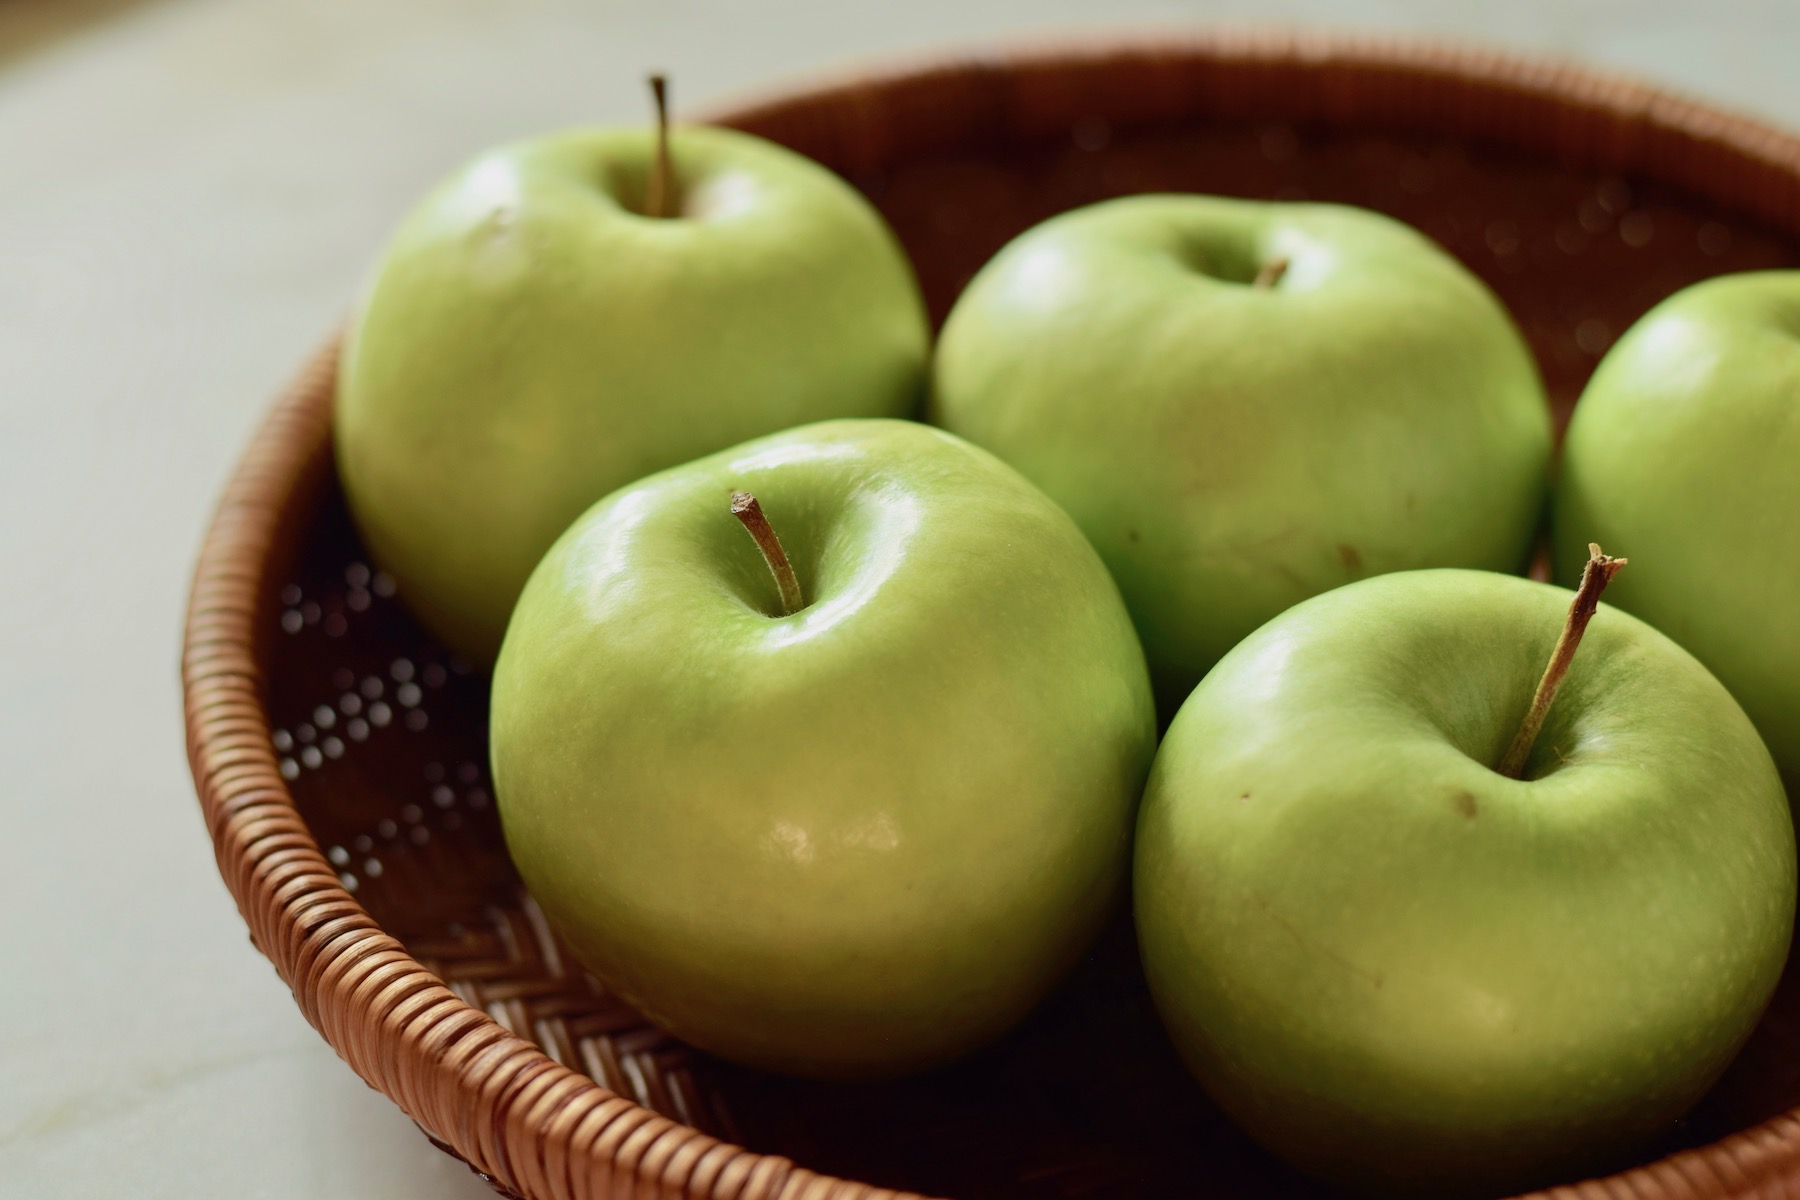
Granny Smith Apples
- Has a very tart, almost sour flavor when it’s uncooked
- Has a very tangy flavor when baked in a pie - not sour at all. The tang was a perfect compliment for the sugary flavors on the pie.
- It did not turn mushy when baked.
- In a family-wide blind taste test, it tied for favorite with Honeycrisp.
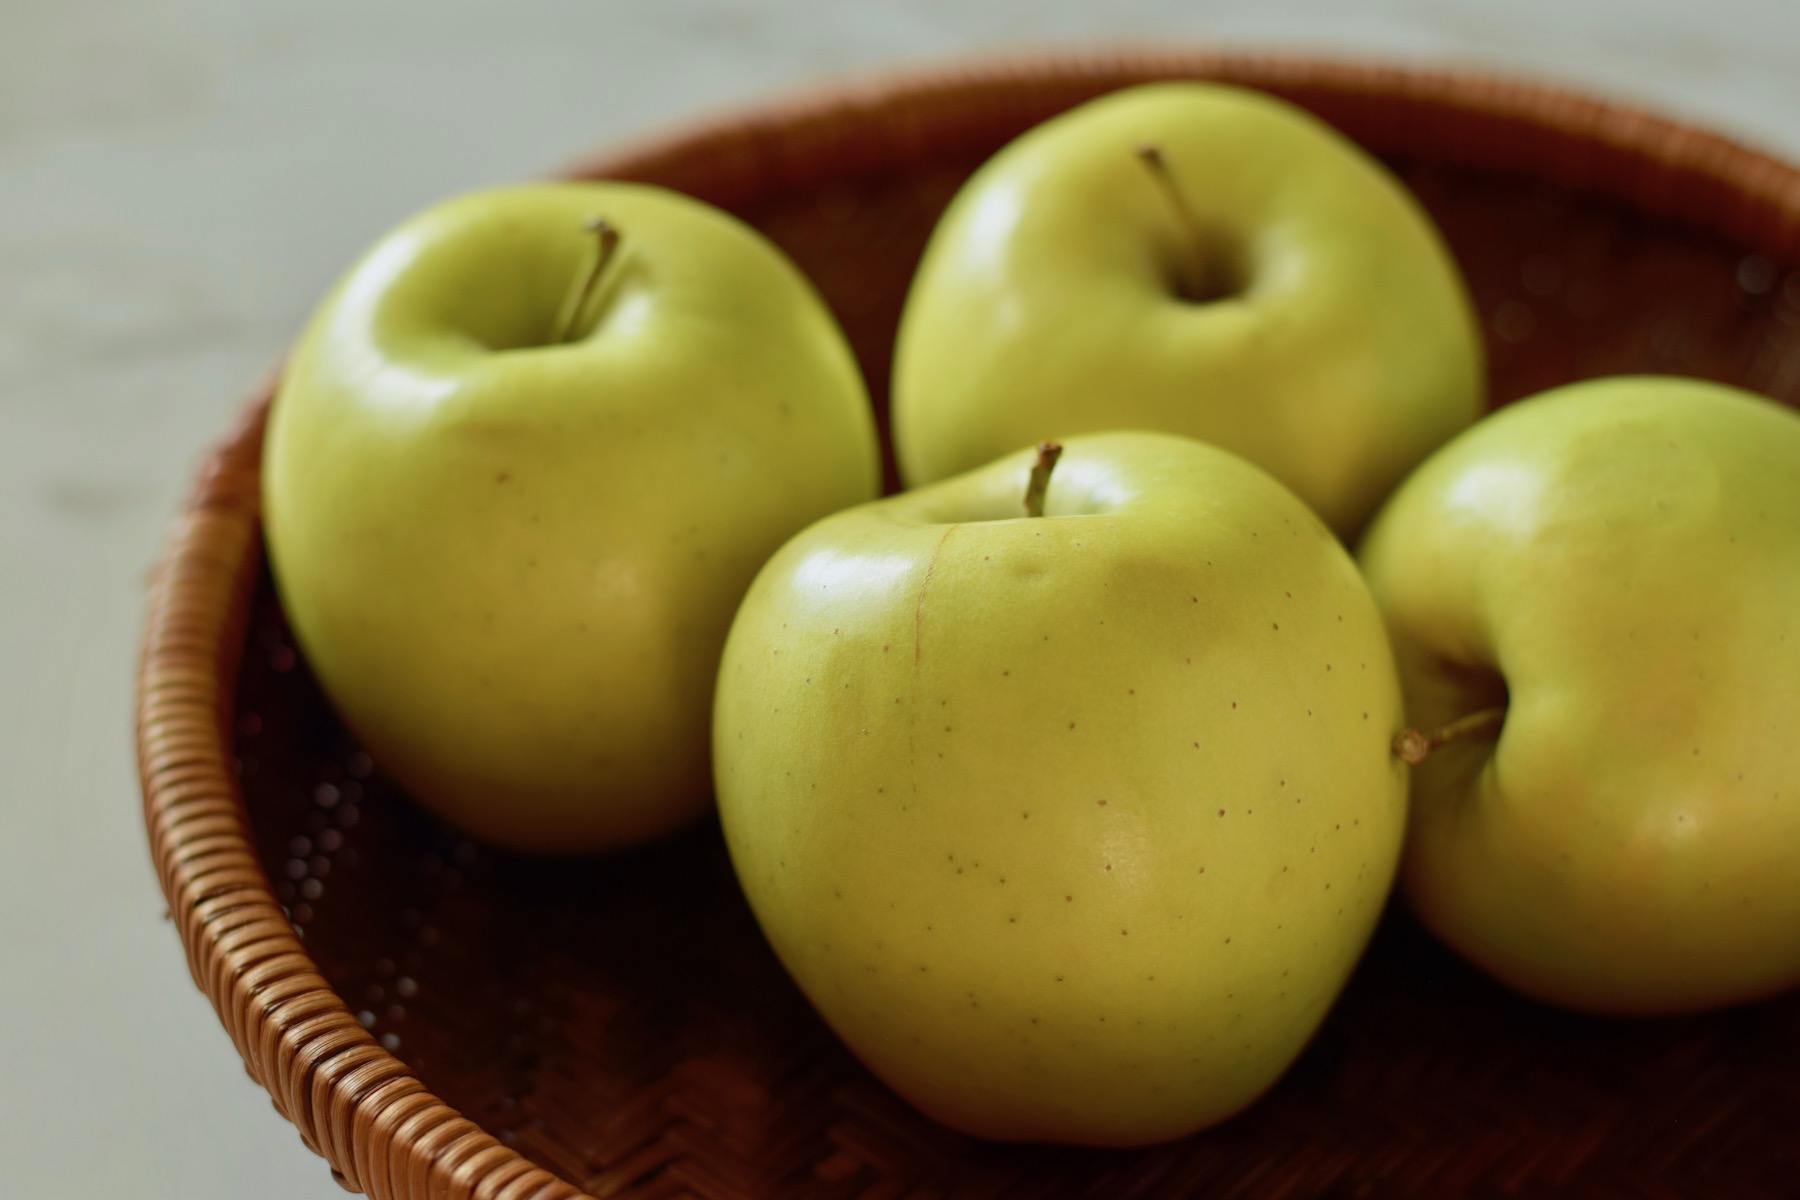
Golden Delicious Apples
- Has a mellow, sweet flavor. Good for snacking and baking.
- The texture held up well when baked in a pie.
- The flavor was good, but not the most favorite of the three we tested. Our family preferred the tart and tangy apples in pies over this sweet one.
- If you want a sweet, neutral flavor for your pie, then Golden Delicious may be the one for you.
How to cut Apples for Pie
I used to have an apple peeler machine, but mine broke years ago and I haven’t really missed it. You really only need a hand peeler ( also called a potato peeler), a sharp knife, and a cutting board.
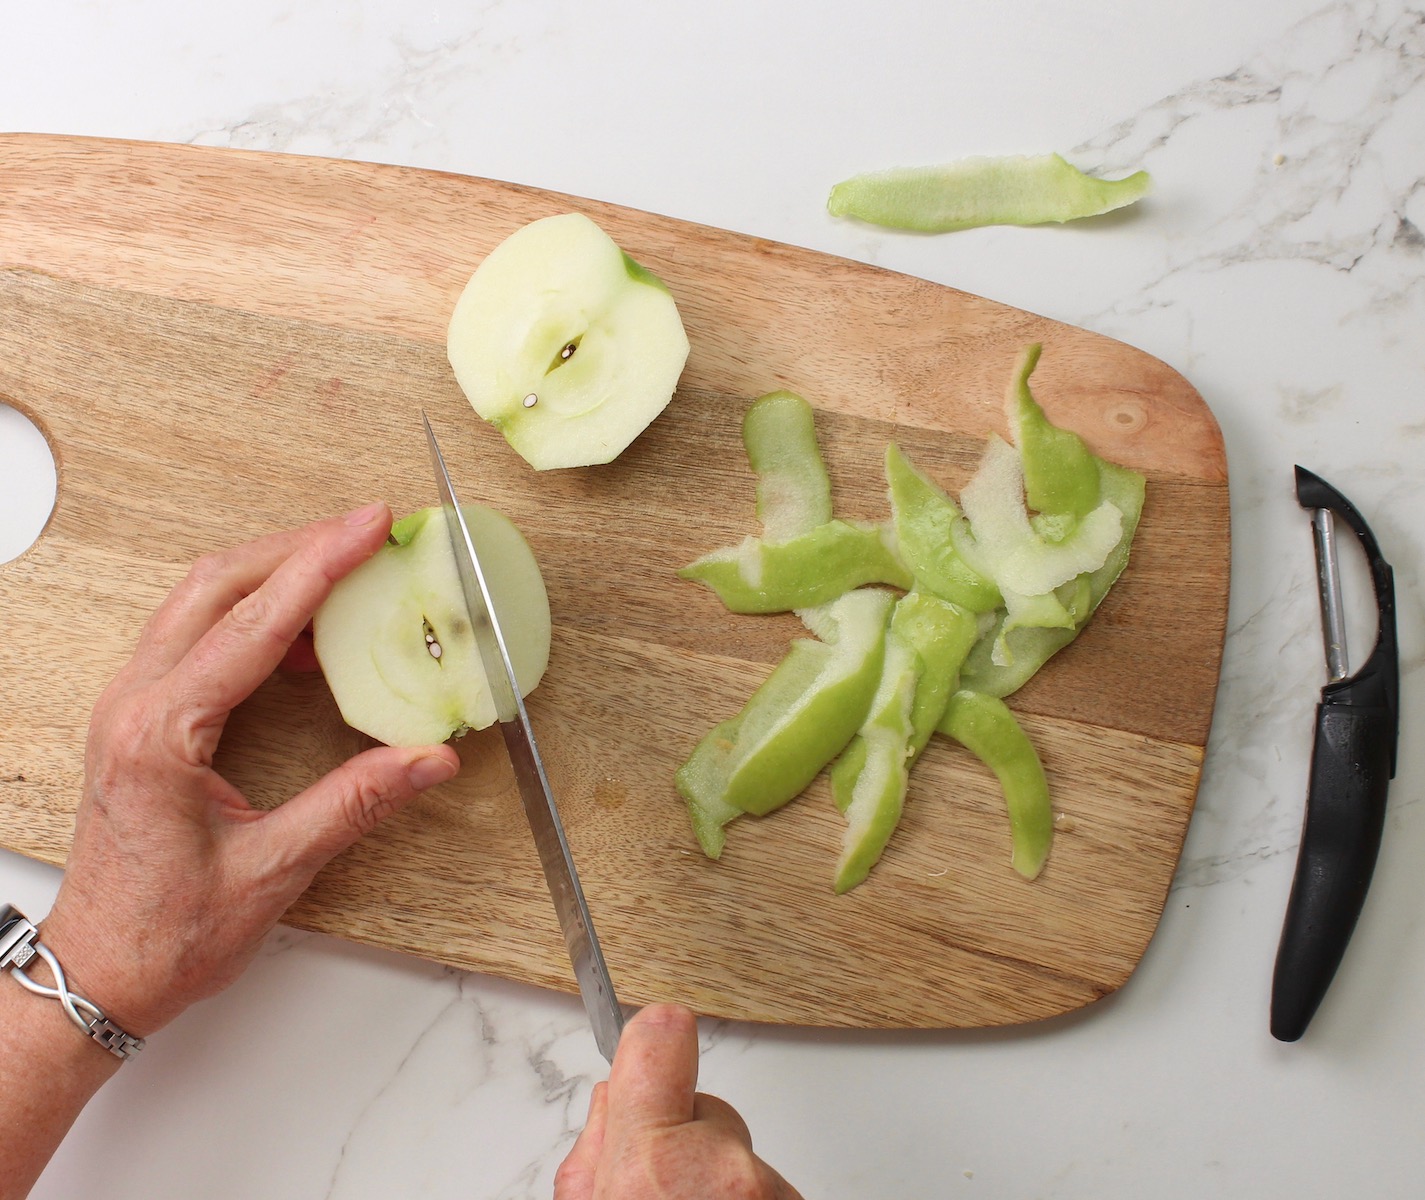
Here’s all you need to do:
- Wash your apples and peel the skin off using a hand peeler.
- On the cutting board and with a sharp knife, cut the apple in half.
- Now cut thin slices (roughly ½ inch thick or so) avoiding the core, as shown in the picture.
How to Thicken Apple Pie filling (using gluten free ingredients)
Exactly how to make the filling will be shown below in the step by step section, but I definitely learned some things when I was testing apple pie filling that I want to pass on to you.
We tested 3 different gluten free thickeners for my apple pie recipe - tapioca pearls, a gluten free flour blend, and cornstarch. Here’s our results:
| Ingredient | Pros | Cons | How was it in pie? |
| tapioca pearls | Often used in fruit pies. It has a nice, gel-like texture that works well in apple pie | Once you toss it with apples and sugar it has to sit for at least 15 minutes to soften before you can start cooking the filling. | It worked very well in apple pie. Has more of a gelatinous texture than the other thickeners, and it definitely wasn’t runny. |
| gluten free flour blend | If you’re a gluten free baker, you will typically have GF flour on hand so, maybe less trips to the store? | The most expensive option. It was also very dry. It stuck to the bottom of the saucepan and started to burn. I had to add ½ cup extra water before the apples got cooked enough. | It worked surprisingly well in the finished apple pie. The texture was smooth and silky once it was baked. It wasn’t anyone’s favorite of the 3 fillings, however. |
| cornstarch | Cheap and easy to find in stores | It tends to clump together as it cooks in the saucepan if it’s not sprinkled evenly over the apples and tossed thoroughly. | This was our favorite thickener out of the three. It created a very silky smooth filling once the pie was cooled completely. |
Substitutions for a Gluten Free Vegan Apple Pie
- Swap the cold butter in the pie crust recipe for Earth Balance buttery spread, or Country Crock plant butter sticks
- Swap the cream in the pie crust recipe for a non-dairy milk, like cashew milk or coconut milk
- Replace the butter in the pie filling recipe with Earth Balance - it’s got a great flavor, and a rich and creamy texture in the apple mixture
Gluten Free Apple Pie - Step by Step

Step 1. Slice apples as described above
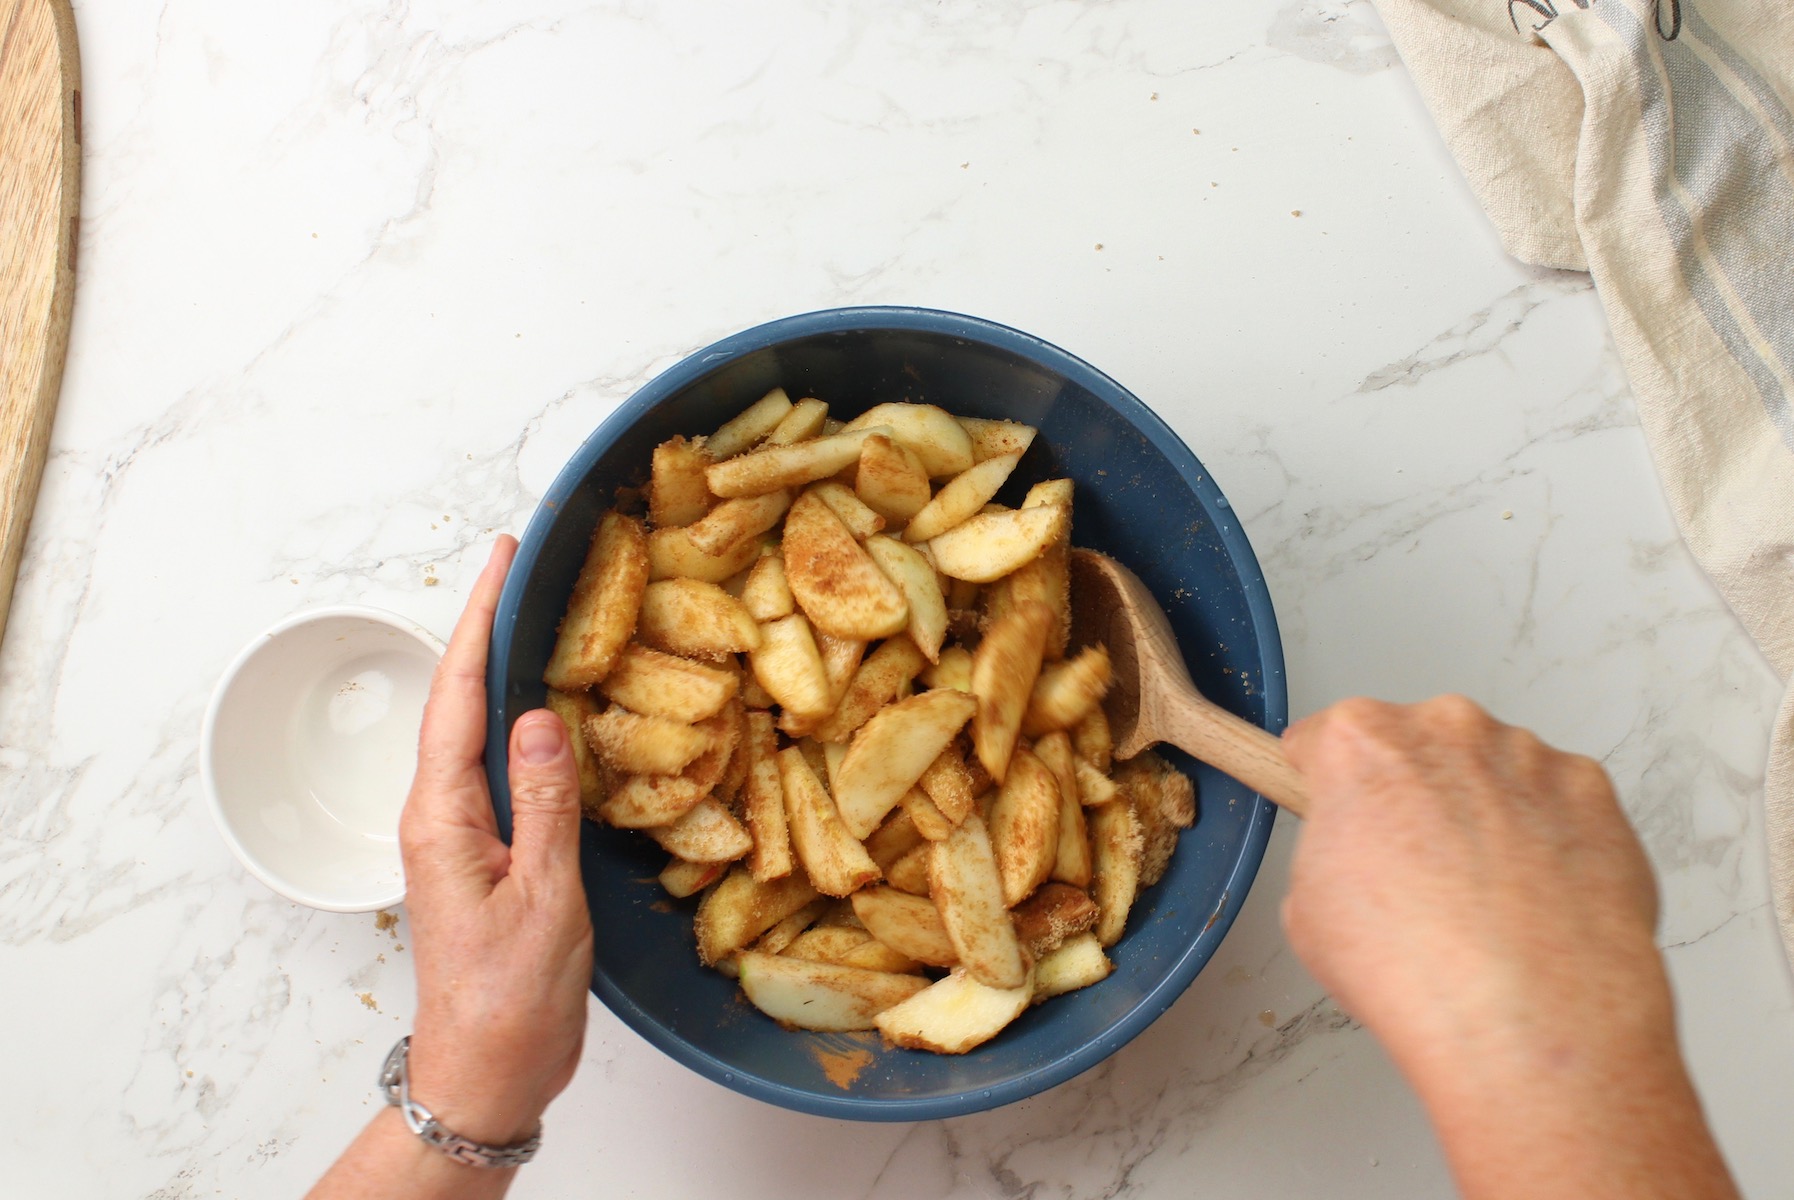
Step 2. In a large bowl, toss apple slices, brown sugar, cinnamon and your thickener of choice.
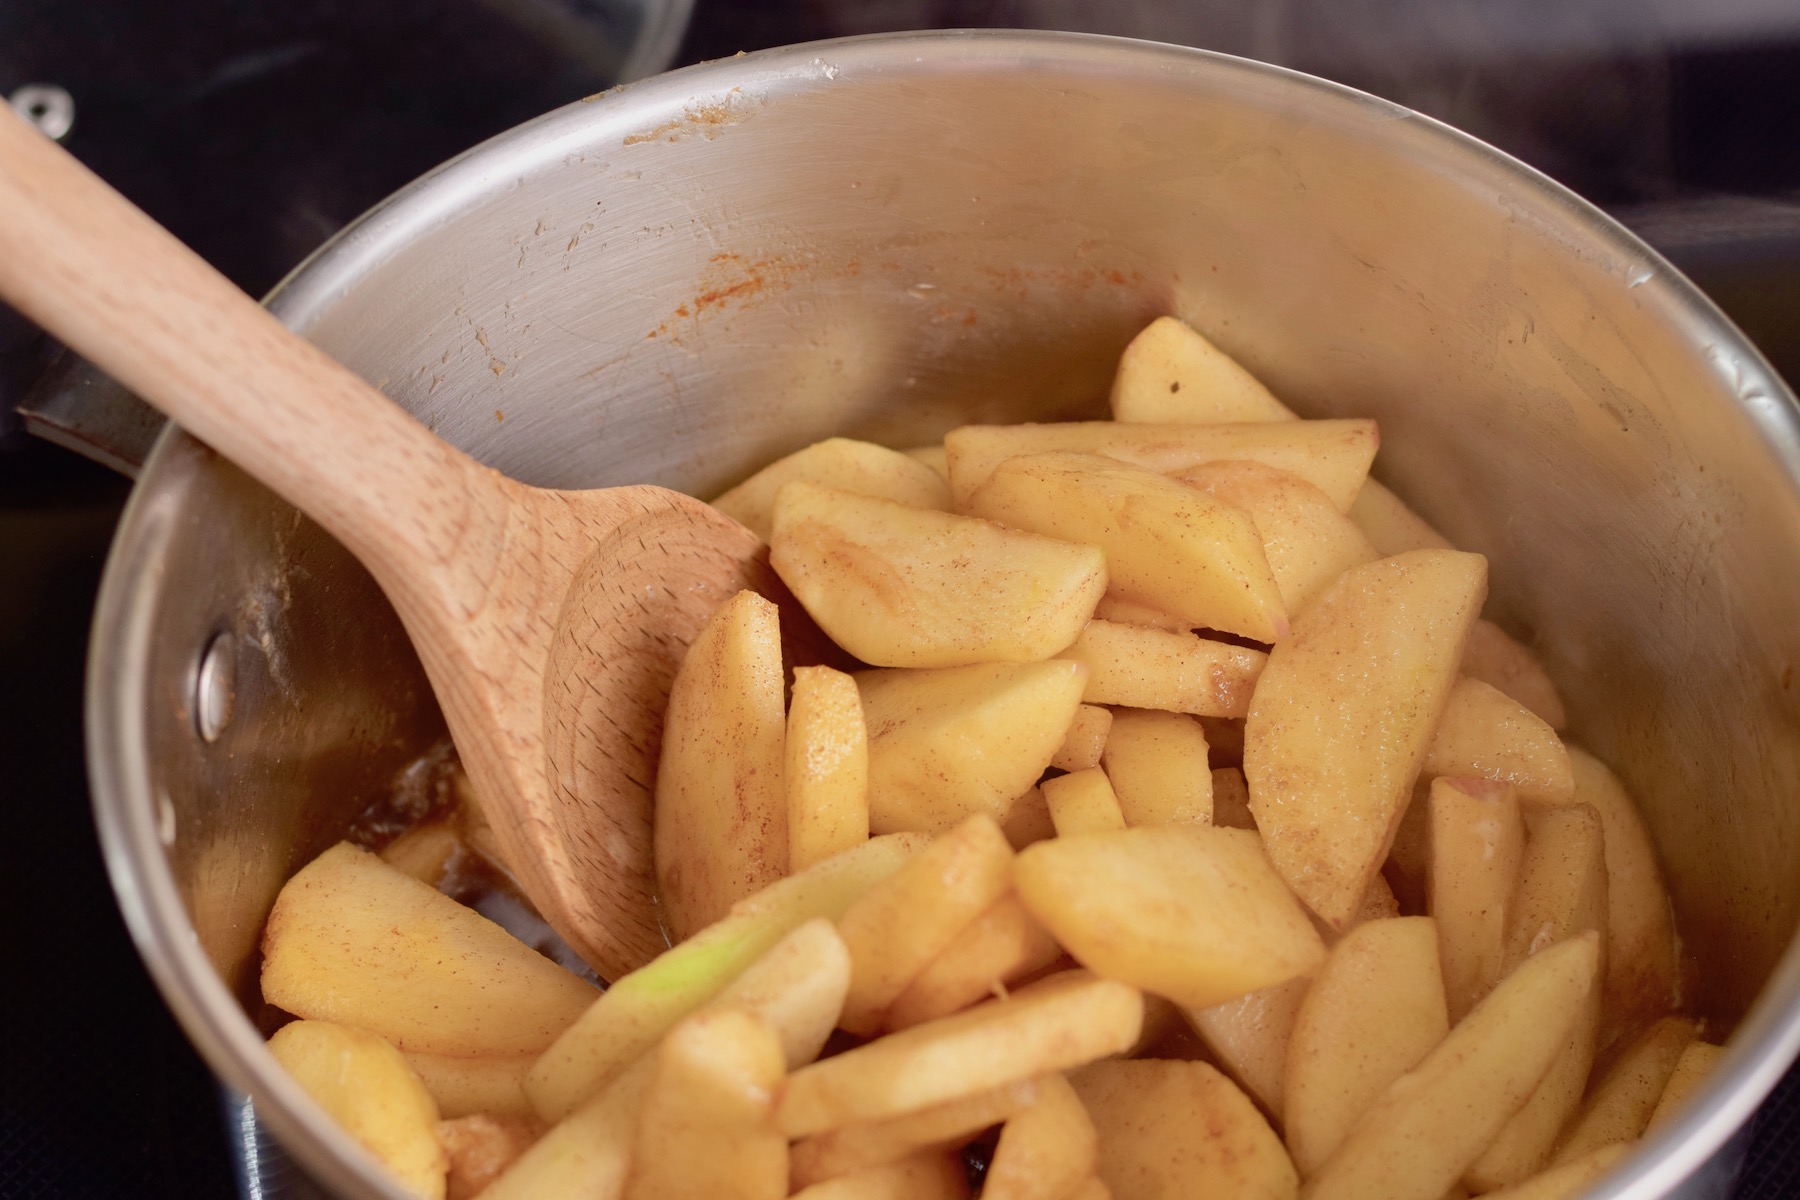
Step 3. Add this filling plus the butter to a saucepan set on medium heat. Cook for 5-10 minutes until the apples are firm but no longer crunchy.
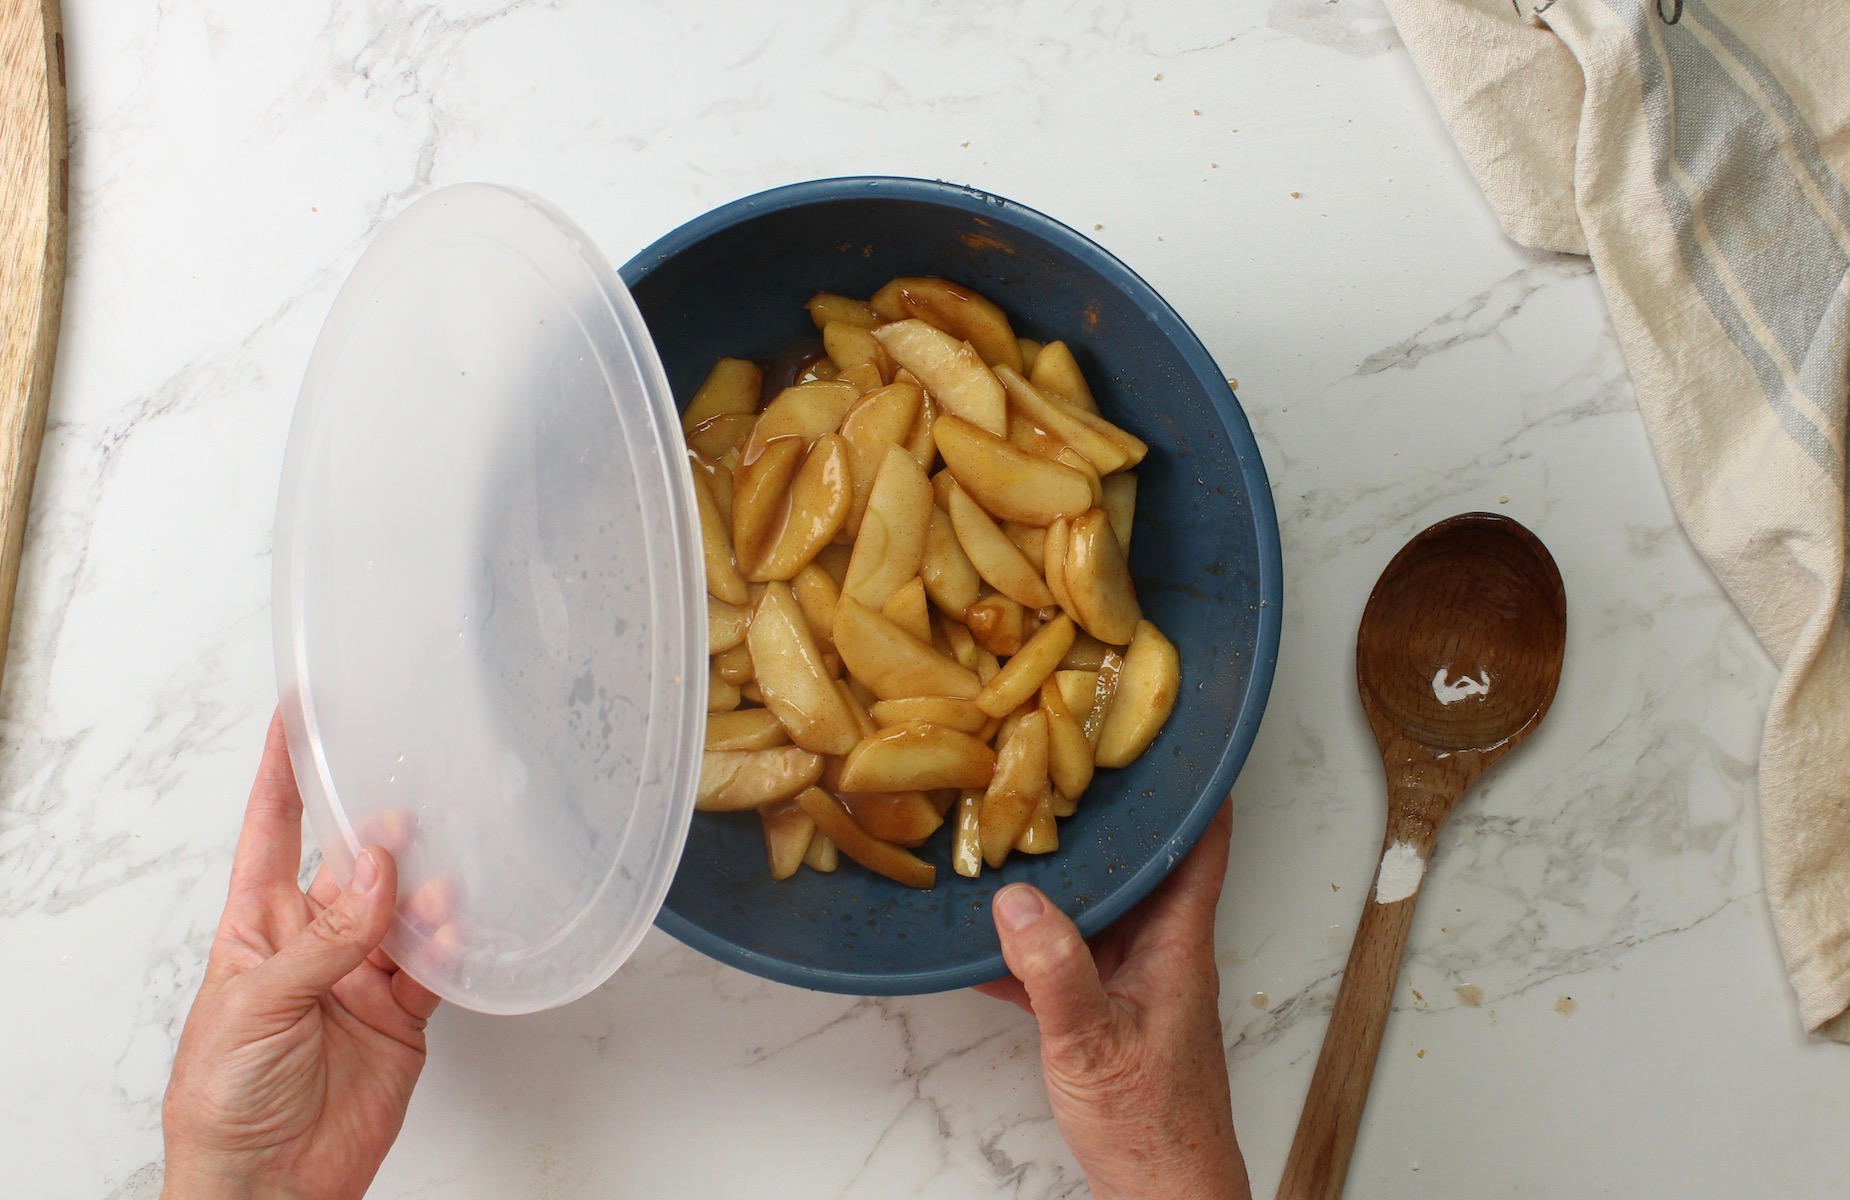
Step 4. Pour back into the bowl, cover and chill until cool.
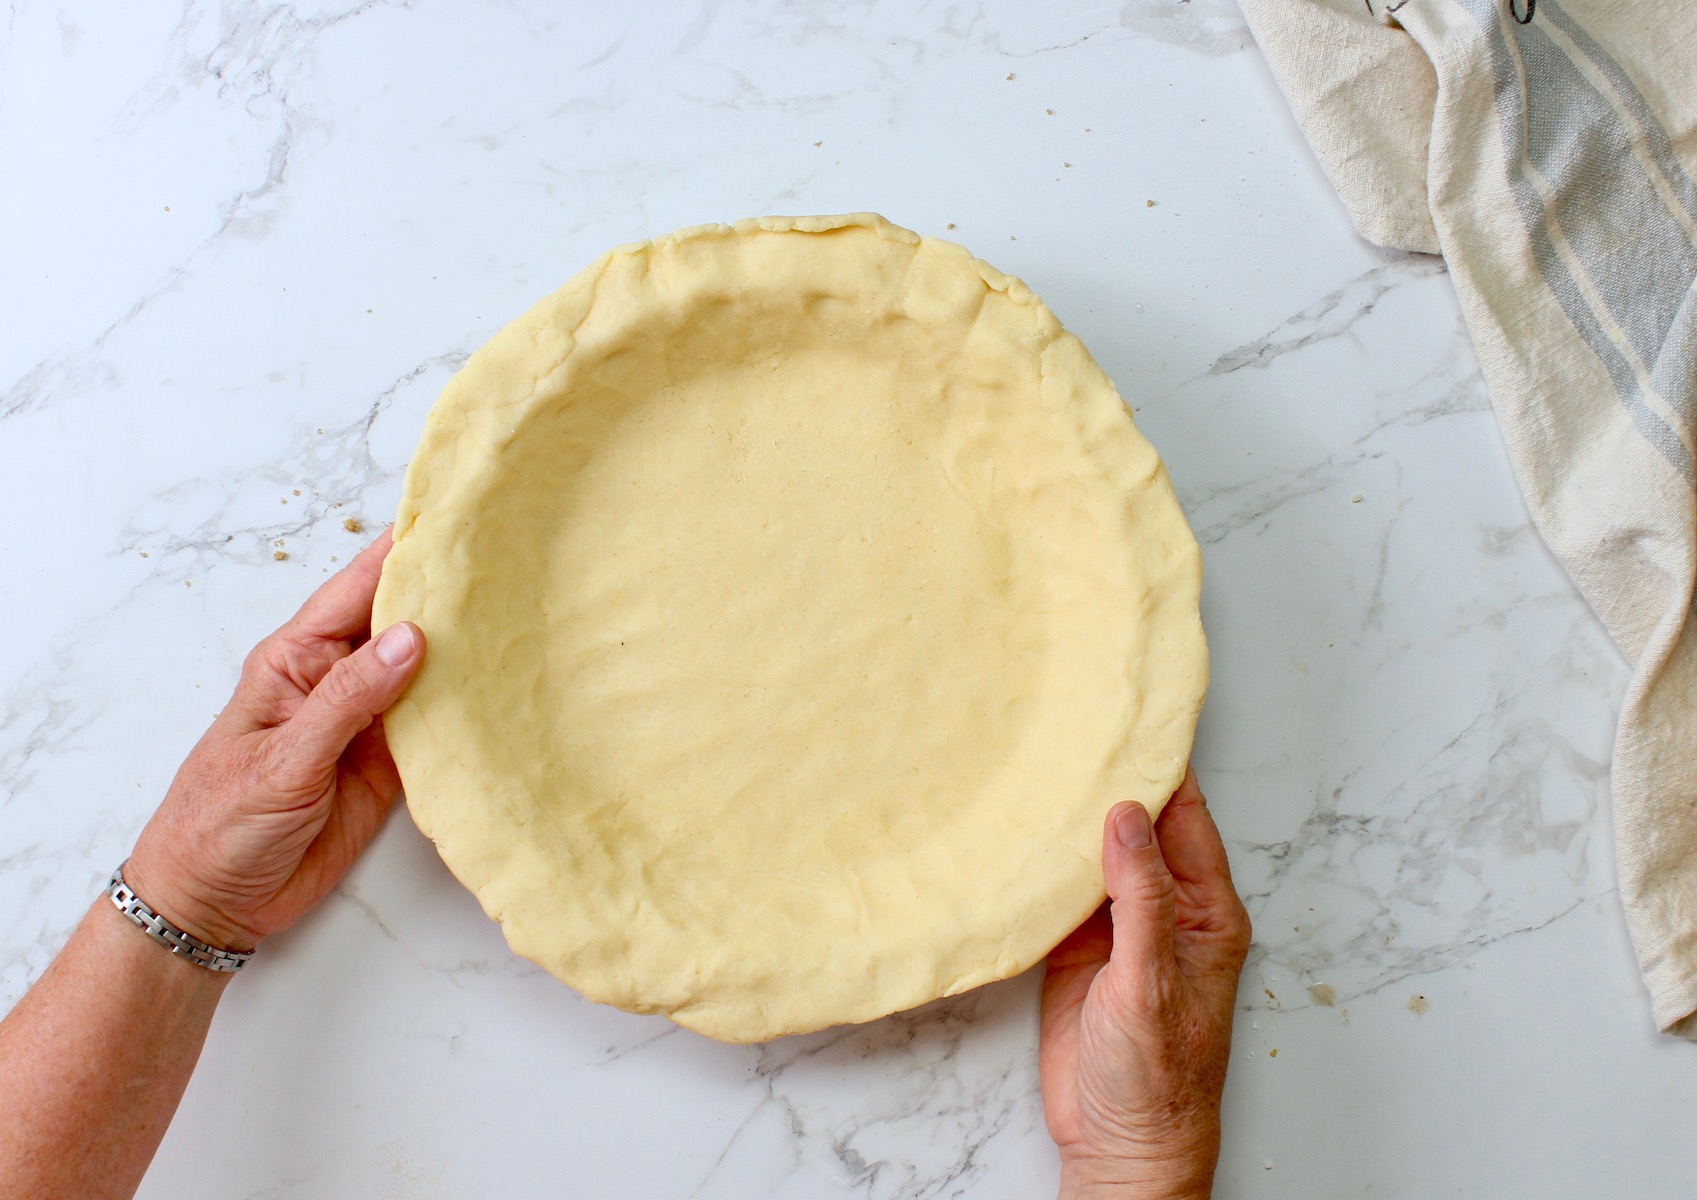
Step 5. Using my gluten free pie dough recipe, roll out the bottom crust and press it into the pie pan.
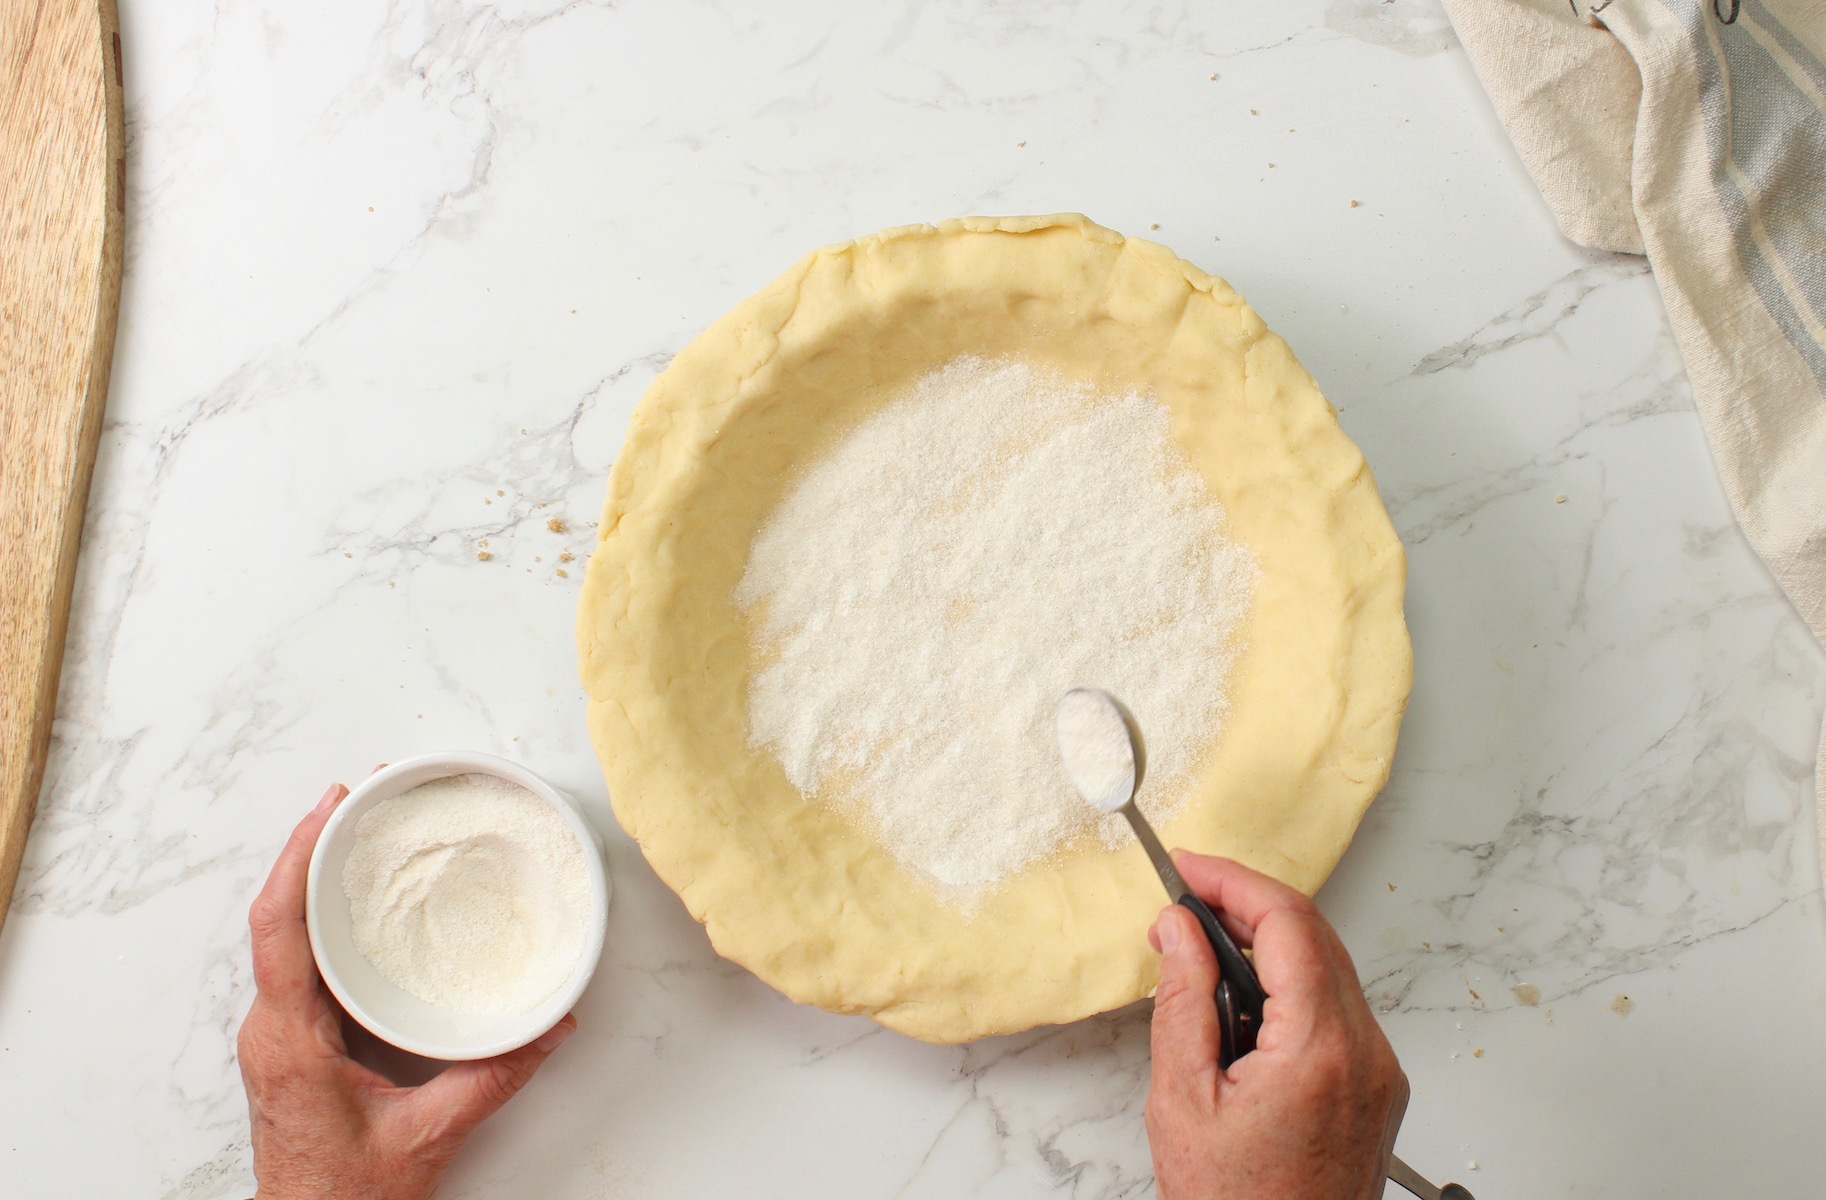
Step 6. Add a thin layer of crust dust. Scroll down to learn why
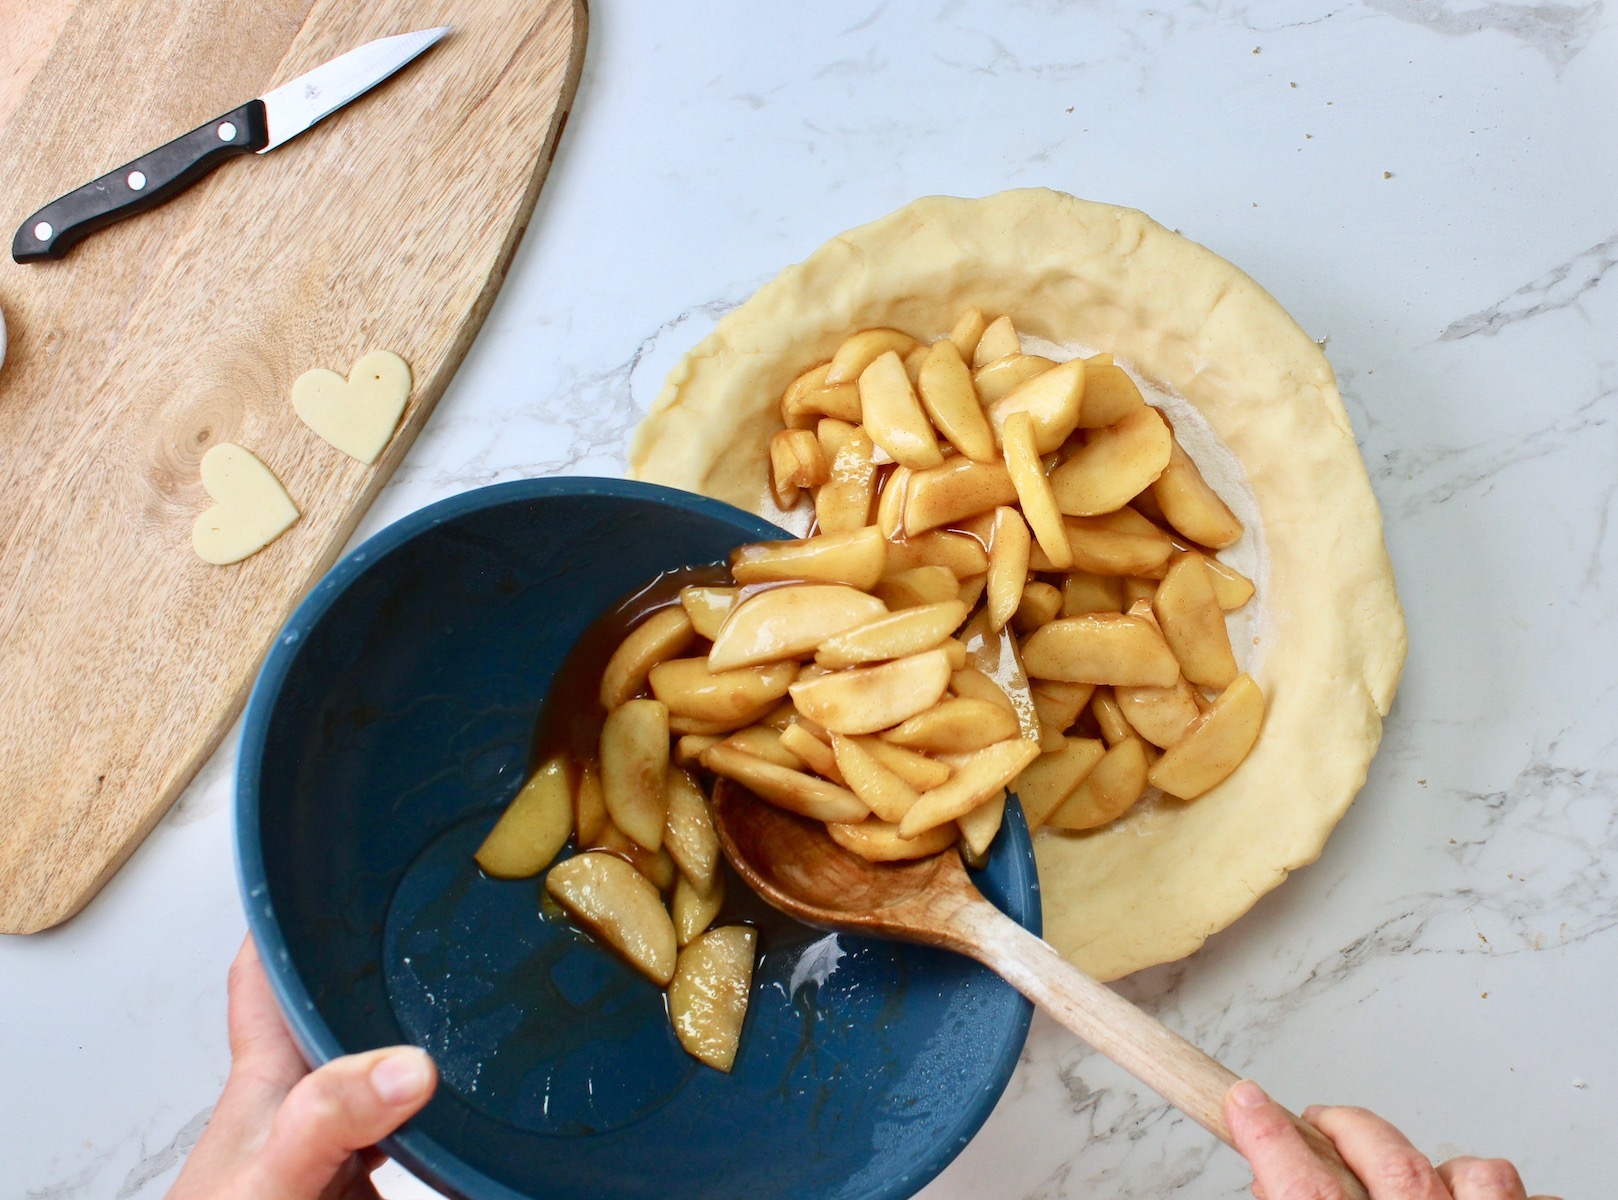
Step 7. Add the cooled filling to the pie crust in the pan.
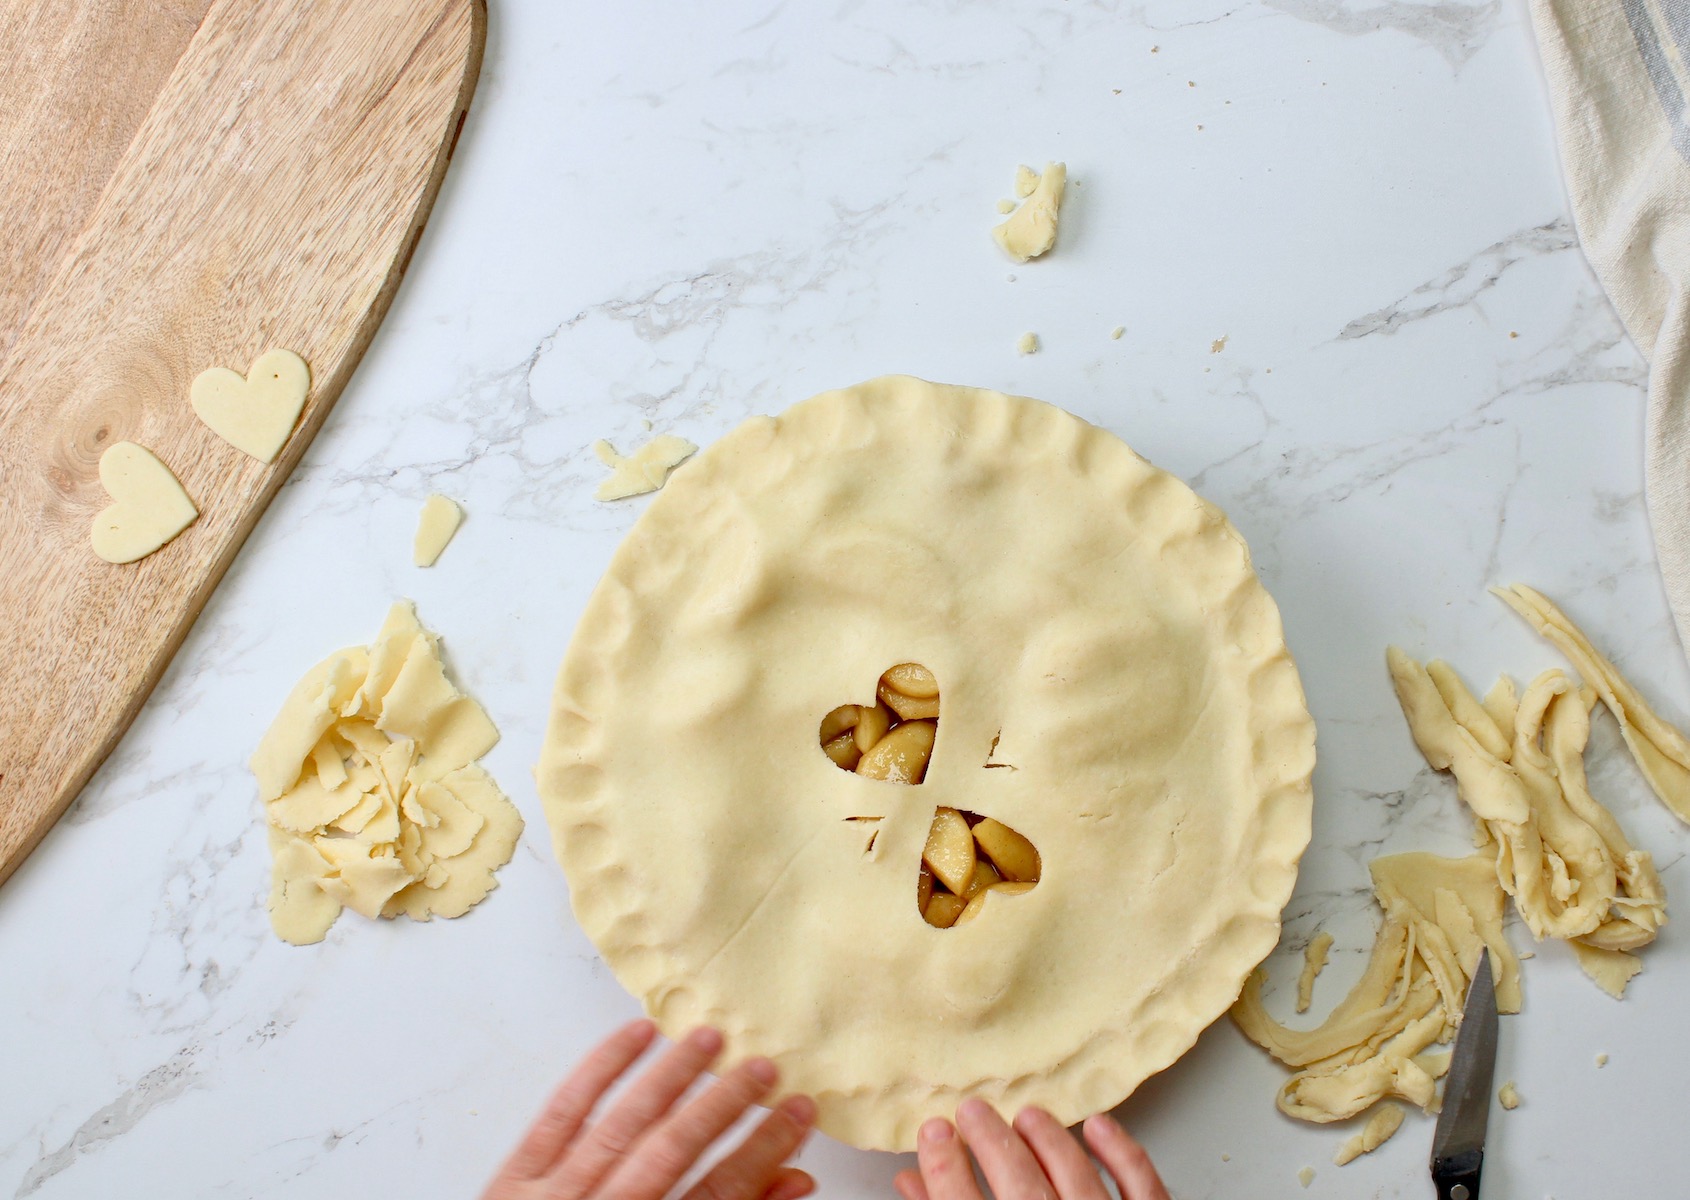
Step 8. Roll out the top crust, add to the top of the pie, and crimp the edges together. Chill in the fridge while you preheat the oven to 350℉
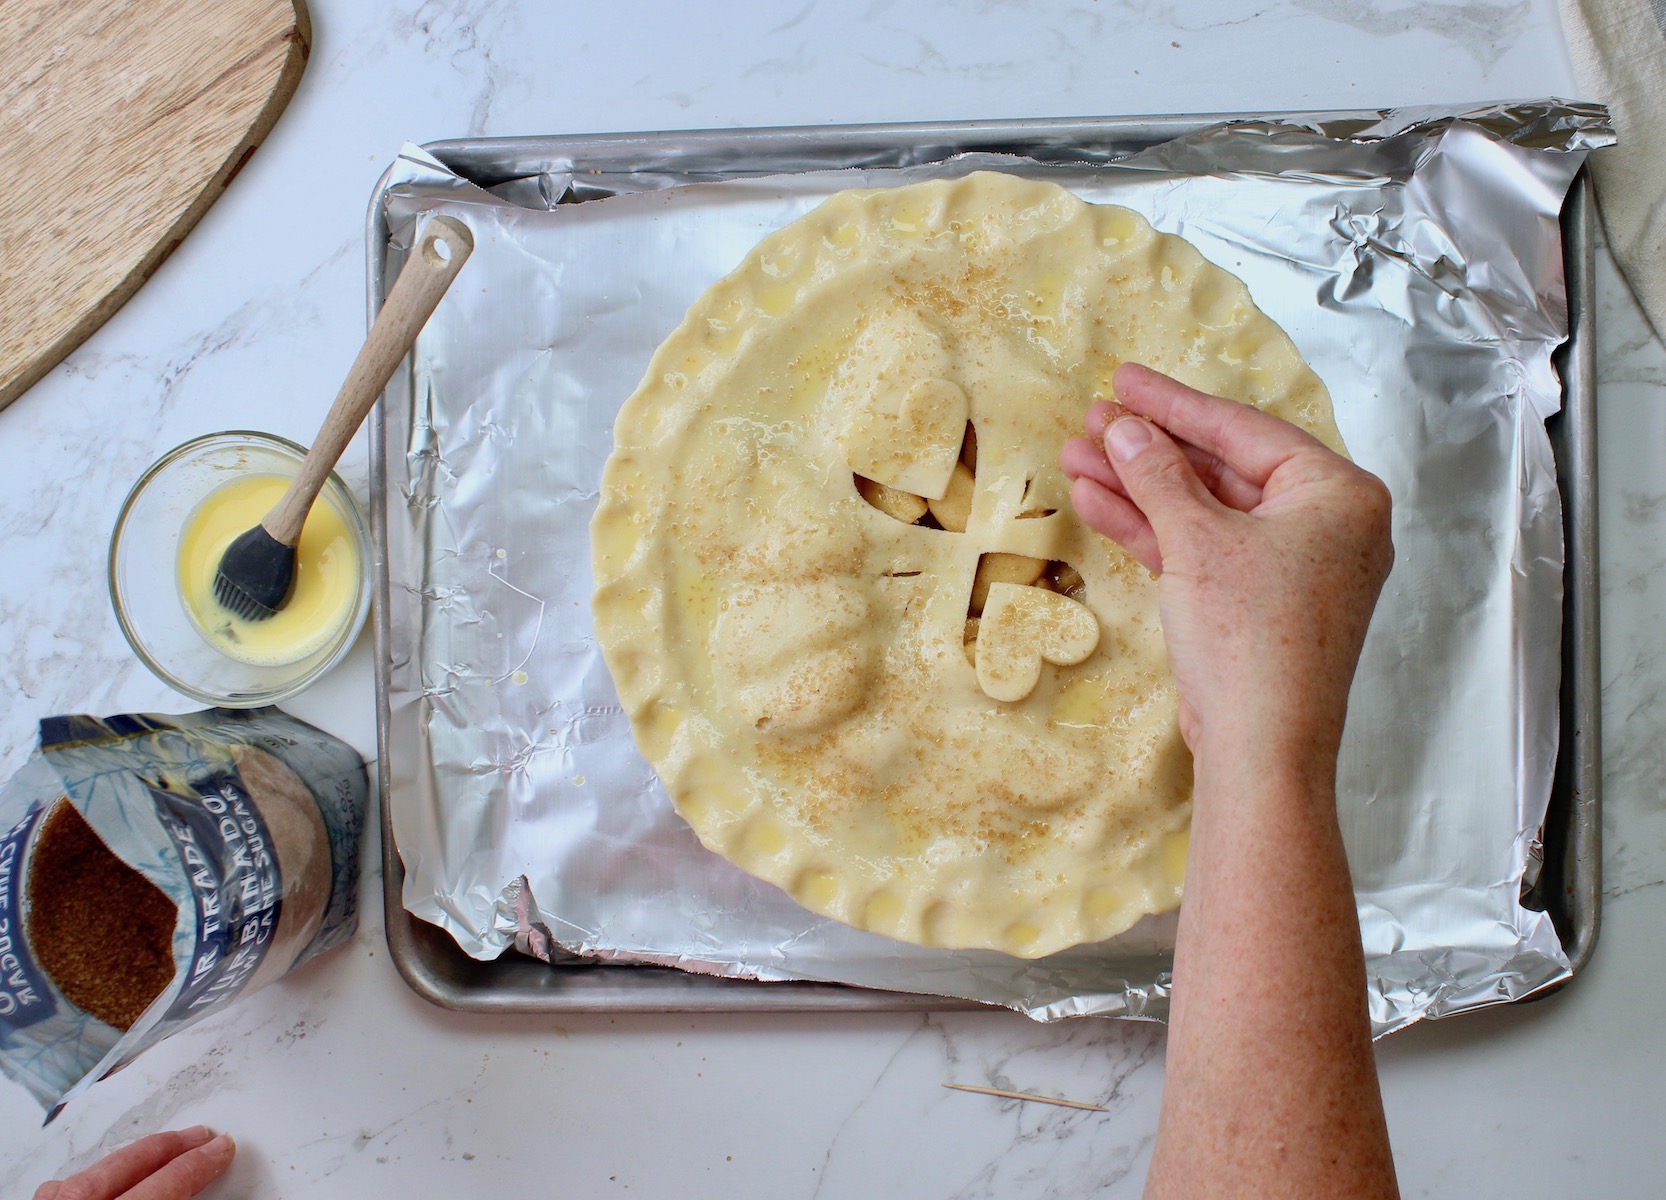
Step 9. Put the pie on a baking sheet lined with aluminum foil (to catch any spills during baking). Brush with an egg wash and sprinkle with coarse sugar if you like.
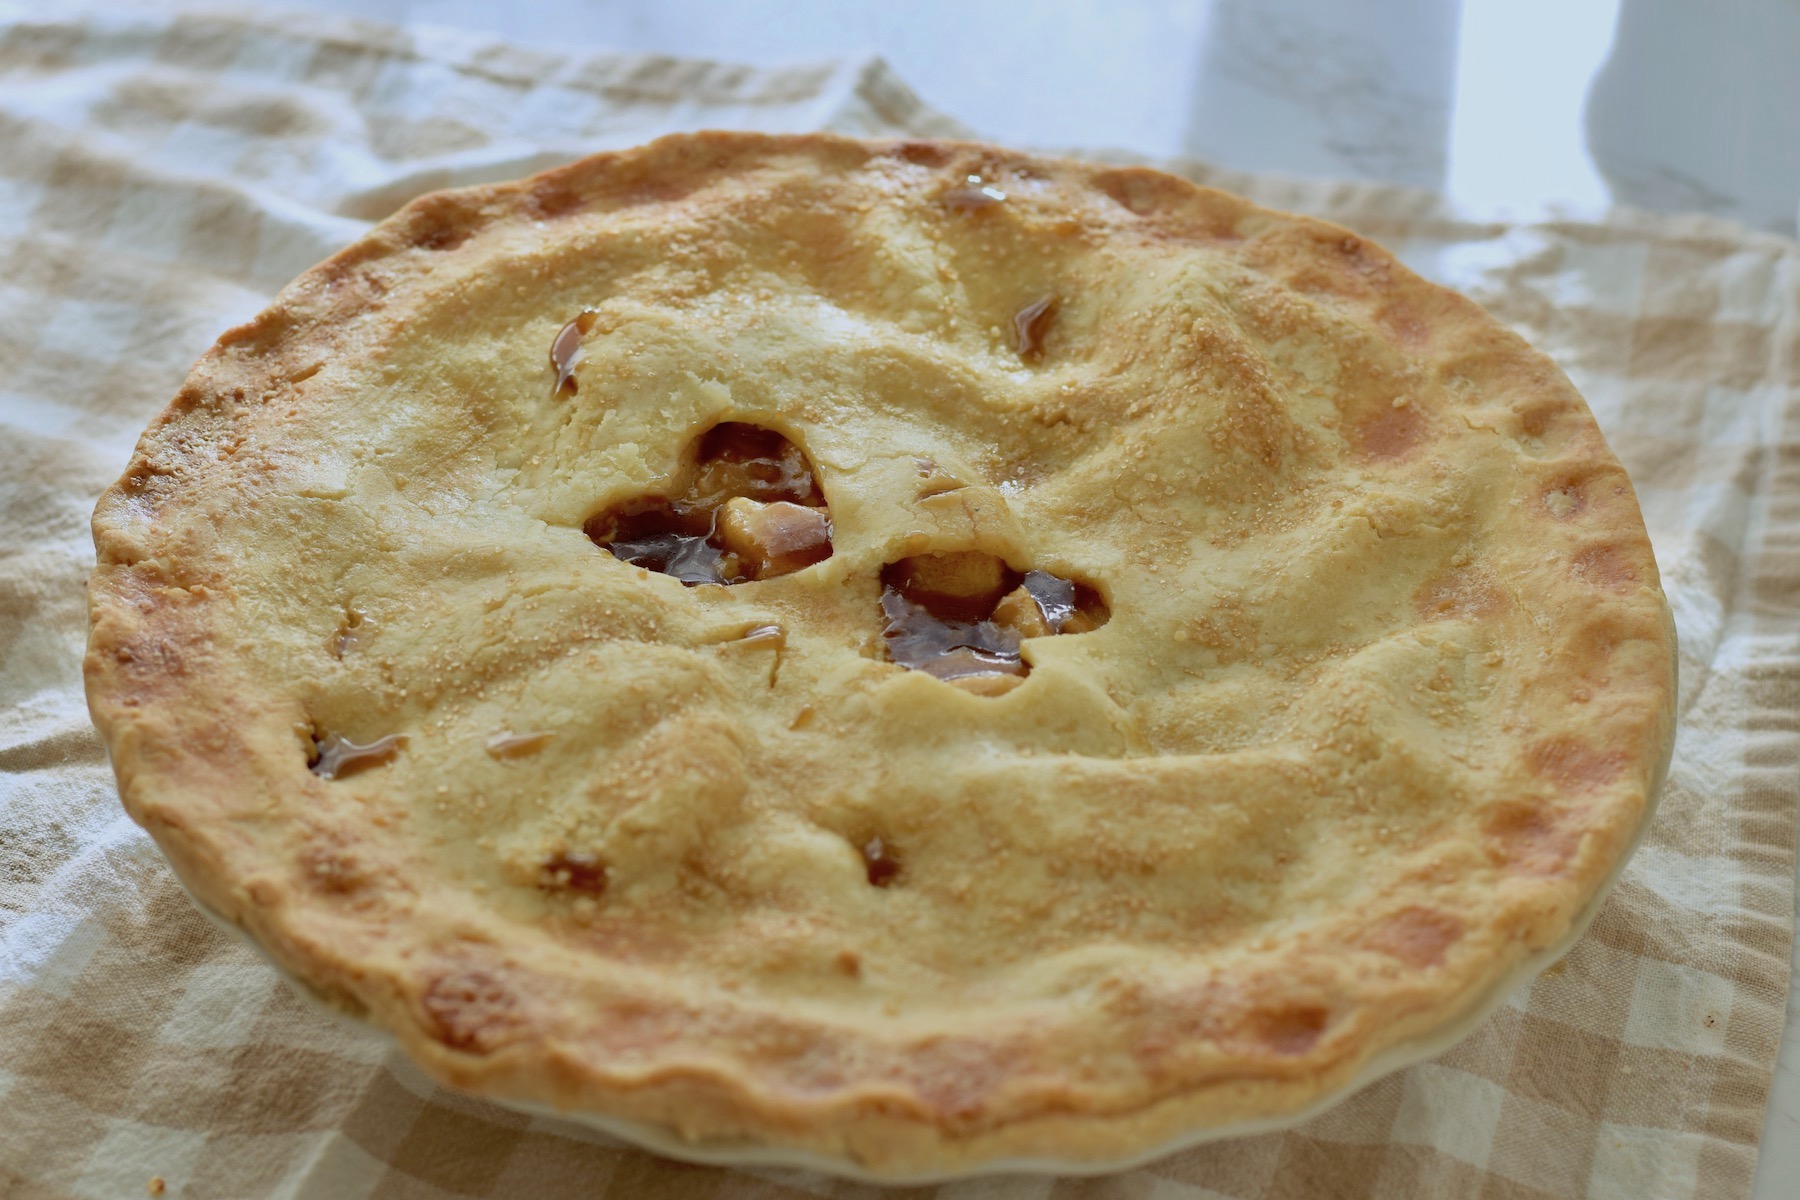
Bake at 350℉ for 50 minutes, or until crust is golden brown and an internal thermometer reads 200℉.
Let it cool completely before cutting so the starches in the filling and the gluten free crust can solidify and set. If you cut into it when it’s still hot it will be runny and liquid inside.

What is Crust Dust?
Crust dust is a combination of equal parts granulated sugar and flour. When baking a juicy fruit pie, a thin layer of crust dust inside the bottom of the pie crust before adding the filling will prevent the crust from becoming too saturated with juicy filling and getting soggy.
When I know I’ll be making a lot of pies ( like for Thanksgiving), I like to keep a little bowl with a lid filled with crust dust on my kitchen counter so I’ll always be ready!
Print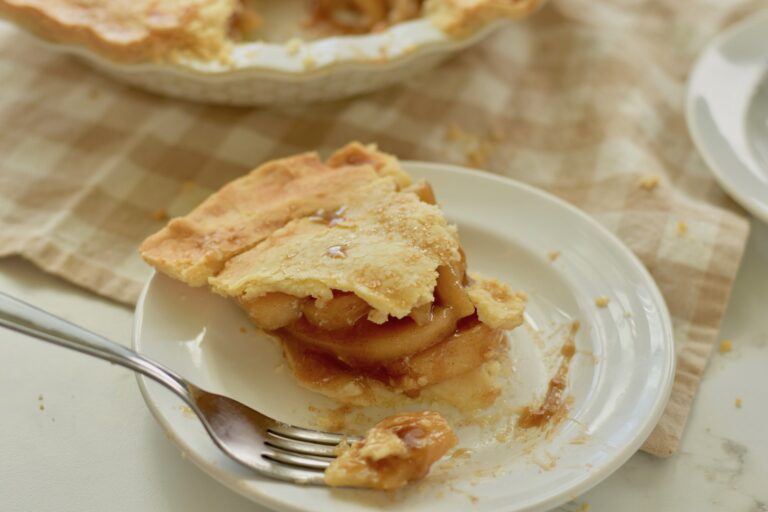
Best Homemade Gluten Free Apple Pie Recipe With Flaky Crust
How do you say I love you without saying I love you? Make a gluten free person you love this homemade apple pie. That will do it - no words required (your mouths will be too full of pie anyway)!
- Total Time: 2 hours 20 minutes
- Yield: 6 to 8 slices 1x
Ingredients
Apple pie filling ingredients:
- 8 cups sliced apples - this will be roughly 6 medium apples
- ¾ cup brown sugar
- 1 ½ teaspoons cinnamon
- 2 tablespoons butter - salted or unsalted is fine
Plus one of these thickeners. Either -
- 2 tablespoons gluten free flour blend,
- 2 tablespoons cornstarch, OR
- 2 tablespoons instant tapioca pearls
Other ingredients needed:
- One recipe of my gluten free pie crust
- Crust dust - equal parts granulated sugar and gluten free flour
- Egg and water for an egg wash.
- Sugar to sprinkle on the crust (coarse sugar looks especially nice)
Instructions
- Peel and slice the apples to equal 8 cups.
- In a large bowl, add apple slices, brown sugar, cinnamon, and one of the thickener ingredients of your choice. Toss to coat.
- Precook the filling: Heat the filling in a large saucepan along with the butter cut into small pieces, over medium to medium-low heat. Stir gently for 5-10 minutes until the apples are still firm but no longer crunchy.
- Remove from heat, put back in the bowl, and chill until cool.
- Roll out the pie dough as the crust recipe suggests.
- Line the pan with dough and press it in gently.
- Add a thin layer of crust dust.
- Add the cooled filling.
- Roll out the top crust, adding vents as desired. Cover the filling and crimp the edges. Chill the finished pie in the fridge while you preheat the oven to 350℉.
- Set the pie on a cookie sheet lined with foil to catch any spills that may happen as it bakes. Brush with an egg wash and sprinkle the crust with sugar.
- Bake at 350℉ for 50 minutes, or until crust is golden brown and an internal thermometer reads 200℉
- Let cool completely before serving. This is important so the filling and the gluten free crust can set - that way it won’t be crumbly or runny!
Notes
Remember these Tips for the Best Apple Pie
Cook the apple pie filling first. Cooking evaporates excess water so the crust won’t get soggy. Also raw apples in a pie tend to turn mushy as they bake. Apples contain a natural enzyme that, when heated, changes that pectin into a heat stable form which allows the apples to cook thoroughly as they bake without turning mushy.
Slice the apples fairly thin so they will cook all the way through. Thick chunks of apple leave room for more air pockets, where steam will collect during baking. Then when the steam escapes it leaves gaps between the apples and the crust.
Include the thickener - this would be flour or cornstarch or tapioca. I like to add butter too - this adds richness in much the same way that adding butter to gravy gives the perfect finish. It creates a really smooth and velvety gel.
Make sure the filling is cold when you add it to the pie crust. Crust should stay cold right up until you put it in the oven, otherwise the warm filling could make the crust soggy on the bottom. Cold pie crust will also start to become flaky as soon as it hits that hot oven.
Chill the pie dough before rolling it out, and again after filling the pie while you heat up the oven. Chilling the dough gives the gluten free flours time to get hydrated. Gluten free flour doesn’t absorb liquids very well so it needs more time than regular wheat based flour to soak up the liquids - the egg and water. Chilling also lets the dough relax and be less stiff when you roll it out. The dough might initially be stiff because the butter is cold, but the chilling time allowed the liquids/moisture in the dough to slowly work their way all the way through the parts of the dough evenly, so it will be much more elastic. So after letting it sit at room temperature for about 10 minutes, it should be ready to roll out. A well hydrated pie dough with well-developed elasticity will roll out well, and won’t shrink as it bakes.
- Prep Time: 1 hour 30 minutes
- Cook Time: 50 minutes
- Category: dessert
- Method: bake
- Diet: Gluten Free
Your Questions about Gluten Free Apple Pie
Adding raw apples to pie can cause it to have a big gap between the crust and the filling when it's baked since the apples will shrink a little as they bake. When you cook , or “pre-heat” the apple mixture before filling your pie crust you will eliminate the gap. See the notes in the recipe section for more info.
When baking a juicy fruit pie, a thin layer of crust dust (equal parts granulated sugar and flour) inside the bottom of the pie crust before adding the filling will prevent the crust from becoming too saturated with juicy filling and getting soggy.
Honeycrisp, Granny Smith, Braeburn, Pink Lady, Golden Delicious, and Jonagold are some of the best apples to use for a homemade apple pie.
Red Delicious, Fuji, Gala won’t hold up when baked and make a very mushy pie.
Since there is typically a lot of sugar in an apple pie, using a tart apple will give you a better balance of flavors. In our family-wide taste test, everyone preferred tart apples like Honeycrisp or Granny Smith over sweet apples like Golden Delicious.
According to the USDA, you can store fruit pies like apple pie at room temperature for 2 days. The sugar and acid in the pie will act as a short-term preservative. After that, it can be stored in the refrigerator for up to 7 days.
Resting gives the starches in the filling (and also the crust if it’s gluten free) a chance to solidify and set so the pie will hold together once you cut into it. If you cut into a fruit pie when it’s too hot, the filling will gush out into a puddle.


russ says
I wish I had someone to make me a real homemade pie.
beneficialbento says
You do, and you always will! ❤️