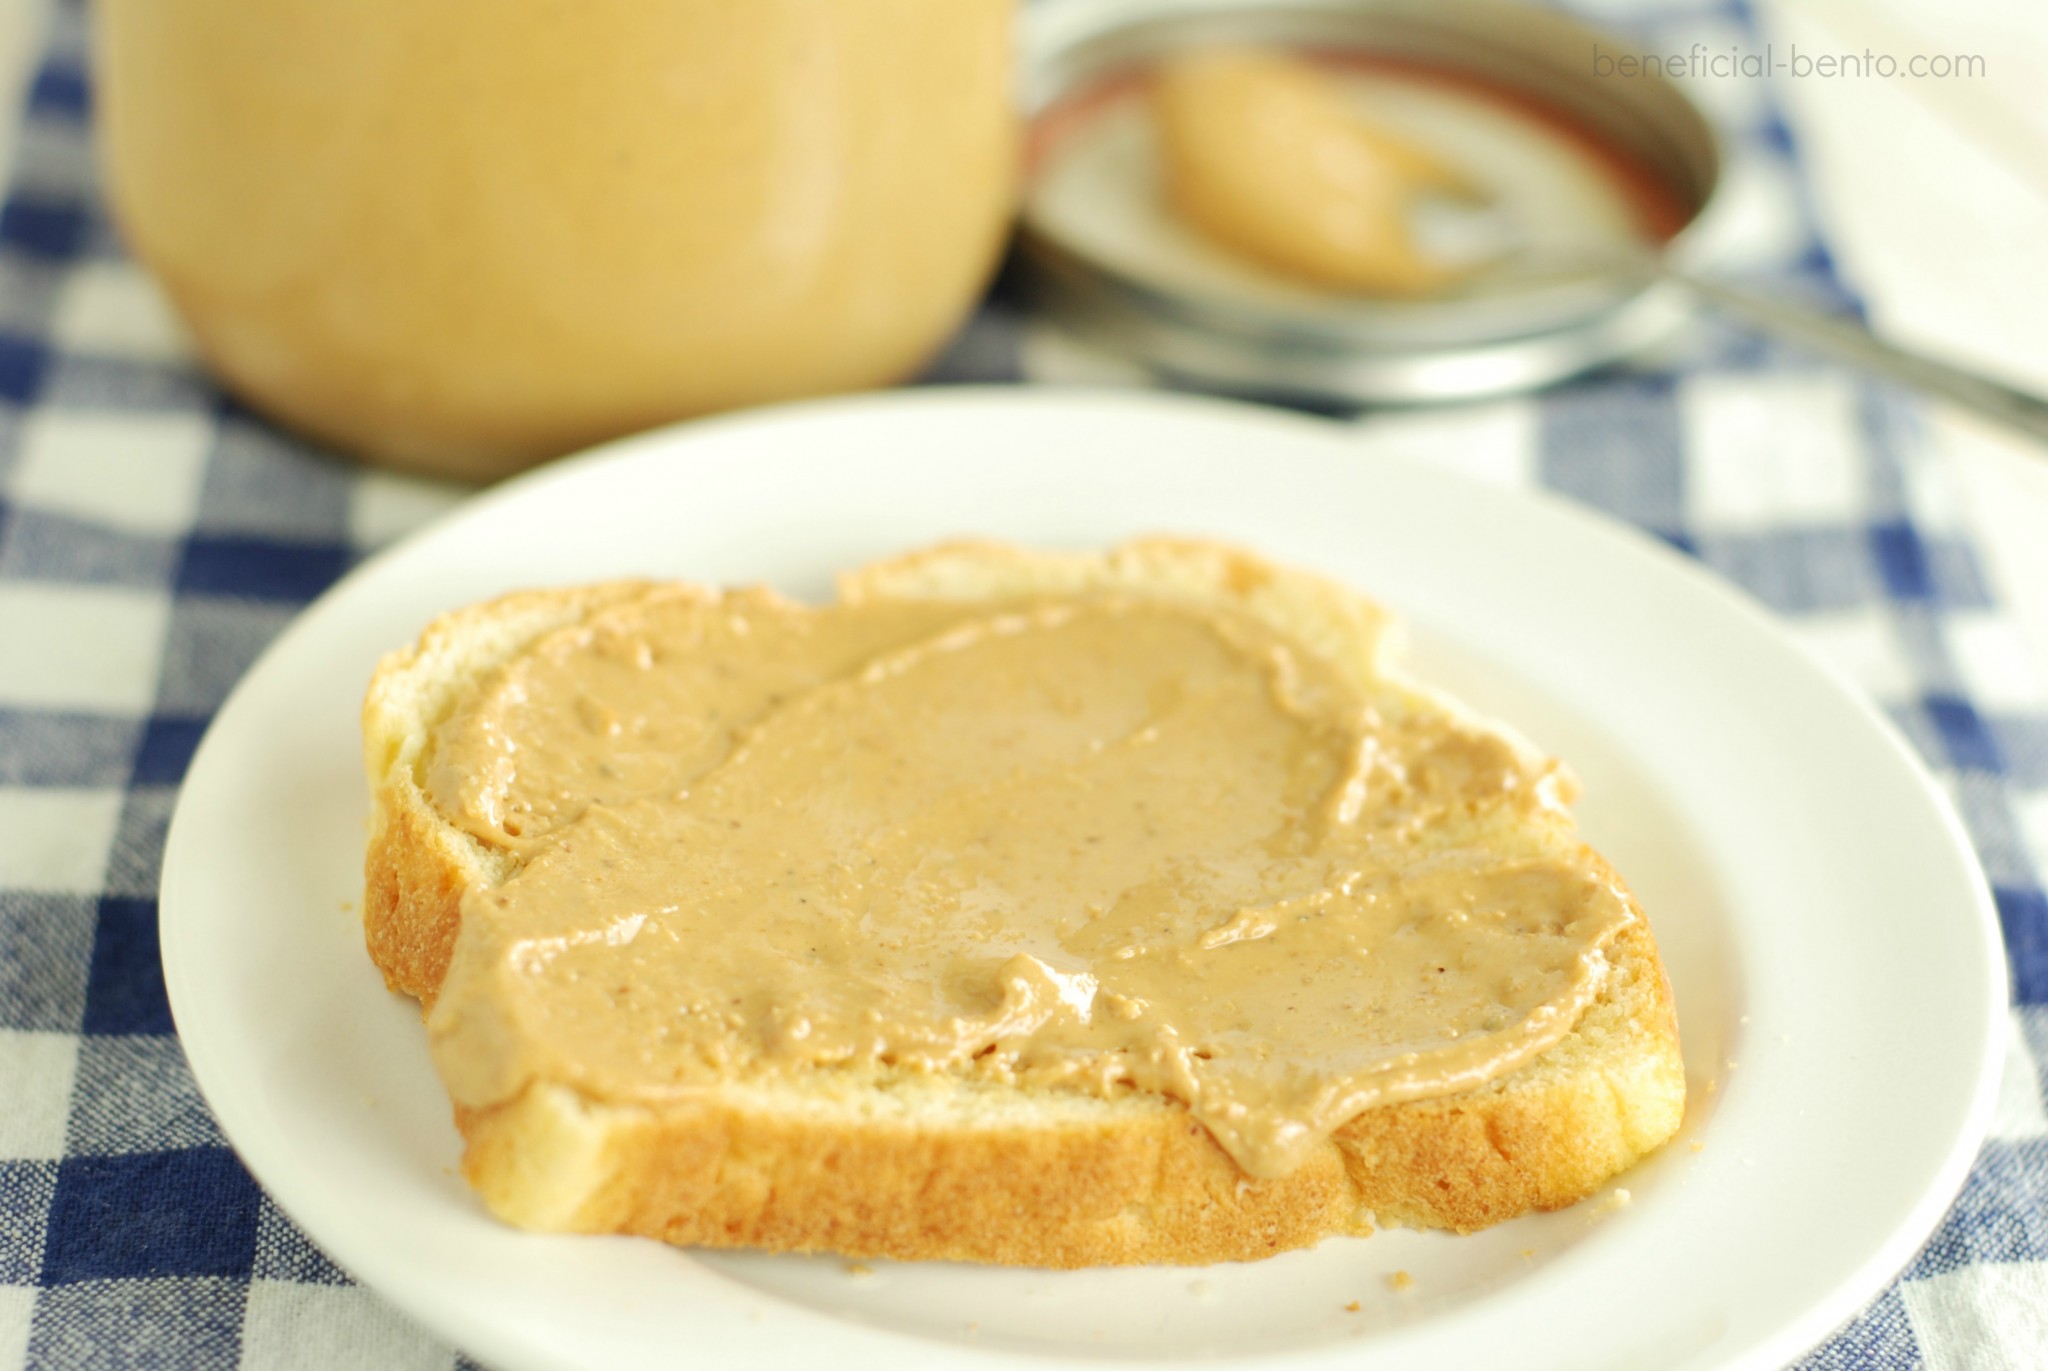
Have you tried cashew butter? If you haven't you are really missing out! And when you add a touch of coconut flavor to it - oh, it is pure heaven!
I have had a lot of fun lately experimenting with making my own nut butter. Well, actually, I only got as far as making my own cashew butter and that's where I stopped. I didn't stop making it, I just stopped experimenting! I am so happy with how the cashew butter turned out that I haven't made any other kind since!
I make quite a lot of it, too. I keep my Ninja blender busy - I make cashew butter a few times each month, since my whole family loves it. Back in the day, we used to be big on Skippy peanut butter. But over the past year or two I have been transitioning everyone over to natural peanut butter, and now that we've got cashew butter, who needs Skippy?
I'm also motivated to find better substitutes for peanut butter since we learned that our grandson is allergic to peanuts. When I started to look into buying other nut butters, I was a little taken aback by how much they cost! I figured I could save some money if I made my own, so I started experimenting.
I found the best prices for nuts in the bulk foods section of one of my favorite grocery stores, and broken cashew bits and pieces were the lowest priced nuts I could find ( other than peanuts). I roasted them myself in the oven. I saved even more money that way, and you won't believe how delicious fresh, roasted cashews are!
I spread them on a foil-lined cookie sheet, sprayed them with a little cooking spray, and sprinkled them with a little salt. I baked them in the oven at 350 degrees for about 10 -ish minutes ( you just roast them until they turn golden brown). After that, they are ready to turn into cashew butter!
An important thing to consider when you make your own nut butter is what kind of blender you have. I really don't think you can do it with a standard blender. I'm pretty sure it would burn out the motor! You'll need a good, high-speed blender like a Vitamix, Blendtec, or a Ninja (which is the one I use).
Start by putting the roasted cashews in the blender. This is the food processing bowl that comes with my Ninja blender. I like to use this for making nut butter because it's got a wide opening which makes it easier to stop and stir the mixture while you're making it. Turn it on and let it start grinding up the nuts. Let it go until it looks like the ground nuts have stopped swirling around in the blender. This may take from 2 to 5 minutes, more or less, depending on your blender. It will probably look like this:
Using a rubber scraper, get all the nuts sticking to the blender walls and push them toward the blade. Pull some up from the bottom, too, and just re-distribute it around a little. Then blend it a little more - roughly another minute. When you stop seeing movement again, turn it off and scrape it down again. You can see it's just starting to resemble cashew butter instead of cashew rocks - but we're not done yet!
At this point the ground nuts will start releasing their oils. Instead of chunks bouncing around in the blender, a nice paste will form. When I see this happening, I stop the blender and add the salt and coconut oil.
Turn the blender back on for 2 minutes. I use a timer for this because I'm always tempted to to stop and peek - "is it ready yet? is it ready yet?" You always need to blend it longer than you think, so just turn on a timer for 2 minutes and let it do its job. You'll want to blend the nuts as much as is humanly possible to get the best texture, and I've found that 2 minutes is a good time before checking. Now it should look like this:
When it's ready, it will be very smooth and kind of runny - that's because at this point the blender will be quite warm! I often leave the blender off for a little while in the middle of this whole process just to let it cool down some, and then I finish. I don't worry about my blender's motor - that thing is a work horse! I just feel better letting it cool off a little bit 🙂
I usually blend it for 1 - 2 minutes more, just to make sure it is really, really smooth. Then I pour it into a quart sized jar, using a funnel.
Don't worry that the texture is really runny - it will firm up as it chills in the refrigerator and become solid and spreadable, just like peanut butter.
This stuff is soooooo good! The addition of coconut butter really enhances the flavor of the cashews. It's sweet, salty, creamy, and just plain wonderful.
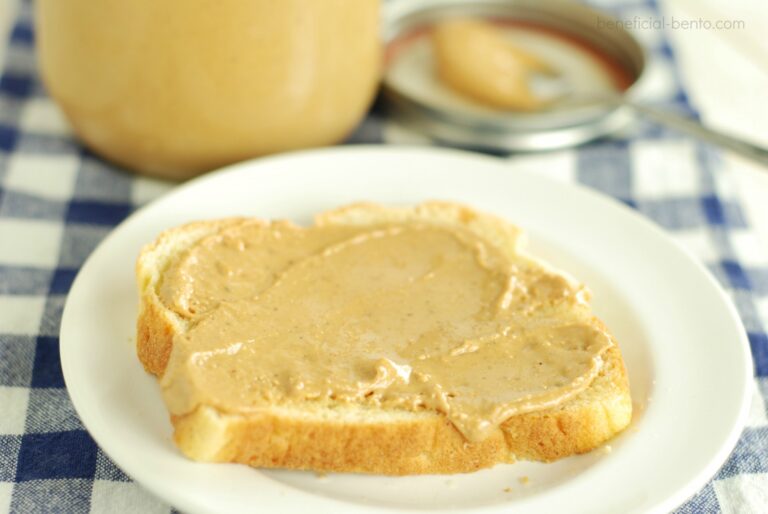
Coconut Cashew Butter
Salty, roasted cashews and fragrant coconut oil combine for a delicious, creamy nut butter. Try it on a sandwich or use it in recipes - you may never go back to peanut butter again!
- Total Time: 30 minutes
- Yield: 1 quart 1x
Ingredients
- 6 cups raw cashew pieces
- 3 tablespoons coconut oil
- 1 teaspoons and ½ salt
Instructions
- Heat oven to 350 degrees.
- Spread cashews evenly on a cookie sheet, and roast until cashews are golden brown.
- Pour into a high speed blender or food processor.
- Blend on high until the cashews stop swirling around and there is no visible movement, about 2 - 5 minutes.
- Scrape sides of blender down with a rubber scraper.
- Continue blending, checking every 1-2 minutes to scrape down sides of blender, until it starts to come together in a ball and look like paste.
- Add the coconut oil and salt.
- Set a timer for 2 minutes and continue blending. If needed, blend for another minute or two until very smooth and runny.
- Pour into a quart sized jar and refrigerate until the cashew butter firms up and becomes spreadable.
- This can be stored at room temperature, or kept in the fridge.
- Prep Time: 30 minutes
- Category: snack recipe

